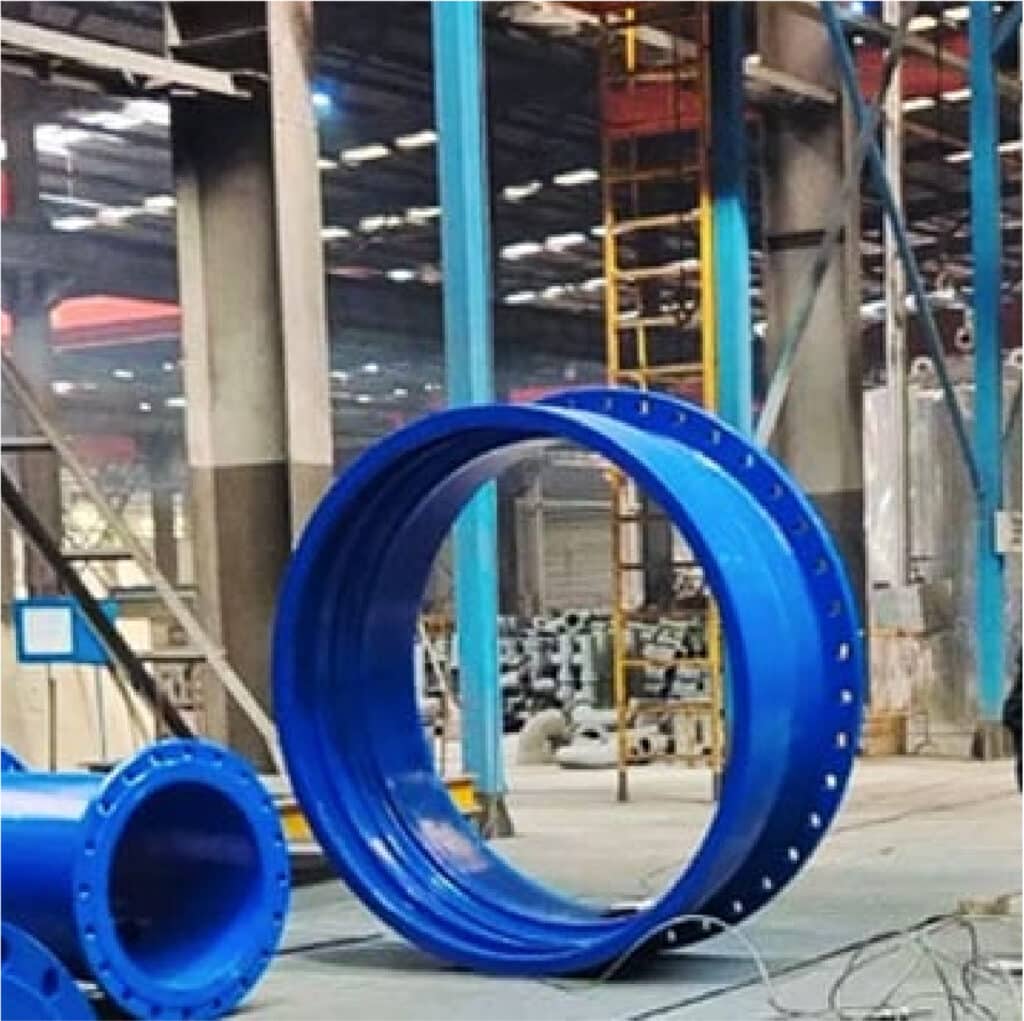
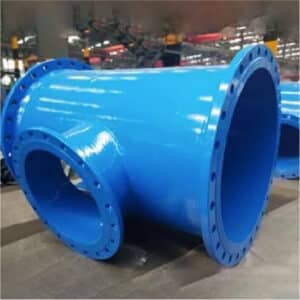
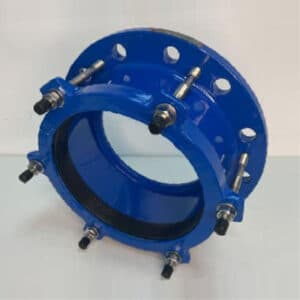
Flanged Socket
Flanged socket is a type of pipe fitting that combines a flanged end with a socket end. This fitting is used to connect pipes in a plumbing or piping system. The flanged end has a flat, circular flange with bolt holes, allowing it to be bolted to another flanged component, such as a valve, pump, or another pipe fitting.The flange provides a secure, leak-proof connection that can be easily assembled or disassembled for maintenance.The socket end is designed to receive the plain end of a pipe. The socket provides a strong, sealed connection and helps align the pipe with the fitting.
Flanged Socket Material
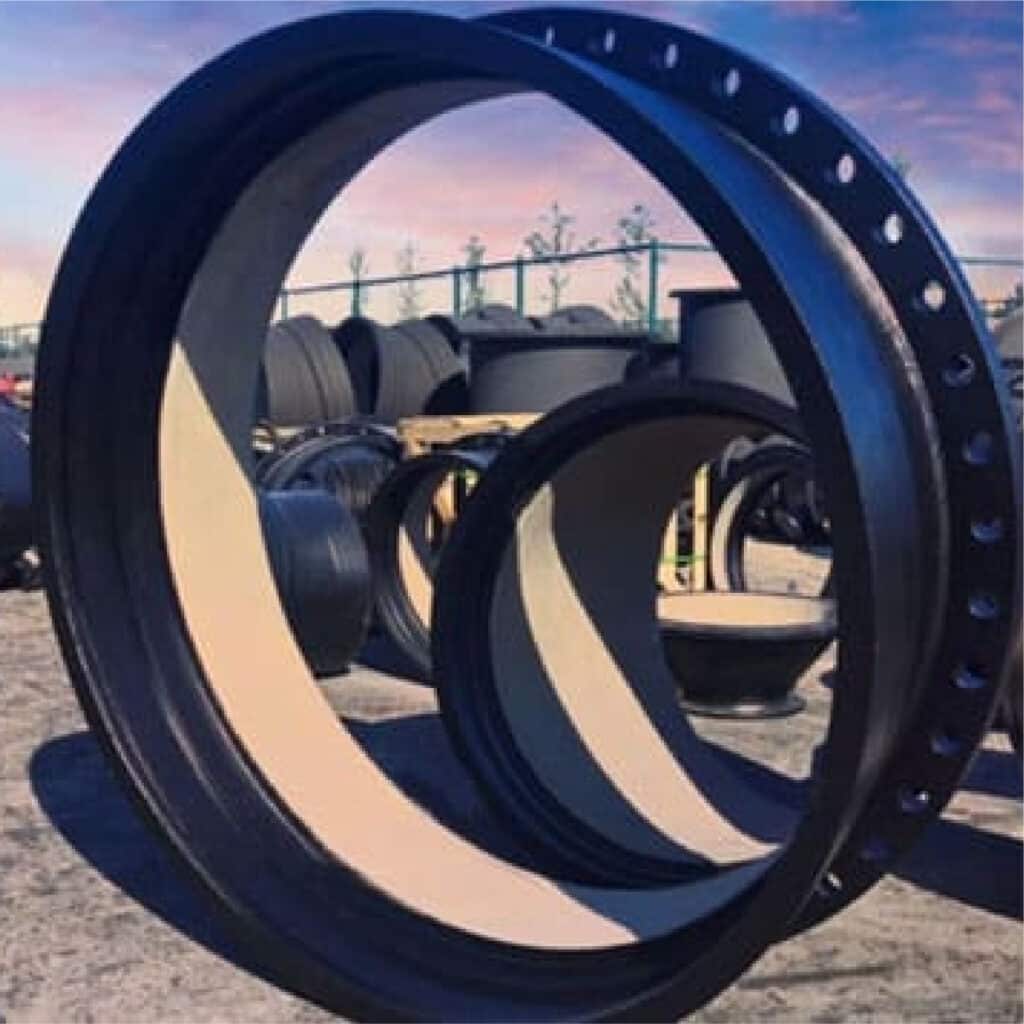
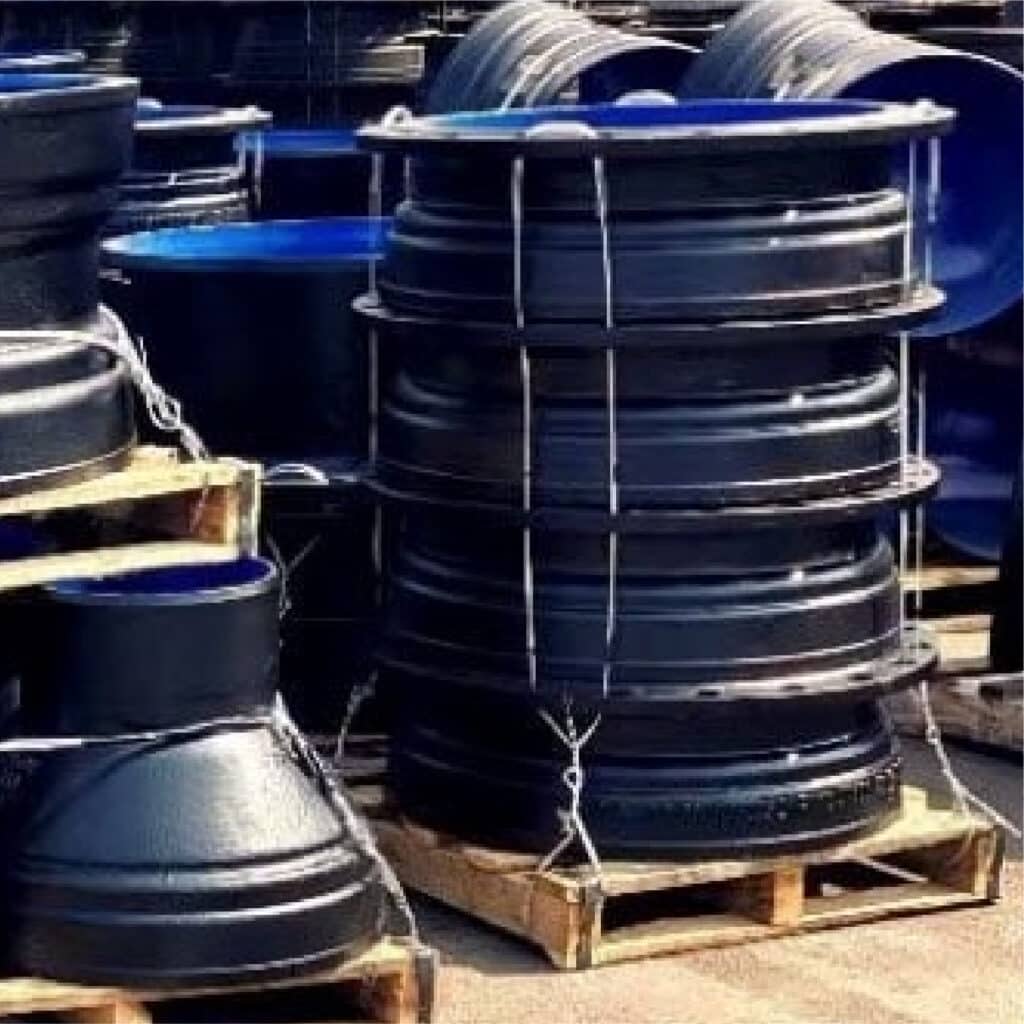
● The common material for flanged socket is ductile iron (abbreviated as DI), because the socket is generally made by casting, whereas carbon steel typically requires forging, welding and machining.
● The foundry process for ductile iron is simpler and more economical. With the foundry process, complex shapes can be cast in one piece, reducing the number of steps and cost of subsequent machining and improving production efficiency. Ductile iron flows well in the foundry process, fills the molds easily and can produce fine, precise castings. This allows flanged sockets to meet strict dimensional and shape standards.
● Ductile iron has higher strength and wear resistance, can withstand high pressure and mechanical stress. In the socket connection, it can provide reliable mechanical performance, reducing the risk of damage and leakage.
● Ductile iron has good corrosion resistance, especially in pipeline systems handling corrosive media, ductile iron flanged sockets can effectively prevent corrosion and extend service life.
● Ductile iron is relatively inexpensive, with low foundry costs, short production cycles and high overall cost effectiveness. This is especially true in large-scale production and application, where it can significantly reduce the overall cost of the project.
● In contrast, although carbon steel also has high strength and wear resistance, its processing is more complex, requiring multiple steps including cutting, welding and heat treating.
● So the common material for flanged socket is iron, not steel.
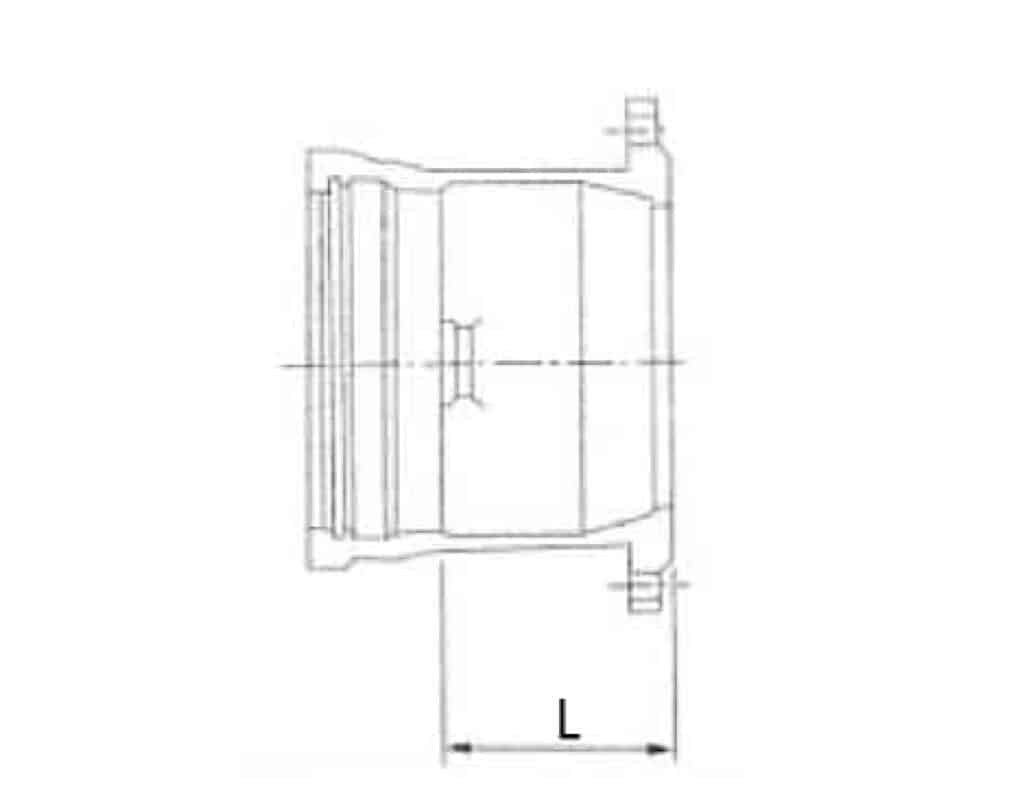
Flanged Socket Drawing and Dimension
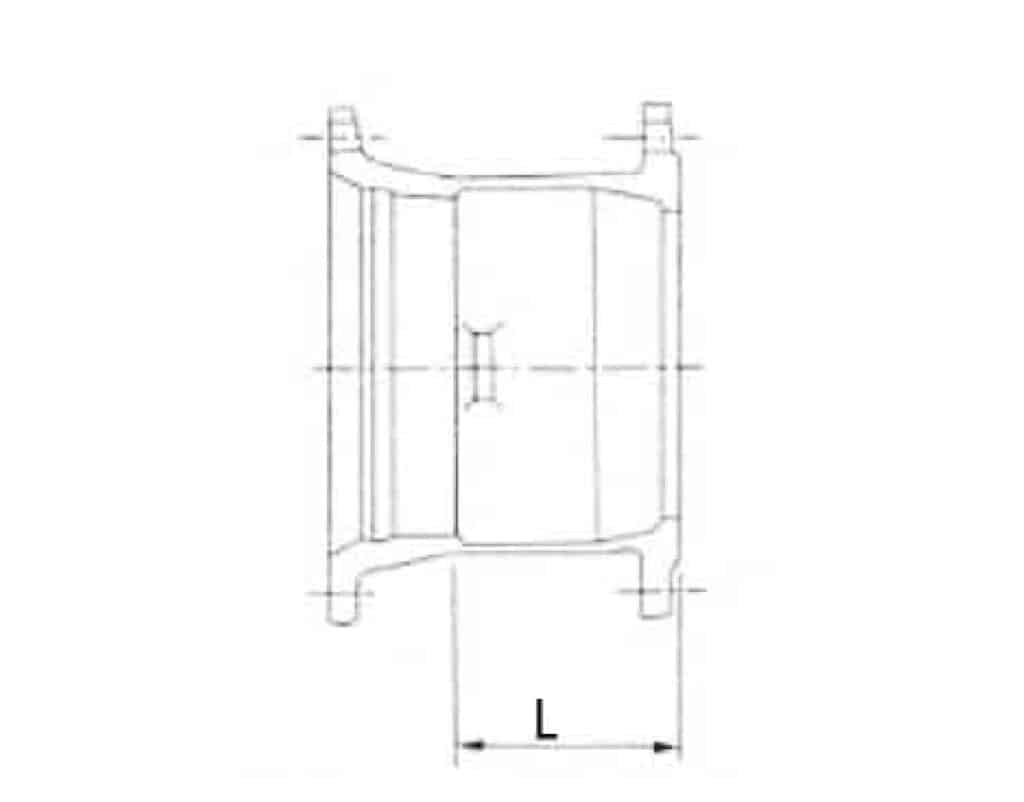
Flanged socket K type( MJ Type or Mechanical Joint Type)
| K=12 | |||||||
|---|---|---|---|---|---|---|---|
| Nominal Diameter DN | L | Weight(kg) | |||||
| T Type | K Type | ||||||
| PN10 | PN16 | PN25 | PN10 | PN16 | PN25 | ||
| 80 | 130 | 7.5 | 7.5 | 7.5 | 9.3 | 9.3 | 9.3 |
| 100 | 130 | 9 | 9 | 9.5 | 11.3 | 11.3 | 12.5 |
| 150 | 135 | 14.5 | 14.5 | 15.5 | 18 | 18 | 19 |
| 200 | 140 | 20.5 | 20.5 | 22 | 24.5 | 24 | 16 |
| 250 | 145 | 28 | 28 | 31.5 | 32.5 | 32 | 35.5 |
| 300 | 150 | 37 | 37 | 42 | 44.5 | 44 | 49.5 |
| 350 | 155 | 45 | 48 | 56 | 53 | 55.5 | 63 |
| 400 | 160 | 55 | 60 | 71 | 64 | 68 | 78.5 |
| 450 | 165 | 70.5 | 78 | 88.5 | 74.5 | 82 | 92.5 |
| 500 | 170 | 78 | 93 | 104 | 87 | 100 | 110 |
| 600 | 180 | 108 | 135 | 149 | 115 | 138 | 149 |
| 700 | 190 | 144 | 159 | 191 | 162 | 174 | / |
| 800 | 200 | 189 | 208 | 257 | 205 | 220 | / |
| 900 | 210 | 235 | 258 | 319 | 252 | 271 | / |
| 1000 | 220 | 293 | 324 | 402 | 317 | 351 | / |
| 1200 | 240 | 456 | 524 | 321 | 450 | 505 | / |
| 1400 | 310 | 654 | 723 | 875 | 654 | 711 | / |
| 1600 | 330 | 887 | 989 | 1166 | 873 | 763 | / |
| 1800 | 350 | 1125 | 1251 | 1491 | 1103 | 1214 | / |
| 2000 | 370 | 1414 | 1567 | 1920 | 1378 | 1516 | / |
Flanged Socket Installation
Installing a ductile iron (DI) flange socket involves several steps to ensure a secure and leak-free connection.
Here is a step-by-step guide on how to install a ductile iron flange socket:
Tools and Materials Needed
Ductile iron flange socket
Pipes to be connected
Gasket suitable for the pipe system
Bolts, nuts, and washers
Torque wrench
Lubricant (if required)
Pipe alignment tool (if needed)
Clean cloth or rag
Installation Steps
1. Preparation
_
● Inspect Components:
Ensure all components, including the flange socket, pipes, gaskets, bolts, and nuts, are clean and free from damage or defects.
● Clean Surfaces:
Clean the flange faces, pipe ends, and gaskets to remove any dirt, debris, or rust. This helps ensure a proper seal.
2. Align the Pipes
_
● Position the Pipes:
Align the pipes to be connected so that their ends are correctly positioned and straight. Proper alignment helps avoid undue stress on the connection and ensures a good seal.
● Support the Pipes:
Use pipe supports or alignment tools to hold the pipes in place during the installation process.
3. Insert the Pipe into the Socket
_
● Lubricate (if necessary):
If required, apply a suitable lubricant to the pipe end and the inside of the socket to ease the insertion process.
● Insert Pipe:
Carefully insert the pipe into the socket (gasket already in the socket right position) until it reaches the socket’s internal stop or desired insertion depth.
4. Position the Flange Gasket
_
● Place the Gasket:
Place the gasket between the flanges of the flange socket and the mating flange. Ensure the gasket is properly centered and covers the entire flange face.
● Gasket Type:
Use a gasket material that is compatible with the fluid being transported and suitable for the pressure and temperature conditions.
5. Install Bolts and Nuts
_
● Insert Bolts:
Insert the bolts through the aligned bolt holes of the flange socket and the mating flange. Place washers as needed.
● Hand-tighten Nuts:
Hand-tighten the nuts onto the bolts to hold the flanges together. Ensure the bolts are evenly distributed around the flange.
6. Tighten Bolts
_
● Tightening Sequence: Use a crisscross pattern to tighten the bolts gradually. This helps ensure even pressure on the gasket and prevents leakage.
● Torque Specification:
Use a torque wrench to tighten the bolts to the manufacturer‘s specified torque values. Over-tightening or under-tightening can cause leaks or damage the gasket.
●Re-check Torque:
After initial tightening, re-check the torque values to ensure all bolts are evenly and adequately tightened.
7. Final Inspection
_
● Check Alignment:
Verify that the pipes are still properly aligned and supported.
● Check for Leaks:
Inspect the connection for any visible leaks. If necessary, re-tighten bolts slightly to stop minor leaks, but be cautious not to over-tighten.
8. Commission the System
_
● Gradual Pressurization:
Gradually pressurize the system to its operating pressure, checking for leaks or any issues.
● Final Check:
Perform a final inspection to ensure the connection is secure and leak-free.
Tips for a Successful Installation
Use the Right Tools
Always use the proper tools, including a torque wrench, to avoid over-tightening or under-tightening the bolts.
Follow Manufacturer Guidelines
Adhere to the manufacturer‘s installation instructions and torque specifications.
Safety Precautions
Wear appropriate personal protective equipment (PPE) and follow safety guidelines during installation.
By following these steps, you can ensure a successful installation of a ductile iron flange socket, resulting in a reliable and leak-free pipe connection.

