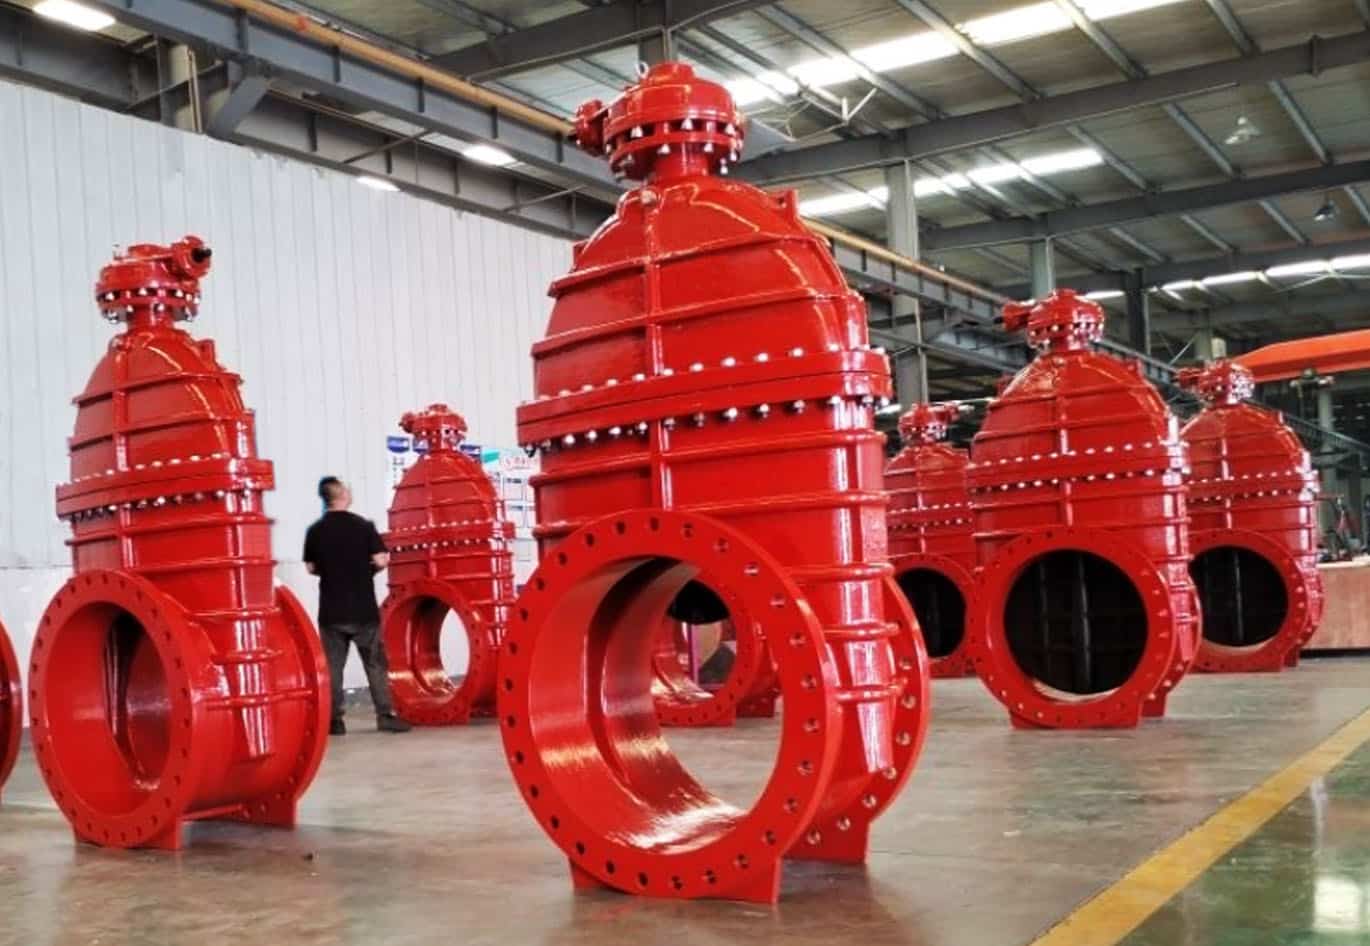
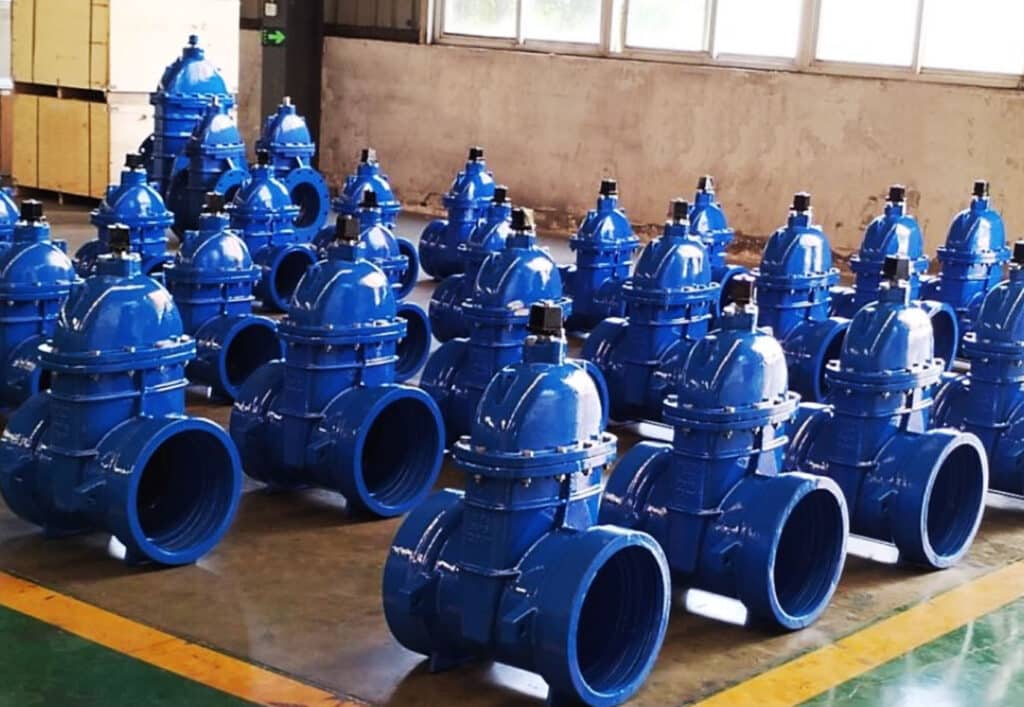
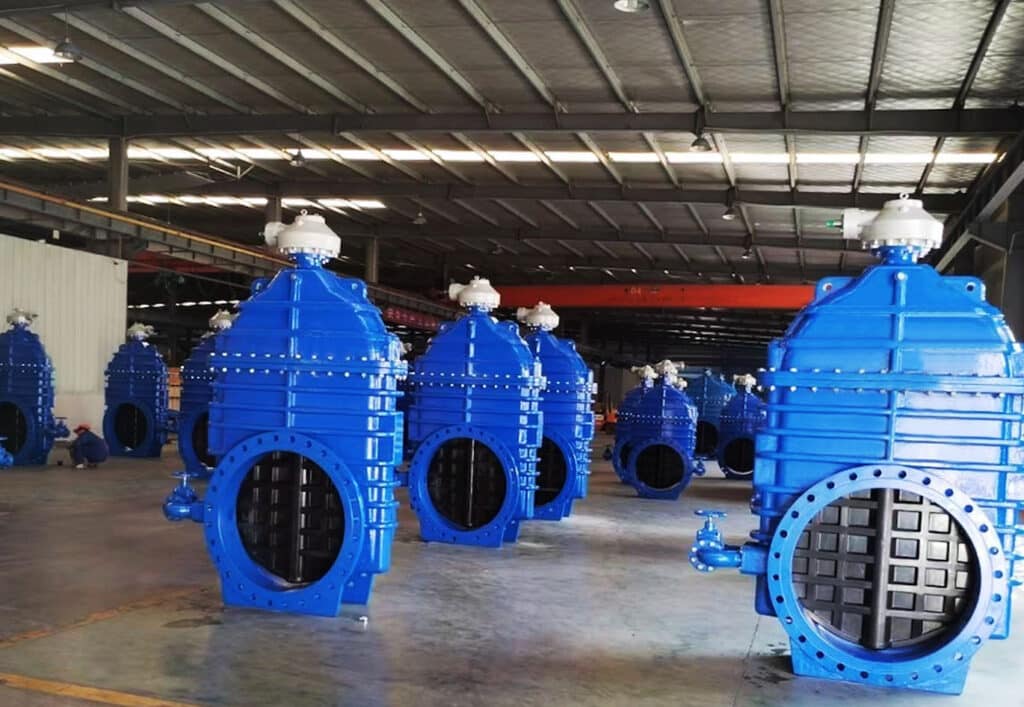
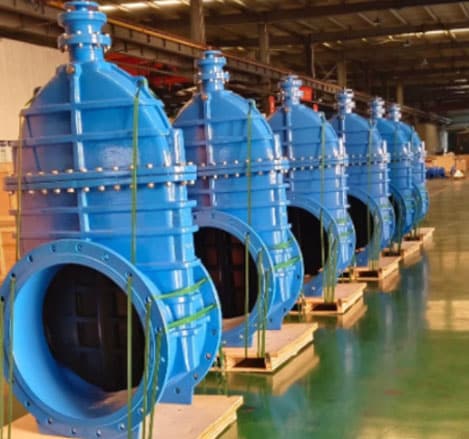
Resilient Seated Gate Valve, also known as elastic seated or soft seated gate valve, is a type of gate valve where the gate or wedge is designed with a soft, resilient material that provides a better seal compared to traditional metal-seated gate valves.
Judberd can offer many different types resilient seated gate valves, include but not limited to below types.
Typically epoxy coating to increase corrosion resistance.
RESILIENT SEATED GATE VALVE WORKING PRINCIPLE
The working principle of a resilient seated gate valve is straightforward and efficient, providing reliable shut-off for various fluid systems. Here’s how it works:
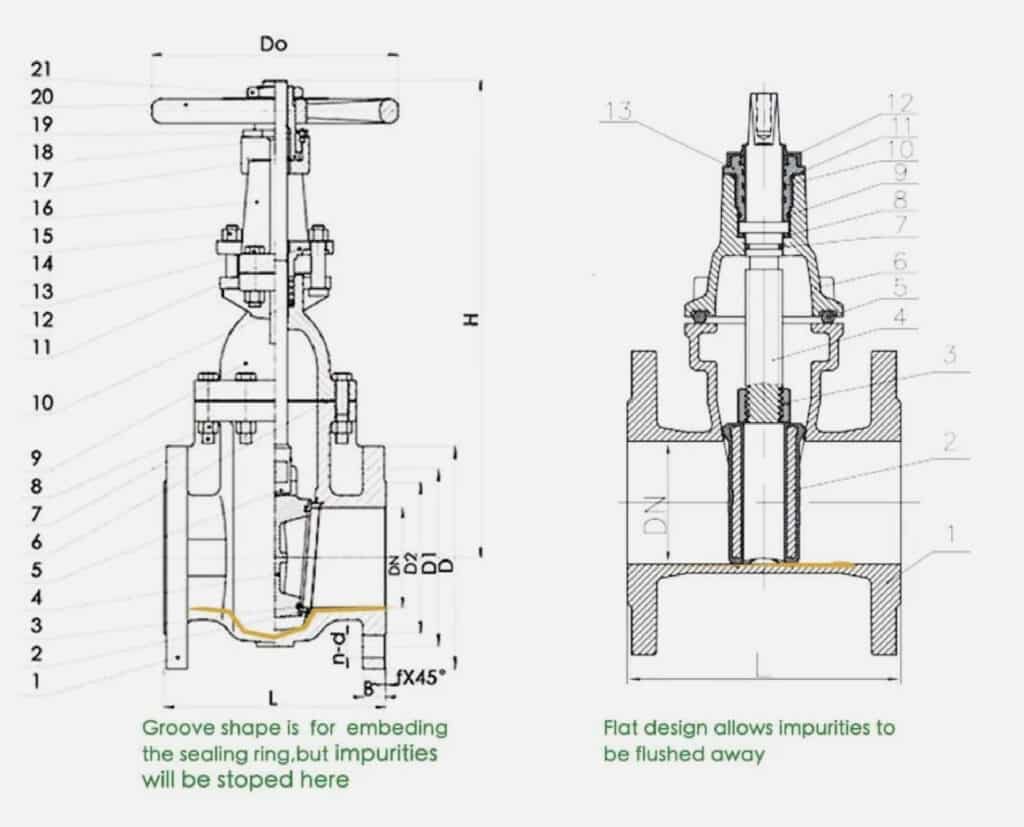
STRUCTURE _
A resilient seated gate valve consists of a body, a gate (or wedge), a stem, and a resilient seat made of rubber or other elastomeric materials. The gate is usually a flat or wedge-shaped disk that moves perpendicular to the flow of the fluid.
OPERATION _
The valve operates by raising or lowering the gate to open or close the flow passage. When the valve is open, the gate is lifted entirely out of the fluid path, allowing for unobstructed flow. When the valve is closed, the gate is lowered, pressing against the resilient seat to form a tight seal.
SEALING _
The resilient seat ensures a tight seal by deforming slightly to fill any minor imperfections between the gate and the valve body, preventing fluid leakage. This is especially useful for sealing against low-pressure fluids and maintaining a tight shut-off even with minor debris present.
CONTROL MECHANISM _
The gate is moved up or down by turning a handwheel or actuator connected to the stem. Rotating the handwheel in one direction raises the gate (opening the valve), while rotating it in the opposite direction lowers the gate (closing the valve).
RESILIENT SEATED GATE VALVE VS METAL SEATED GATE VALVE
Resilient Seated Gate Valve and Metal Seated Gate Valve are both commonly used in fluid control systems, but they have distinct features, advantages, and applications. Here’s a comparison of the two:
RESILIENT SEATED GATE VALVE
● FEATURES
Seat Material: The seat is made of resilient materials like rubber or elastomers.
Sealing: Provides a tight seal due to the flexibility and compression of the resilient material.
Operation: Generally easier to operate due to lower operating torque.
Maintenance: Less prone to leakage and requires less maintenance.
● Advantages
Tight Seal: The resilient seat adapts to minor imperfections, ensuring a leak-tight seal.
Durability: Can handle minor debris and impurities in the fluid without damage.
Ease of Use: Lower operating torque and easier manual operation.
● Applications
Water Supply and Distribution: Ideal for municipal water systems.
Wastewater Treatment: Suitable for sewage and wastewater applications.
Industrial Applications: Used in various industries for clean and non-corrosive fluids.
● Disadvantages
Temperature and Chemical Limitations: The resilient seat may not withstand very high temperatures or aggressive chemicals.
Wear and Tear: The seat material may degrade faster under harsh conditions compared to metal seats.
METAL SEATED GATE VALVE
● FEATURES
Seat Material: The seat is made of metal, typically brass or stainless steel.
Sealing: Provides a robust and durable seal but may not be as tight as resilient seated valves in some conditions.
Operation: Requires higher operating torque due to metal-to-metal contact.
Maintenance: Requires more maintenance to ensure a proper seal over time.
● Advantages
High Temperature and Pressure Resistance: Can handle higher temperatures and pressures compared to resilient seated valves.
Chemical Resistance: Suitable for aggressive and corrosive fluids.
Durability: Long-lasting in harsh environments and with abrasive fluids.
● Applications
High-Temperature and High-Pressure Systems: Ideal for steam, oil, and gas industries.
Chemical Processing: Suitable for handling corrosive and aggressive chemicals.
Power Plants: Used in power generation systems where high durability is required.
● Disadvantages
Higher Operating Torque: More force required to operate the valve.
Leakage: Metal-to-metal seal may not be as tight, especially with minor debris.
Maintenance: More frequent maintenance needed to maintain sealing performance.
SUMMARY
Resilient Seated Gate Valves are ideal for water supply, wastewater treatment, and industrial applications with clean, non-corrosive fluids. They offer a tight seal, are easy to operate, and require less maintenance.
Metal Seated Gate Valves are better suited for high-temperature, high-pressure, and chemically aggressive environments such as steam systems, oil and gas industries, and power plants.
They are more durable but require higher operating torque and more maintenance.
JUDBERD NEW DESIGN RESILIENT SEATED GATE VALVE ADVANTAGE
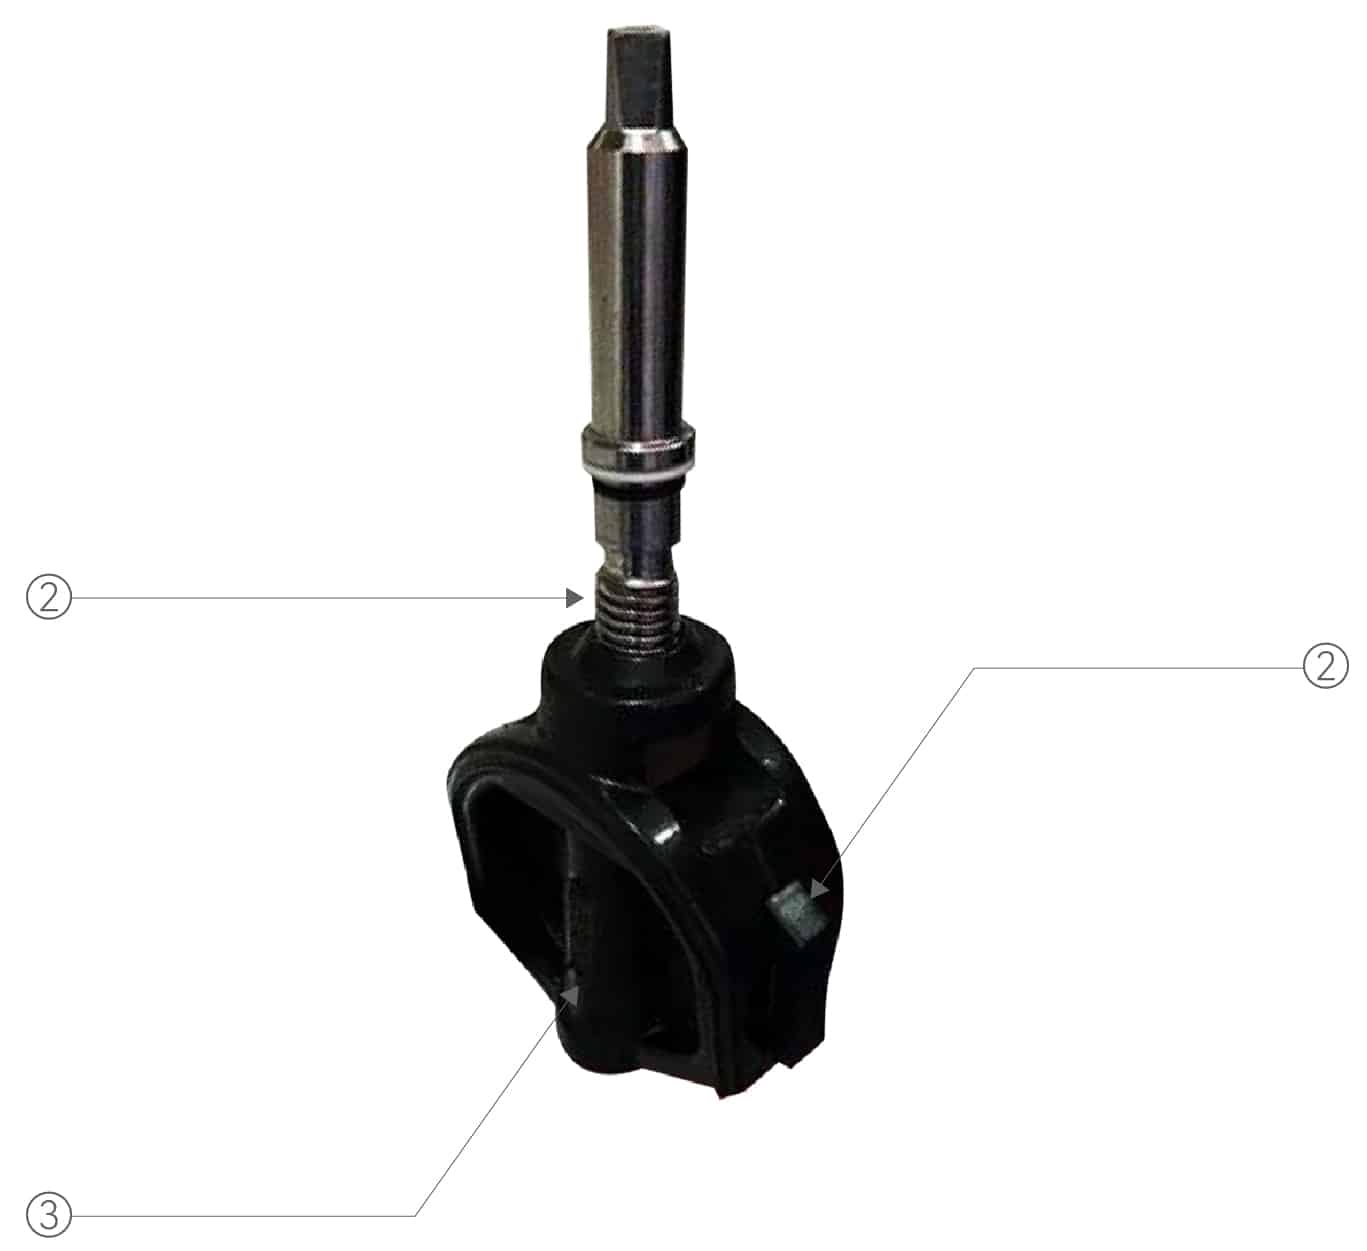
FEATURE
① One-piece design of valve stem nut and valve wedge, more solid.
② Nylon guide groove to reduce torque.
③ Raised bar design ensures small torque and low pressure seal.
④ More low hardness for bigger size EPDM cover of wedge to reduce torque for big valves.
RFQ
HOW TO INSTALL RESILIENT SEATED GATE VALVE?
If you buy resilient seated gate valve ,you really need to know how our valve manufacturer install resilient seated gate valve, check below video to know it
1,Put the installed stem into the valve bonnet
2, Install the stem nut and stem together by rotating the thread
3,Brush oil on the groove where the valve wedge and stem nut fit together
4, Snap the stem nut into the fixed slot of the valve wedge
5, Rotate the valve wedge to the right position
6, Brush oil around the valve wedge which face need to toutch the valve body
7,Put the assembled valve wedge into the valve body
8, Tighten the bolts of valve bonnet and valve body in diagonal order
WHY RESILIENT SEATED GATE VALVE LEAK?
There are several main common quality problems with resilient seated gate valves
With the use of the valve, the stem seal will loss of sealing effect because of repetitive friction, for this problem, judberd’s gate valve is 100% with the upper seal, that is, in the state of the valve wedge fully open, the valve wedge and the valve cover can be sealed directly. The stem can thus be removed and the stem sealing O type ring can be replaced. This ensures that, without stopping the water, the valve O type sealing ring can be replaced and the valve can thus be repaired.
As the valve wedge is continuously opened and closed, the sealing of the valve wedge can also become problematic. At this point it is necessary to remove the gate valve from the pipe by adjusting the length of the dismantling joint itself, so that the valve wedge can be replaced and repaired or the entire valve can be replaced.
Possible leakage may happen between the gland and the bonnet, because the outside o type ring is damaged or the gland is loose, the solution is to change the outside o-ring between the gland and bonnet,or tighten the gland.
If leakage happened at the seal between the valve bonnet and the valve body, that is because the o-ring between the valve bonnet and valve body is damaged, the solution is to replace the damaged O-ring.
JUDBERD GATE VALVE MANUAL
1, Check the gate valve length and flange dimension standard, to ensure that the valve length and flange dimension standard of the chosen gate valve match the pipeline to be installed.
2. Can be installed on horizontal or vertical pipelines.
3,The installation position should ensure convenience for use, maintenance, and replacement.
4, Bidirectional usage is allowed (pipeline fluid direction need not be considered during installation).
5, The valve should be stored in a dry indoor area before installation, with the valve disc in the open position.
6, The following preparations should be made before valve installation:
6.1 Carefully review usage conditions before installation to confirm compatibility with this valve’s performance specifications.
6.2 Clean the interior and sealing surfaces, with no allowed presence of dirt or debris.
6.3 Inspect the actuator to ensure reliable connection with the flange.
7, After valve installation, regular checks should be conducted, with the main inspection items as follows:
7.1 Check the sealing between the valve body and valve bonnet.
7.2 Check the sealing between the valve gland and the bonnet.
7.3 Check the sealing between the valve stem and the gland.
7.4 Check the sealing between the valve body and valve disc.
7.5 Check the flexibility of valve rotation.
7.6 After valve maintenance and assembly, there should be no sticking or jamming during rotation.
7.7 After valve maintenance and assembly, sealing and strength performance tests should be conducted as required.
Do You Need Quotation From Chinese Manufacturer?
Please Leave Us Your Information as Below,We will send you our Bottom Price As Soon As We Can
Do You Need Our Catalogue to Check More?
Please Leave Us Your Information as Below,We will send you our Professional Catalogue As Soon As We Can
Need a quotation?
I’m Here
To Assist You
Please leave your enquiry,We will reply you in 24 hours.