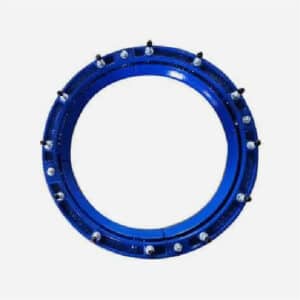
Repair Coupler
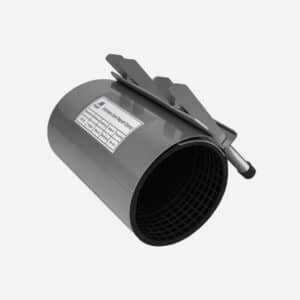
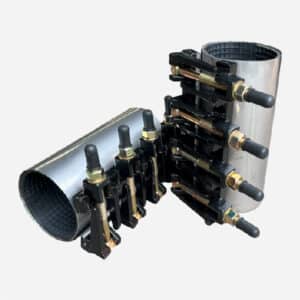
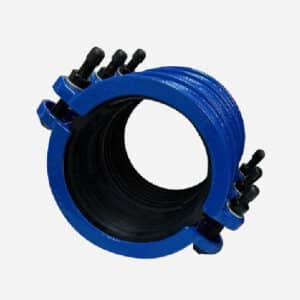
Repair coupler can be used as pipe line coupling to connect pipe spigot ends, also can work as repair clamp for pipe leaking repairing.
Specification
● Wide range for different pipe which pipe od is in designed range.
● Short and long type for different requirement.
● It can be used to repair pipes that are not flat and smooth on the outside surface
● It can afford higher pressure than Normal Repair Clamp, for size ≦200mm, the max. working pressure is 16 bar ,for 219mm≤size ≦508mm,max.working pressure is 10bar
Assembling Drawing
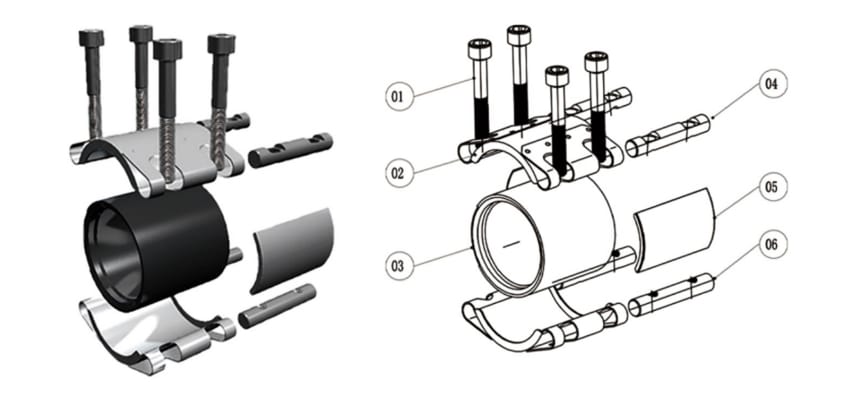
Drawing

Material
| Sr.No. | Name | Material | Quantity |
|---|---|---|---|
| 1 | Bolts | Stainless Steel | N |
| 2 | Band | Stainless Steel | 2 |
| 3 | Gasket | EPDM | 1 |
| 4 | Bolts-on column | Stainless Steel | 1 |
| 5 | Protection plate | Stainless Steel | 2 |
| 6 | Nuts-on column | Stainless Steel | 1 |
Dimension
| Pipe Outside Diameter(OD) mm | OD Range(mm) | Working Pressure bar | A | L1 | L2 | D | Bolts Size | Bolts Torque N.m |
|---|---|---|---|---|---|---|---|---|
| 42 | 42-44 | 16 | 10 | 57 | 100 | 65 | 6 | 15 |
| 44.5 | 44-45.1 | 16 | 10 | 57 | 100 | 65 | 6 | 15 |
| 48.6 | 47-49 | 16 | 10 | 57 | 100 | 70 | 6 | 15 |
| 54 | 53.6-54.6 | 16 | 10 | 57 | 100 | 70 | 8 | 30 |
| 57 | 56.3-57.7 | 16 | 10 | 57 | 100 | 80 | 8 | 30 |
| 60.3 | 59-62 | 16 | 10 | 80 | 139 | 85 | 8 | 30 |
| 63 | 62.2-63.9 | 16 | 10 | 80 | 139 | 85 | 8 | 30 |
| 76.1 | 75-78 | 16 | 10 | 80 | 139 | 100 | 8 | 30 |
| 79.9 | 78.8-80.8 | 16 | 10 | 80 | 139 | 100 | 8 | 30 |
| 88.9 | 88-92 | 16 | 10 | 107 | 203 | 110 | 10 | 30 |
| 108 | 106-110 | 16 | 10 | 107 | 203 | 130 | 10 | 50 |
| 110 | 108.9-111.2 | 16 | 10 | 107 | 203 | 130 | 10 | 50 |
| 114.3 | 112-116 | 16 | 10 | 107 | 203 | 135 | 10 | 50 |
| 118 | 116.6-119.2 | 16 | 10 | 107 | 203 | 140 | 10 | 50 |
| 125 | 123.6-126.5 | 16 | 10 | 107 | 203 | 150 | 10 | 50 |
| 133 | 131.5-134.4 | 16 | 10 | 107 | 203 | 160 | 10 | 50 |
| 140 | 137-143 | 16 | 10 | 116 | 203 | 165 | 12 | 50 |
| 159 | 157-161 | 16 | 10 | 116 | 203 | 185 | 12 | 80 |
| 165.2 | 163.3-166.7 | 16 | 10 | 116 | 203 | 190 | 12 | 80 |
| 168 | 166-170 | 16 | 10 | 116 | 203 | 195 | 12 | 80 |
| 170 | 168.2-171.9 | 16 | 10 | 116 | 203 | 195 | 12 | 80 |
| 200 | 198.2-201.5 | 10 | 15 | 155 | 255 | 240 | 14 | 80 |
| 219 | 217-221 | 10 | 15 | 155 | 255 | 250 | 14 | 80 |
| 250 | 250-254 | 10 | 15 | 155 | 255 | 285 | 14 | 100 |
| 273 | 271-275 | 10 | 15 | 155 | 255 | 305 | 14 | 100 |
| 315 | 313-317 | 10 | 15 | 155 | 255 | 340 | 14 | 100 |
| 325 | 323-327 | 10 | 15 | 155 | 255 | 360 | 14 | 100 |
| 355.6 | 354-358 | 10 | 15 | 155 | 255 | 385 | 14 | 100 |
| 377 | 375-379 | 10 | 15 | 155 | 255 | 410 | 14 | 100 |
| 400 | 398-402 | 10 | 15 | 155 | 255 | 430 | 14 | 100 |
| 406 | 404-408 | 10 | 15 | 155 | 255 | 435 | 14 | 100 |
| 426 | 424-428 | 10 | 15 | 155 | 255 | 460 | 14 | 100 |
| 429 | 427-431 | 10 | 15 | 155 | 255 | 460 | 14 | 100 |
| 480 | 478-482 | 10 | 15 | 155 | 255 | 510 | 14 | 120 |
| 500 | 498-502 | 10 | 15 | 155 | 255 | 530 | 14 | 120 |
| 508 | 506-510 | 10 | 15 | 155 | 255 | 540 | 14 | 120 |
Installation instruction for connecting pipe spigot ends
Max gap distance
_
for small size which pipe od is ≤170mm, max gap distance between pipe ends is 10mm, for big size which 1462mm≥pipe od≥200mm, max gap distance between pipe ends is 15mm


Axis misalignment
_
for small size which pipe od from 20mm to 300mm the axis displacement should be ≤2% od ;for big size which is larger than 300mm, the axis displacement should be ≤5mm
Angle deflect
_
1,from od20mm to od60.3mm
for pvc and pe pipe , max. angle deflect is 6°.for other pipes, max. angle deflect is 5°
2,from od70mm to od219.1mm
for pvc and pe pipe , max. angle deflect is 5°.for other pipes, max. angle deflect is 4°.
3,for pipe od>219.1mm max. angle deflect for all pipes is 3°


Pipe od difference
_
if pipe od is from od20mm to od300mm,
pipe od difference should be less than 2% of pipe od,
if pipe od is bigger than 300mm,
the pipe od difference should be no larger than 6mm
Axial displacement compensation
_
1, if pipe od is from 26.9mm to 60.3mm, max. axial displacement is ±5mm
2, if pipe od is from 70mm to 114.3mm, max. axial displacement is ±8mm
3, if pipe od is from 120mm to 1600mm, max. axial displacement is ±10mm
4, if pipe od is from 1600mm to 4000mm, max. axial displacement is ±15mm


Ellipticity deviation
_
1,if pipe od is from 20mm to 300mm, ellipticity deviation should be no larger than 2% of pipe od
2,if pipe od is larger than 300mm,the ellipticity should be no larger than 5mm
How to install repair coupler for pipe repairing?
INSTALLATION STEPS
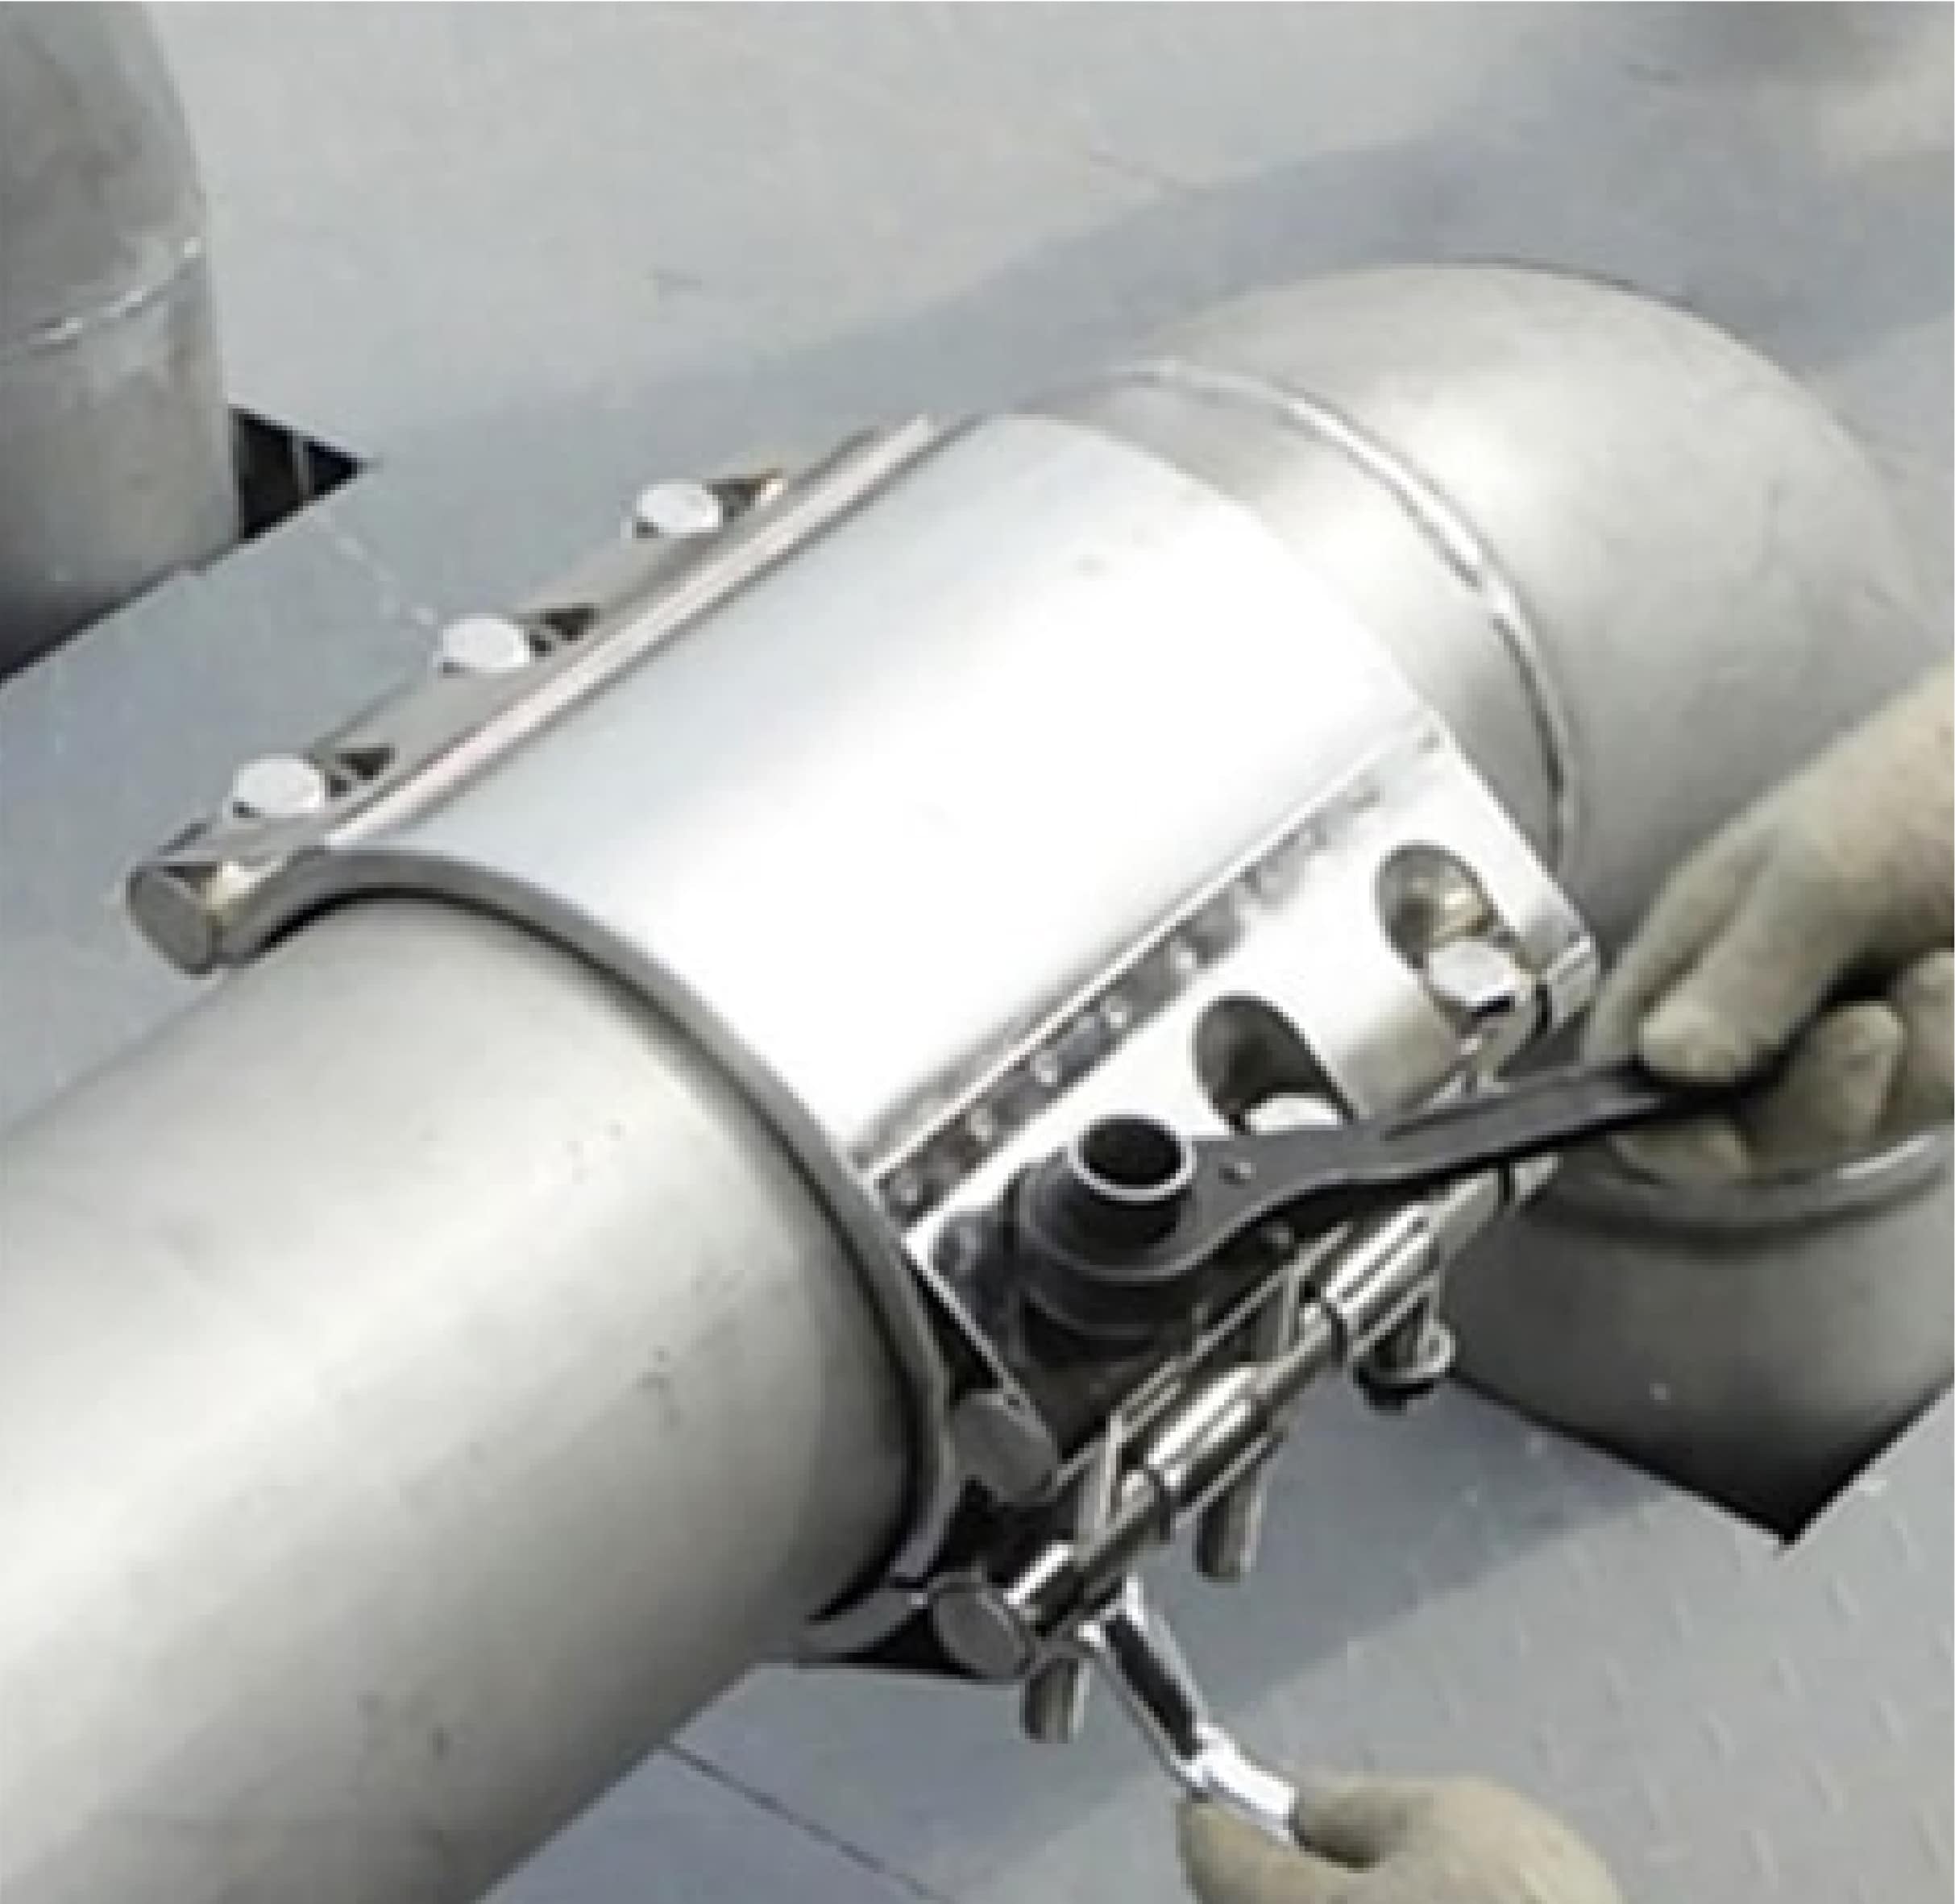
1. First clean up any foreign impurities near the pipe repair leak point.
2. Remove the screws of the double bands repair clamp and open it.
3. Take out the rubber sleeve inside and snap it onto the leak point (note that the location of the leak point and the location of the rubber sleeve joint should be staggered as far as possible).
4. Attach the repair housing to the sealing sleeve (avoid the middle of the repair housing where the rubber sleeve is attached and place it as close to the top of the screw as possible) and pre-tighten it on both sides with a spanner, using a rubber hammer to hit the upper or lower part of the repair housing.
5. Refer to the pre-tightening force and pressure requirements corresponding to each size, and after pre-tightening on both sides, you can infuse and press normally after installation.
