Installing a new valve seems simple, but small errors can lead to leaks, shutdowns, and costly failures. These "small" issues quickly become massive headaches, damaging equipment and your reputation. The problem is often not the valve, but the pipeline design and installation process itself.
Most valve installation failures are not due to the valve's quality. They are caused by common issues like pipeline misalignment, a lack of installation tolerance in the design, and improper support. Understanding these root causes is crucial for a successful, leak-free installation.
As a manufacturer with 30 years of experience, I've seen it all. We've supplied valves for countless projects, and the same installation problems pop up time and again. Let's walk through the most common categories of failure so you can avoid them on your next job.
Why Won't My Valve Fit During Installation?
Struggling to fit a valve between two pipes is incredibly frustrating. This common problem halts progress on-site and can lead to desperate, damaging measures to make it fit.
A valve won't fit if the pipeline length is inaccurate, the flanges don't align, or there's no installation tolerance. The root cause is often a discrepancy between the design drawings and the actual on-site conditions, which requires a flexible connection solution.
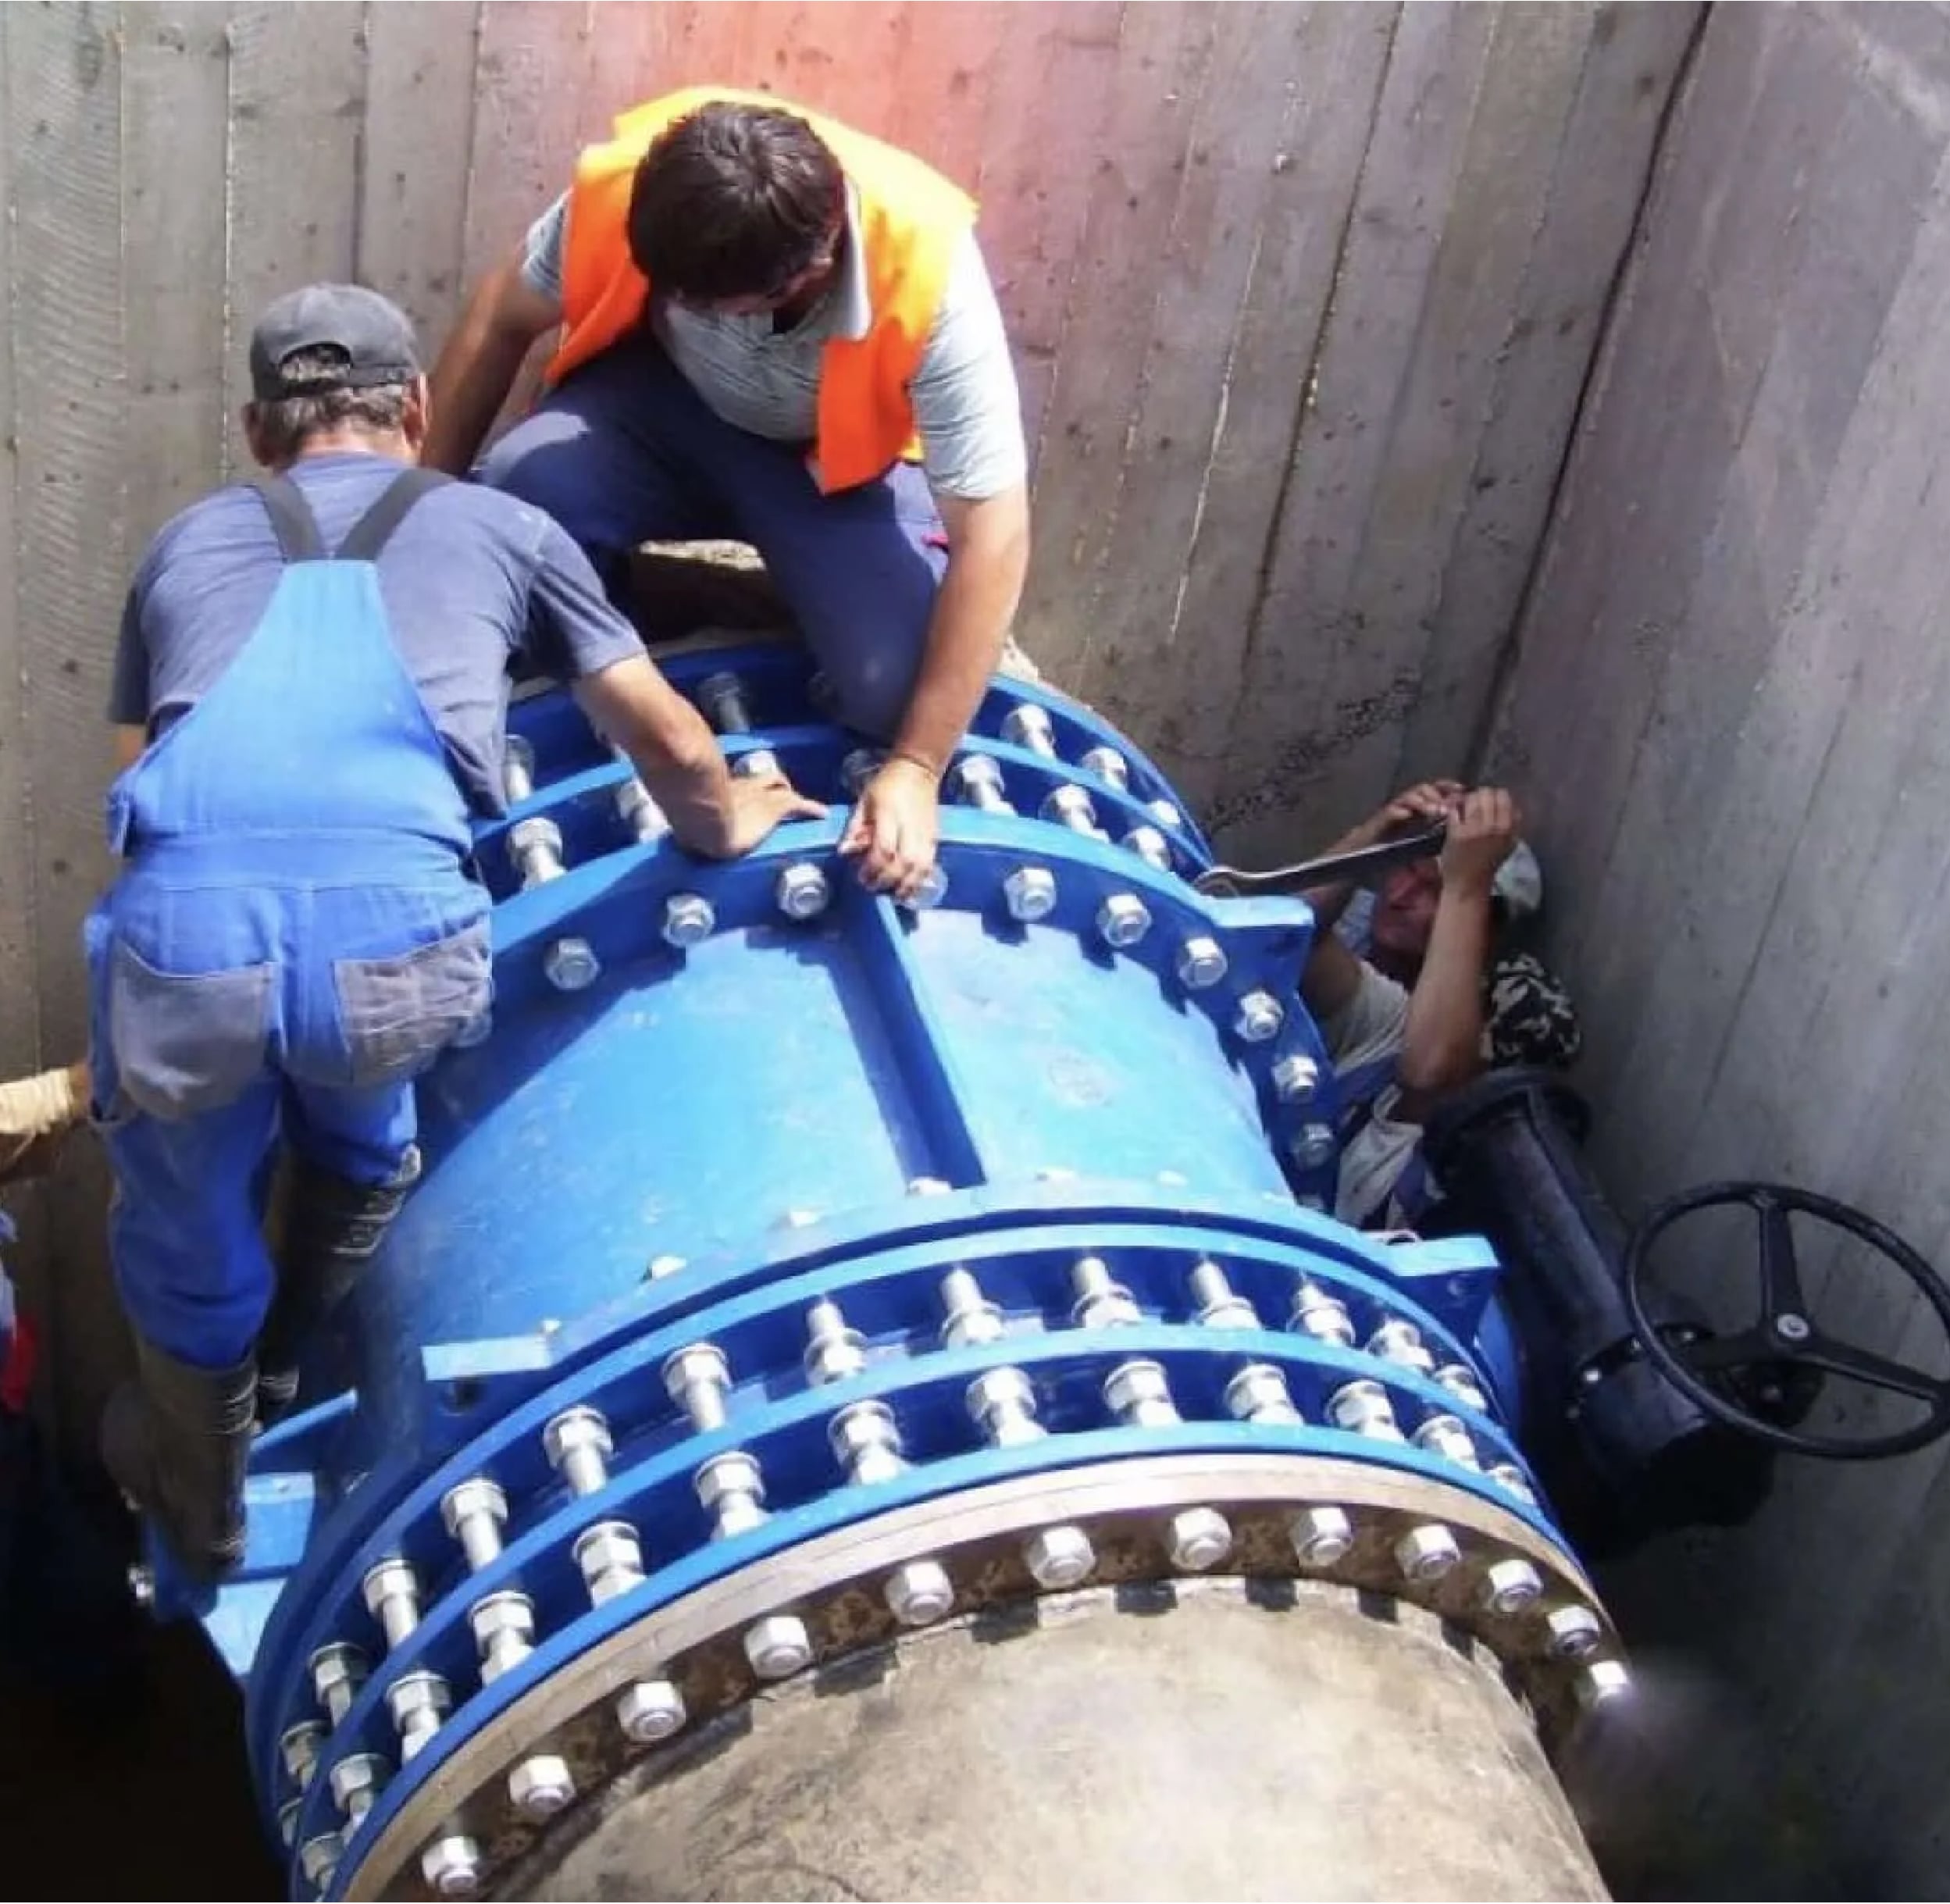
This is one of the most frequent calls I get. A customer has a valve and two fixed pipe flanges, but the space is either too short or too long. The drawings looked perfect, but reality on-site is different. This leads to problems like:
- Pipe length mismatch: The "as-built" pipeline doesn't match the design specification.
- Flange misalignment: The flange faces are not parallel, making a proper seal impossible.
- Forced alignment: The crew tries to pull the pipes together with excessive force, putting immense stress on the valve body and flanges.
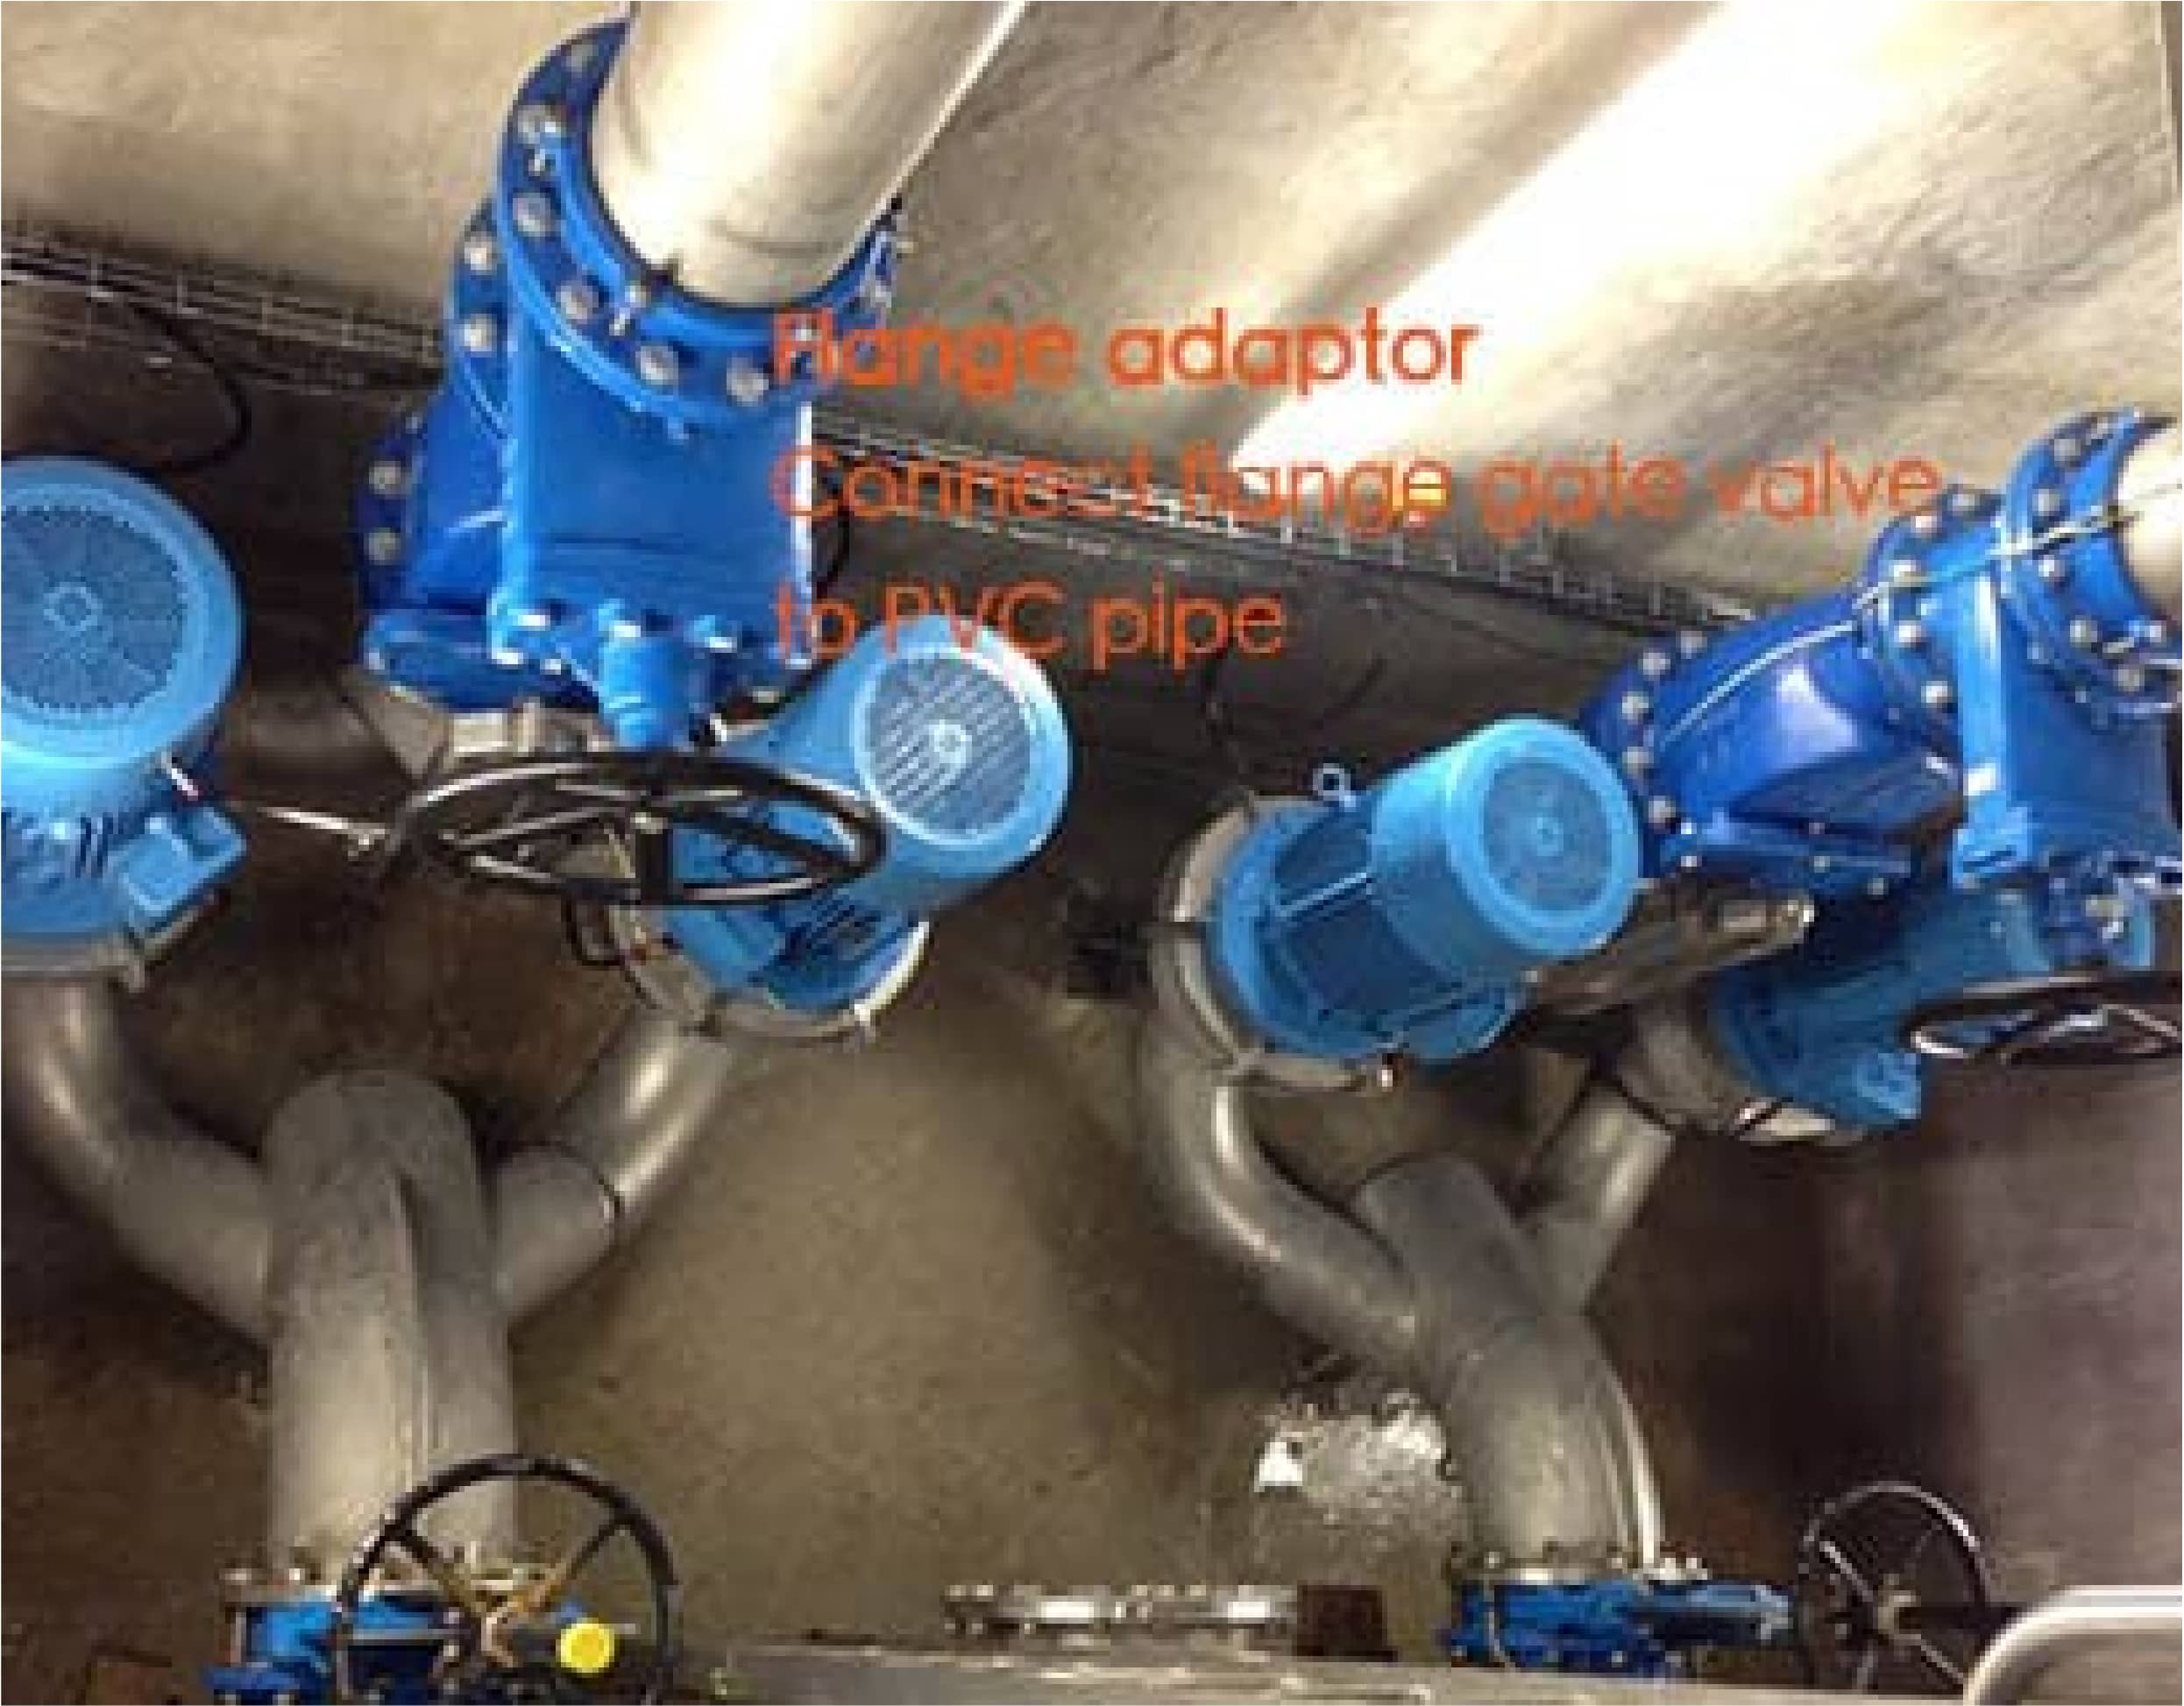
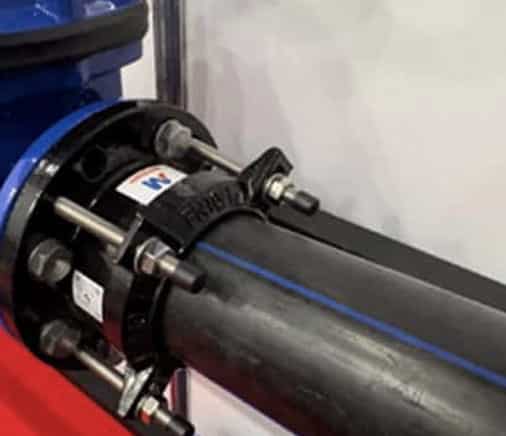
Trying to force a valve into place is a recipe for disaster. This is where a product like a flange adaptor shines. One end connects to the valve flange, but the other end provides a flexible connection to the plain pipe end. It can accommodate slight length and angular misalignments, bridging that gap between the perfect design and the imperfect reality of the construction site.
How Can Pipeline Misalignment Destroy a Perfectly Good Valve?
You install a high-quality valve, but it fails prematurely. You blame the valve, but the real culprit is often the unseen stress from a poorly aligned or unsupported pipeline.
Pipeline misalignment introduces immense mechanical stress on the valve body. This stress can warp the casing, damage the seals, and lead to catastrophic failure. A valve is designed to control flow, not to be a structural support for the pipeline.
I cannot stress this enough: a valve should control flow, not carry a load. Many expensive valve failures we investigate are not due to pressure or material defects. They are caused by mechanical stress transferred from the pipeline. This happens when:
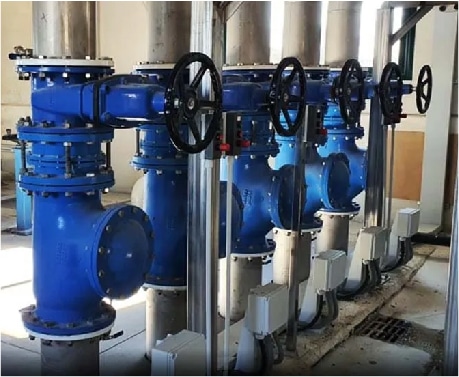
- Pipelines are unsupported: The weight of the pipe and its contents hangs on the valve, leading to deformation and leaks.
- Thermal expansion isn't managed: As temperatures change, pipes expand and contract. Without expansion joints , this movement puts enormous force on the valve.
- Vibration is present: Vibrations from pumps or other equipment can loosen valve connections over time, causing leaks and eventual failure.
The solution is proper pipeline design. Ensure adequate pipe supports are in place before installing the valve. Use expansion joints where needed. And for connecting the valve to the pipe, a flange adaptor can absorb minor misalignments, preventing that stress from transferring to the valve body.
What's Causing My New Valve Installation to Leak?
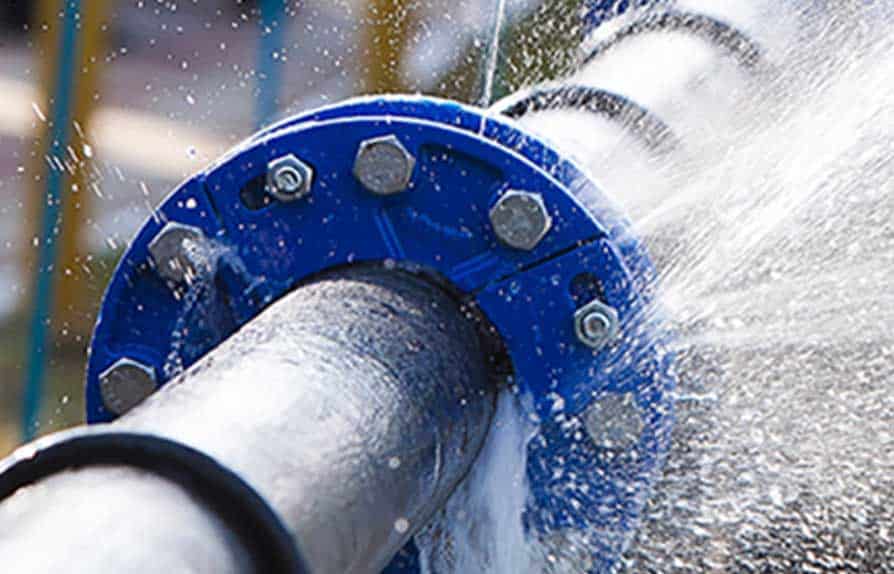
There's nothing more disheartening than finishing an installation only to find a leak. Flange leaks are common, but they are almost always preventable with proper attention to detail.
Leaks at the valve flange are typically caused by gasket issues, damaged flange surfaces, or uneven bolt tightening. Selecting the correct gasket material and ensuring clean, flat flange faces with evenly applied torque are critical for a reliable, leak-free seal.
A leak at the flange joint is a sign that something went wrong during assembly. Let's break down the common culprits.
- Gasket Failure: This is a big one. Using the wrong gasket material for the fluid, temperature, or pressure can cause it to degrade and fail. Uneven compression from improper bolting can also crush the gasket on one side while leaving a gap on the other.
- Damaged Flange Surfaces: A scratch or gouge on the flange's sealing face, often from poor handling, creates a path for fluid to escape. Always protect and inspect flange faces before installation.
- Uneven Bolt Tightening: Bolts must be tightened in a star or crisscross pattern and in stages to apply even pressure on the gasket. Using a torque wrench is not optional; it's essential for ensuring the correct, even clamping force.
Here is a simple table to illustrate the importance of bolt tightening:
| Action | Incorrect Method | Correct Method |
|---|---|---|
| Pattern | Tightening bolts in a circle | Tightening in a star/crisscross pattern |
| Force | Guessing the tightness by feel | Using a calibrated torque wrench |
| Process | Tightening to full torque in one go | Applying torque in 2-3 stages (e.g., 50%, 80%, 100%) |
Following the correct procedure ensures the gasket is compressed evenly, creating a perfect seal.
Is Your Pipeline Design Making Future Maintenance Impossible?
The valve is installed and working fine... for now. But when it's time for maintenance or replacement, you realize it's trapped, with no way to remove it without a blowtorch.
A pipeline design that lacks installation tolerance or space for maintenance is a critical oversight. A dismantling joint is the solution, providing a dedicated "break point" in the line that allows for easy valve removal and reinstallation without cutting the pipe.
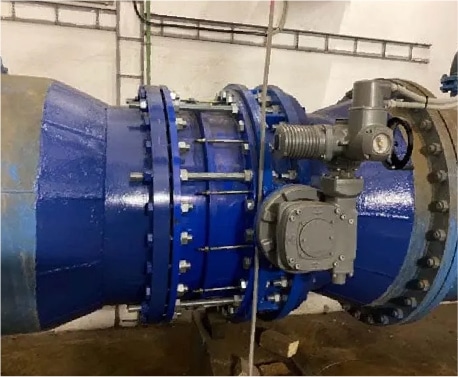
I often get asked, "Can I just use a flange adaptor instead of a dismantling joint to remove my valve?" My answer, based on 30 years of experience, is no. While you can loosen a flange adaptor to create a small gap, it is not its primary function. A flange adaptor is not designed to provide a rigid, self-restrained connection capable of withstanding the pipeline's axial thrust when fully loosened. For that, you need a dismantling joint.
A dismantling joint is specifically designed to:
- Provide installation tolerance for setting the valve.
- Lock into a fixed, rigid length after installation, transferring axial forces.
- Telescope inwards to create a large gap, allowing the valve to be easily removed for maintenance or replacement.
Designing the pipeline with a dismantling joint next to the valve from the start is a best practice. It saves enormous time, cost, and risk down the line. Some innovative manufacturers are even producing butterfly valves with integrated dismantling joints, recognizing how critical this function is.
How Do I Know I'm Using the Right Components for My Pipeline?
You assume all parts are compatible, but a small mismatch can cause big problems. Using the wrong valve type, size, or flange standard can lead to immediate installation failure or long-term corrosion.
Ensuring compatibility is key. You must verify the valve type is correct for the application, the pressure rating is sufficient, and that all flange standards (e.g., EN vs. AWWA) and materials match across the connection to prevent leaks and corrosion.
This seems basic, but we see these mistakes all the time. Compatibility checks are non-negotiable.
- Valve Type & Size: An air release valve's DN size is not the same as the pipeline's DN. Using a gate valve where a butterfly valve is needed can cause issues. Always match the valve to its intended function.
- Pressure Rating: A PN10 valve in a PN16 system is a ticking time bomb. The pressure rating of every component must meet or exceed the system's maximum operating pressure.
- Flange Standards: This is a huge source of frustration. An EN 1092-1 flange will not mate correctly with an AWWA C207 flange. The bolt holes won't line up, and the sealing surfaces are different. Always confirm that the valve, fittings, and pipes all adhere to the same standard.
- Material Incompatibility: Connecting a stainless steel pipe to a carbon steel valve in a corrosive environment without proper isolation can create galvanic corrosion, destroying the connection over time.
As an OEM/ODM manufacturer, we work with customers to ensure every component we produce is perfectly suited for their specific system requirements, from materials to flange drilling.
Conclusion
Successful valve installation isn't luck. It's about thoughtful design, correct component selection, and careful execution, turning potential failures into reliable, long-lasting connections.
