PVC Saddle Clamp Installation Instruction
We have clearly marked the applicable outer diameter of the main pipeline and the outlet size on each saddle clamp. Before installation, please carefully check these markings to confirm they match the outer diameter of the main pipe and the required outlet size. Additionally, inspect all parts of the saddle clamp to ensure they are intact, especially the threaded parts. If necessary, please indicate whether you need thread protection caps when placing your order to prevent damage to the threads.
Step 1
Disassemble all bolts , washers and nuts ( as below figure)
Step 2
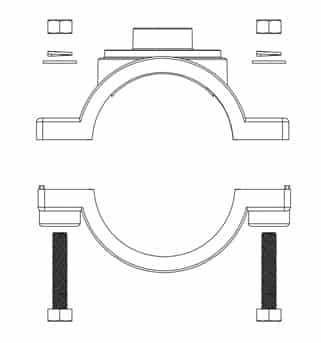
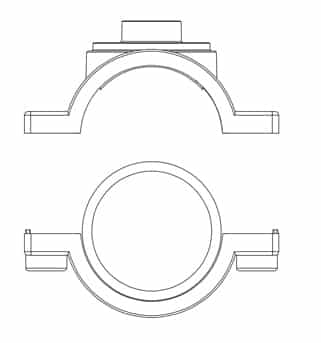
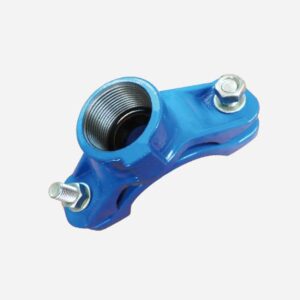
Let the upper part(with thread outlet part) and lower part (without thread outlet part)of the saddle clamp body around the pipe, and align the centers of the six bolt holes on the upper and lower parts of the saddle clamp body . Please note that if the position of the threaded outlet on the saddle clamp is fixed strictly , firstly you need mark the position on the pipes, then align the center of threaded outlet on the upper part of the saddle clamp body with the outlet center on the pipe. Then, determine the position of the lower part of the saddle clamp body according to the bolt hole center of the upper part. Ensure that the centers of the bolt holes on both the upper and lower parts of the saddle clamp body are perfectly aligned.
Step 3
Assemble all 6 nos the bolts, washers and nuts as below figure. Tighten the bolts in the diagonal sequence of 1→ 2→ 3→4→5→6 as below figure shown, using a wrench to gradually and evenly tighten them to the specified torque. Please ensure that the torque applied to all six bolts is the same during each step and that the torque increases gradually from small to large in multiple steps.
Step 5
Assembling is finished as below figure.
