Restrained Transition coupling is a device used to connect two pipes of different diameters and is commonly used to repair, extend, or modify pipe systems. Here are the basic steps to use a restrained transition coupling:
Step 1
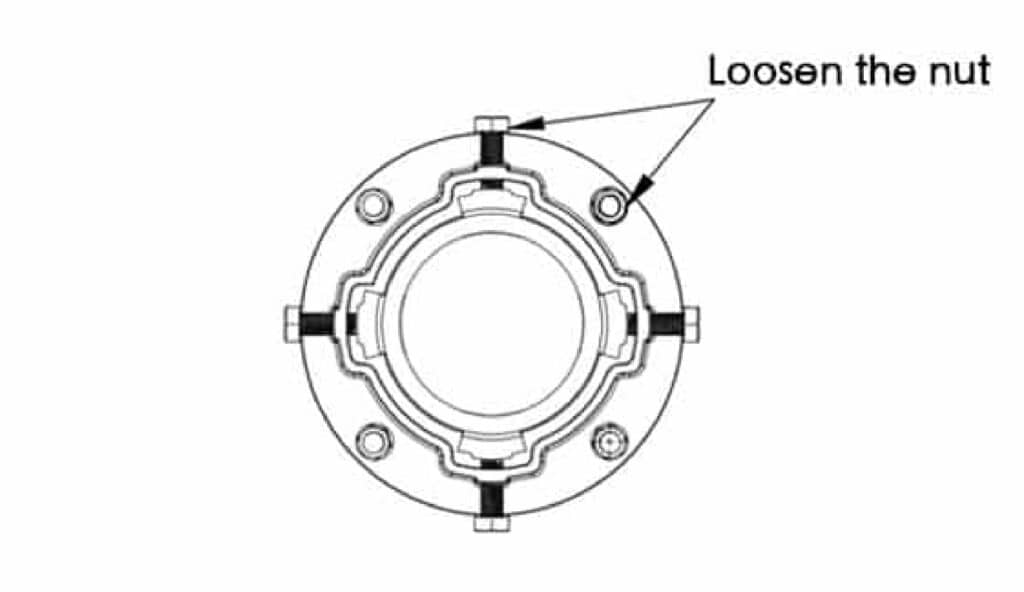
● Preparation Identify the diameters of the two pipes you want to connect and select the appropriate size of the restrained step coupling. Loosen the bolts on the step coupling so the pipes can slide in easily.
Ensure the end of the pipes you want to connect is smooth, clean, and free of burrs.
Step 2
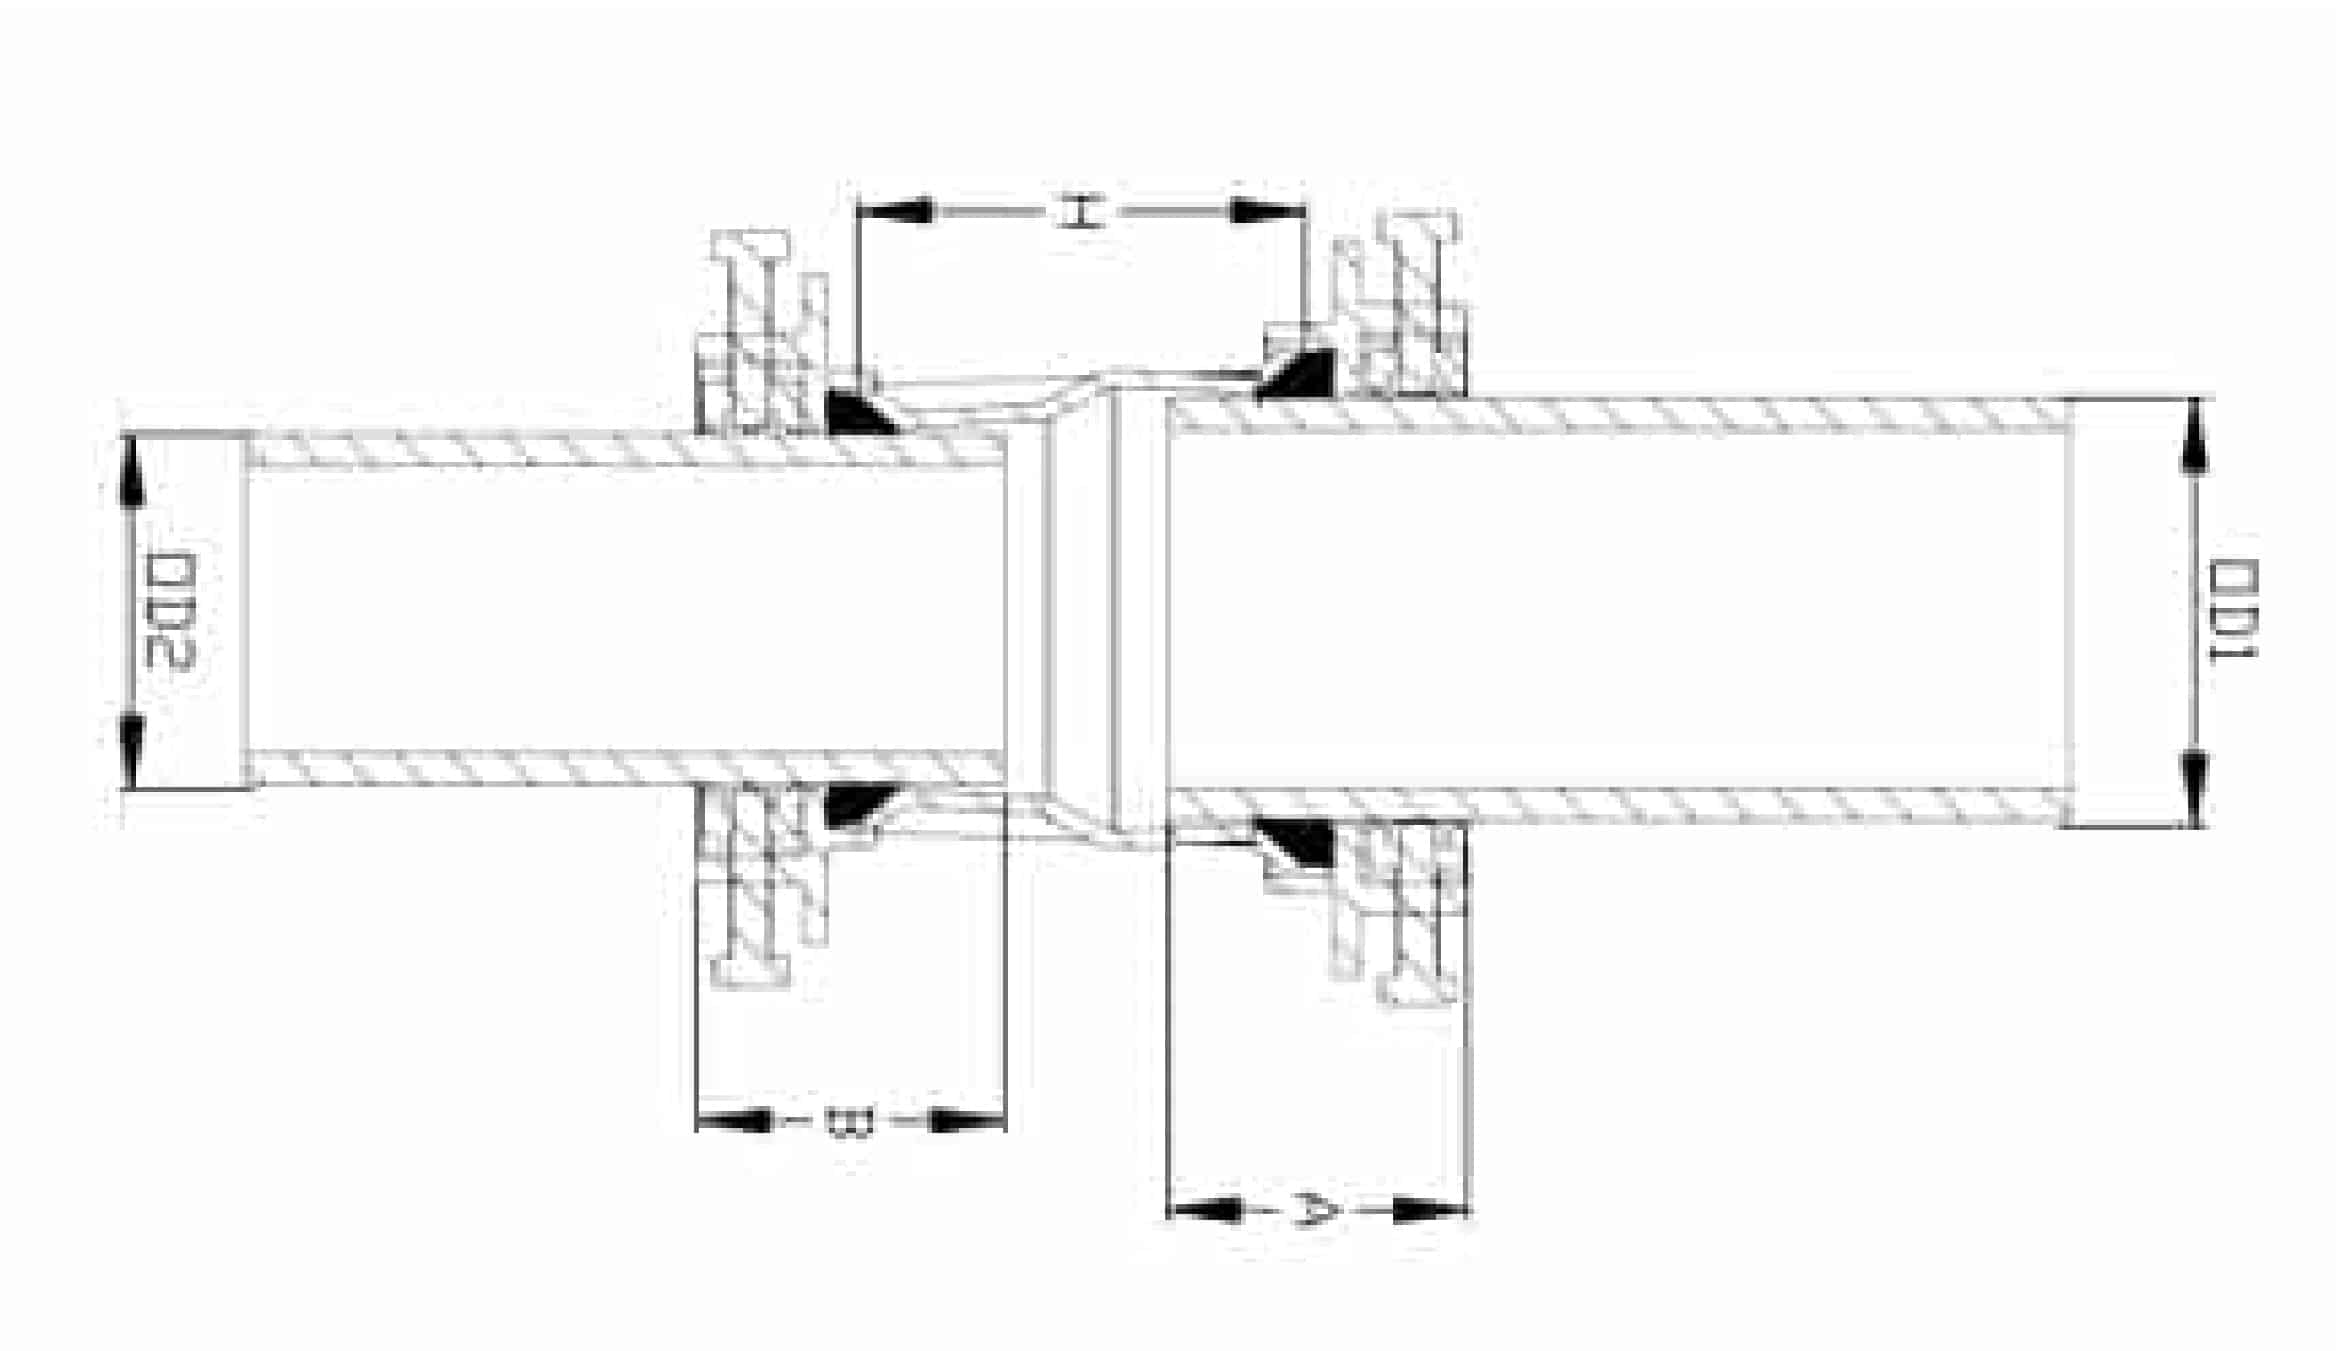
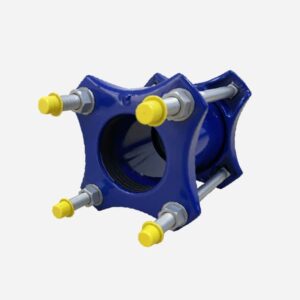
● Installation steps: Positioning: Slide the larger end of the step coupling onto the larger diameter pipe and the smaller end onto the smaller diameter pipe.
Alignment: Make sure the coupling is fully covering the pipe ends and that both ends of the pipes are fully inserted into the inner groove of the coupling. The end of the pipe should be below the surface of the gasket closest to the center of the step coupling (as shown in the left diagram).
Step 3
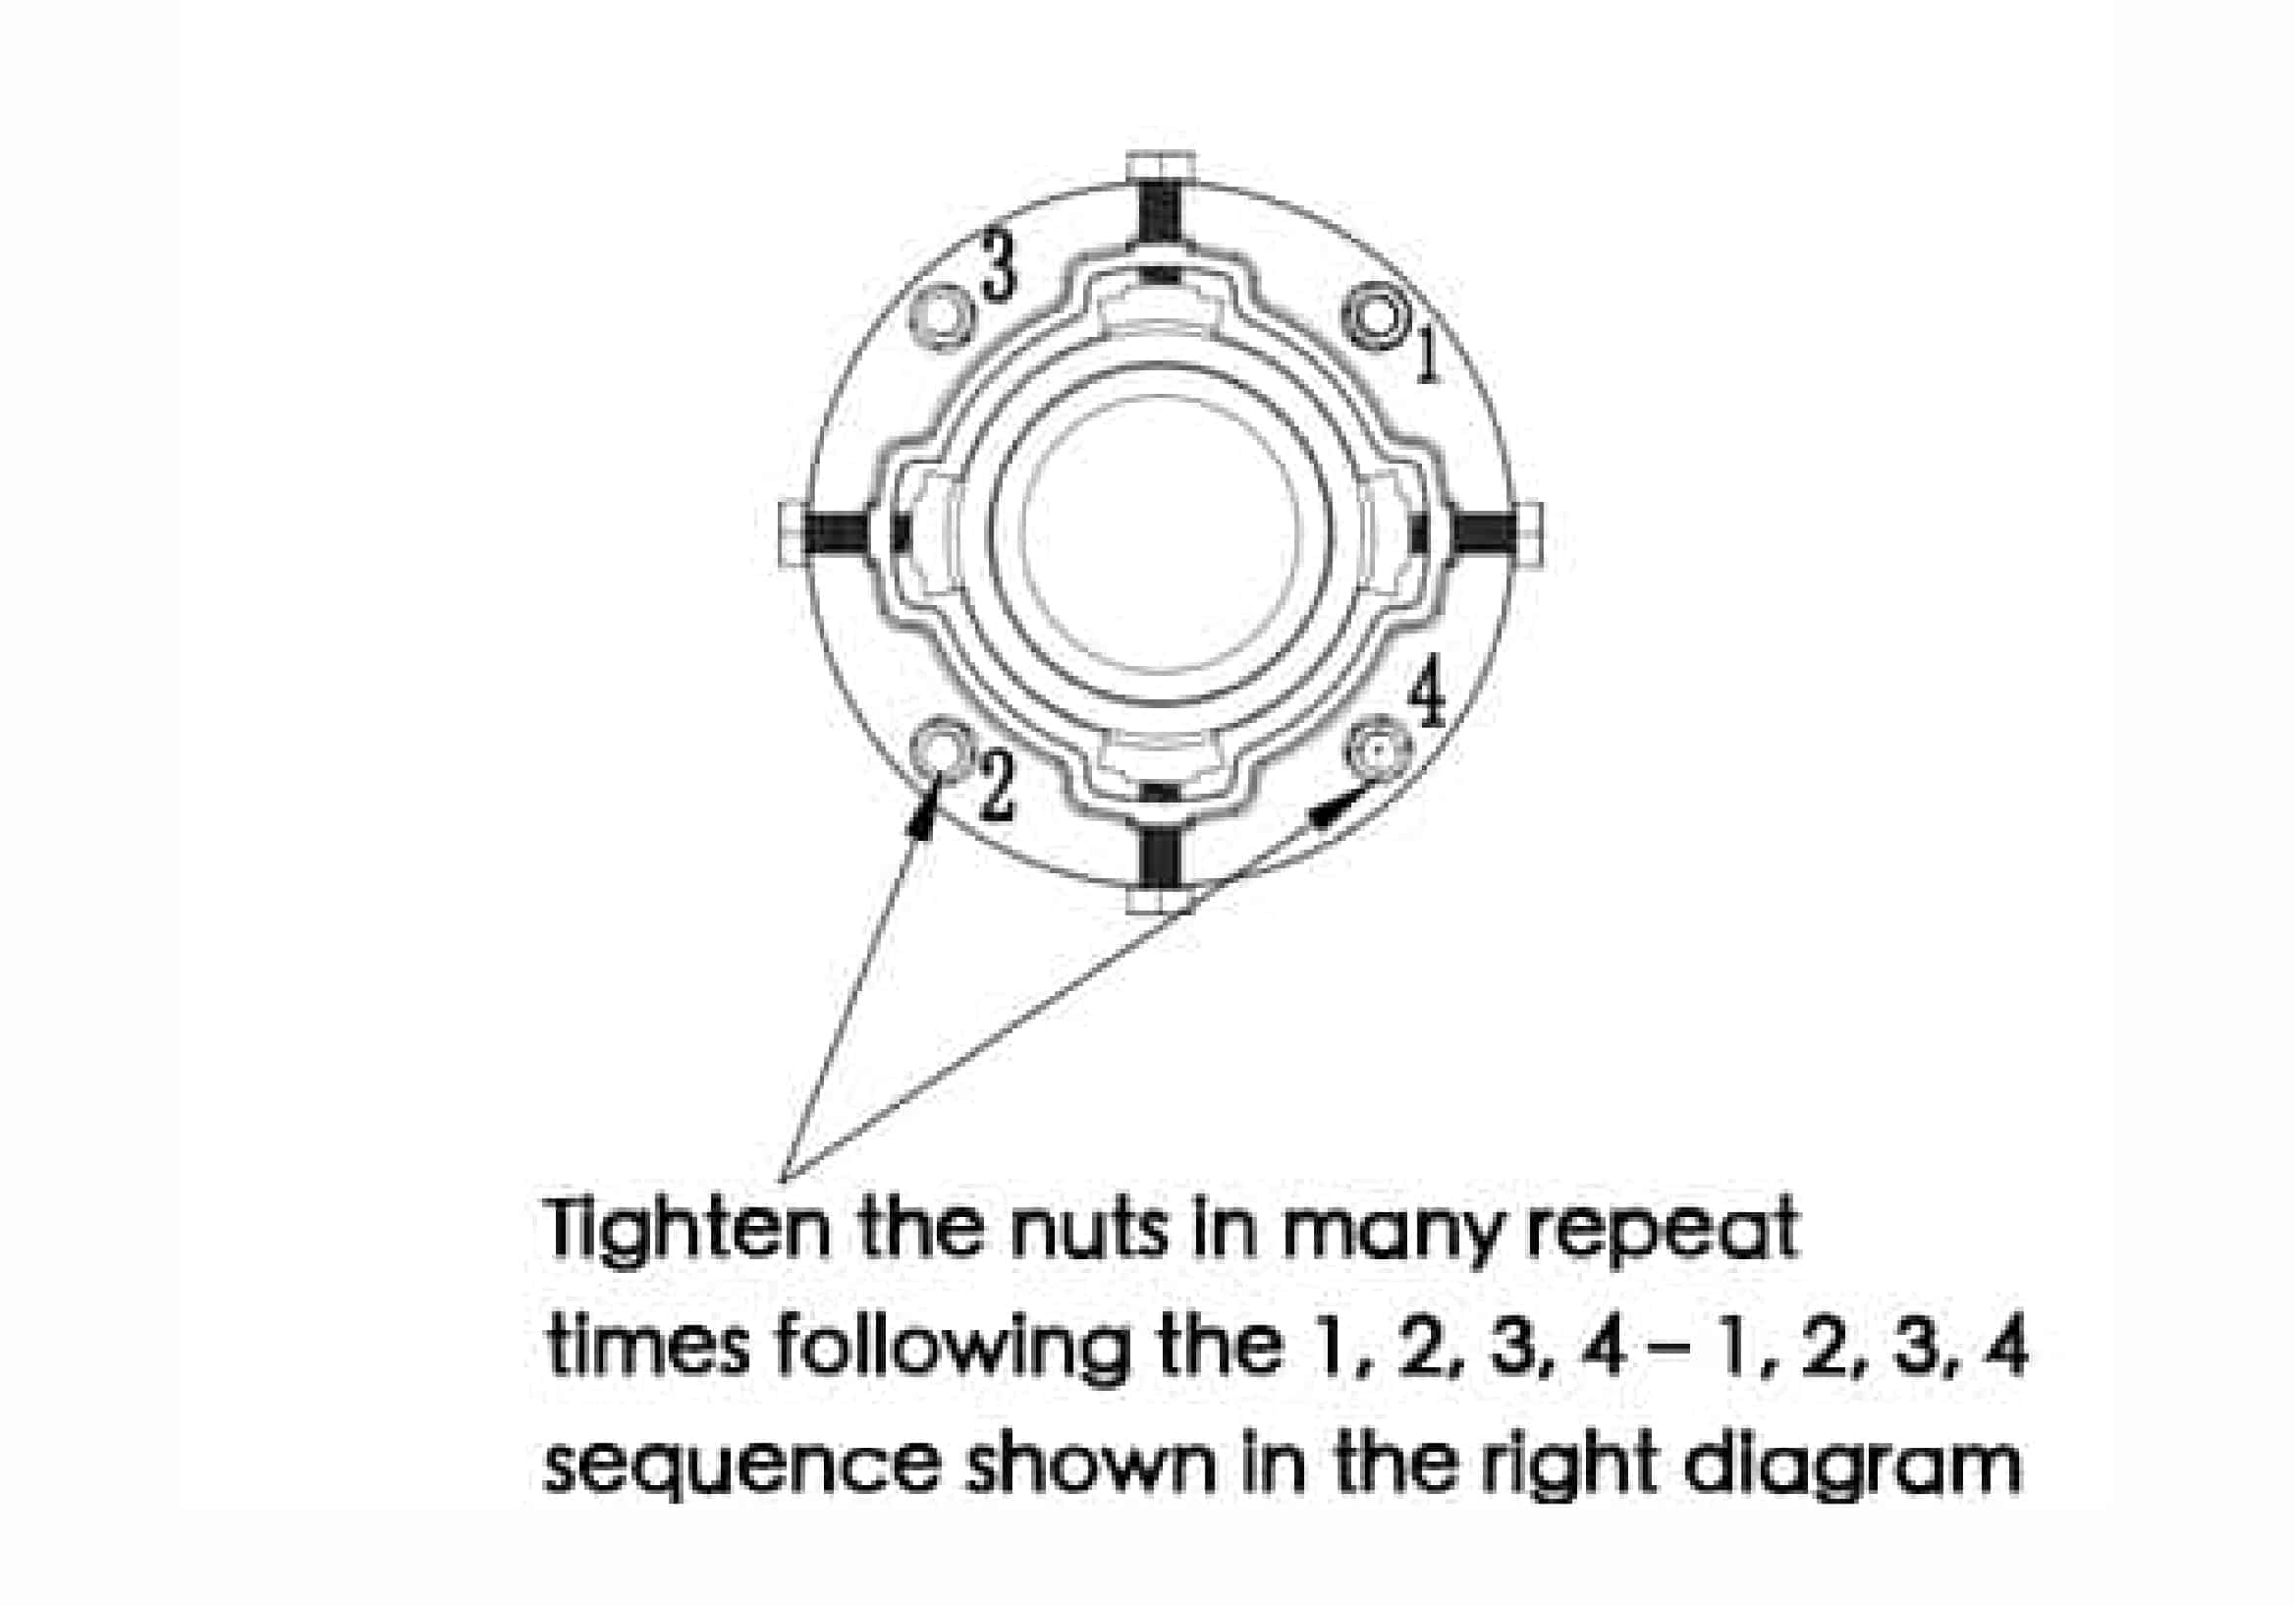
● Tighten the coupling: Tighten the coupling to the pipes using the fasteners that come with the coupling. Tighten the nuts in many repeat times following the 1, 2, 3, 4 – 1, 2, 3, 4 sequence shown in the right diagram , making sure not to overtighten any one bolt at a time. Tighten to the specified torque.
Step 4
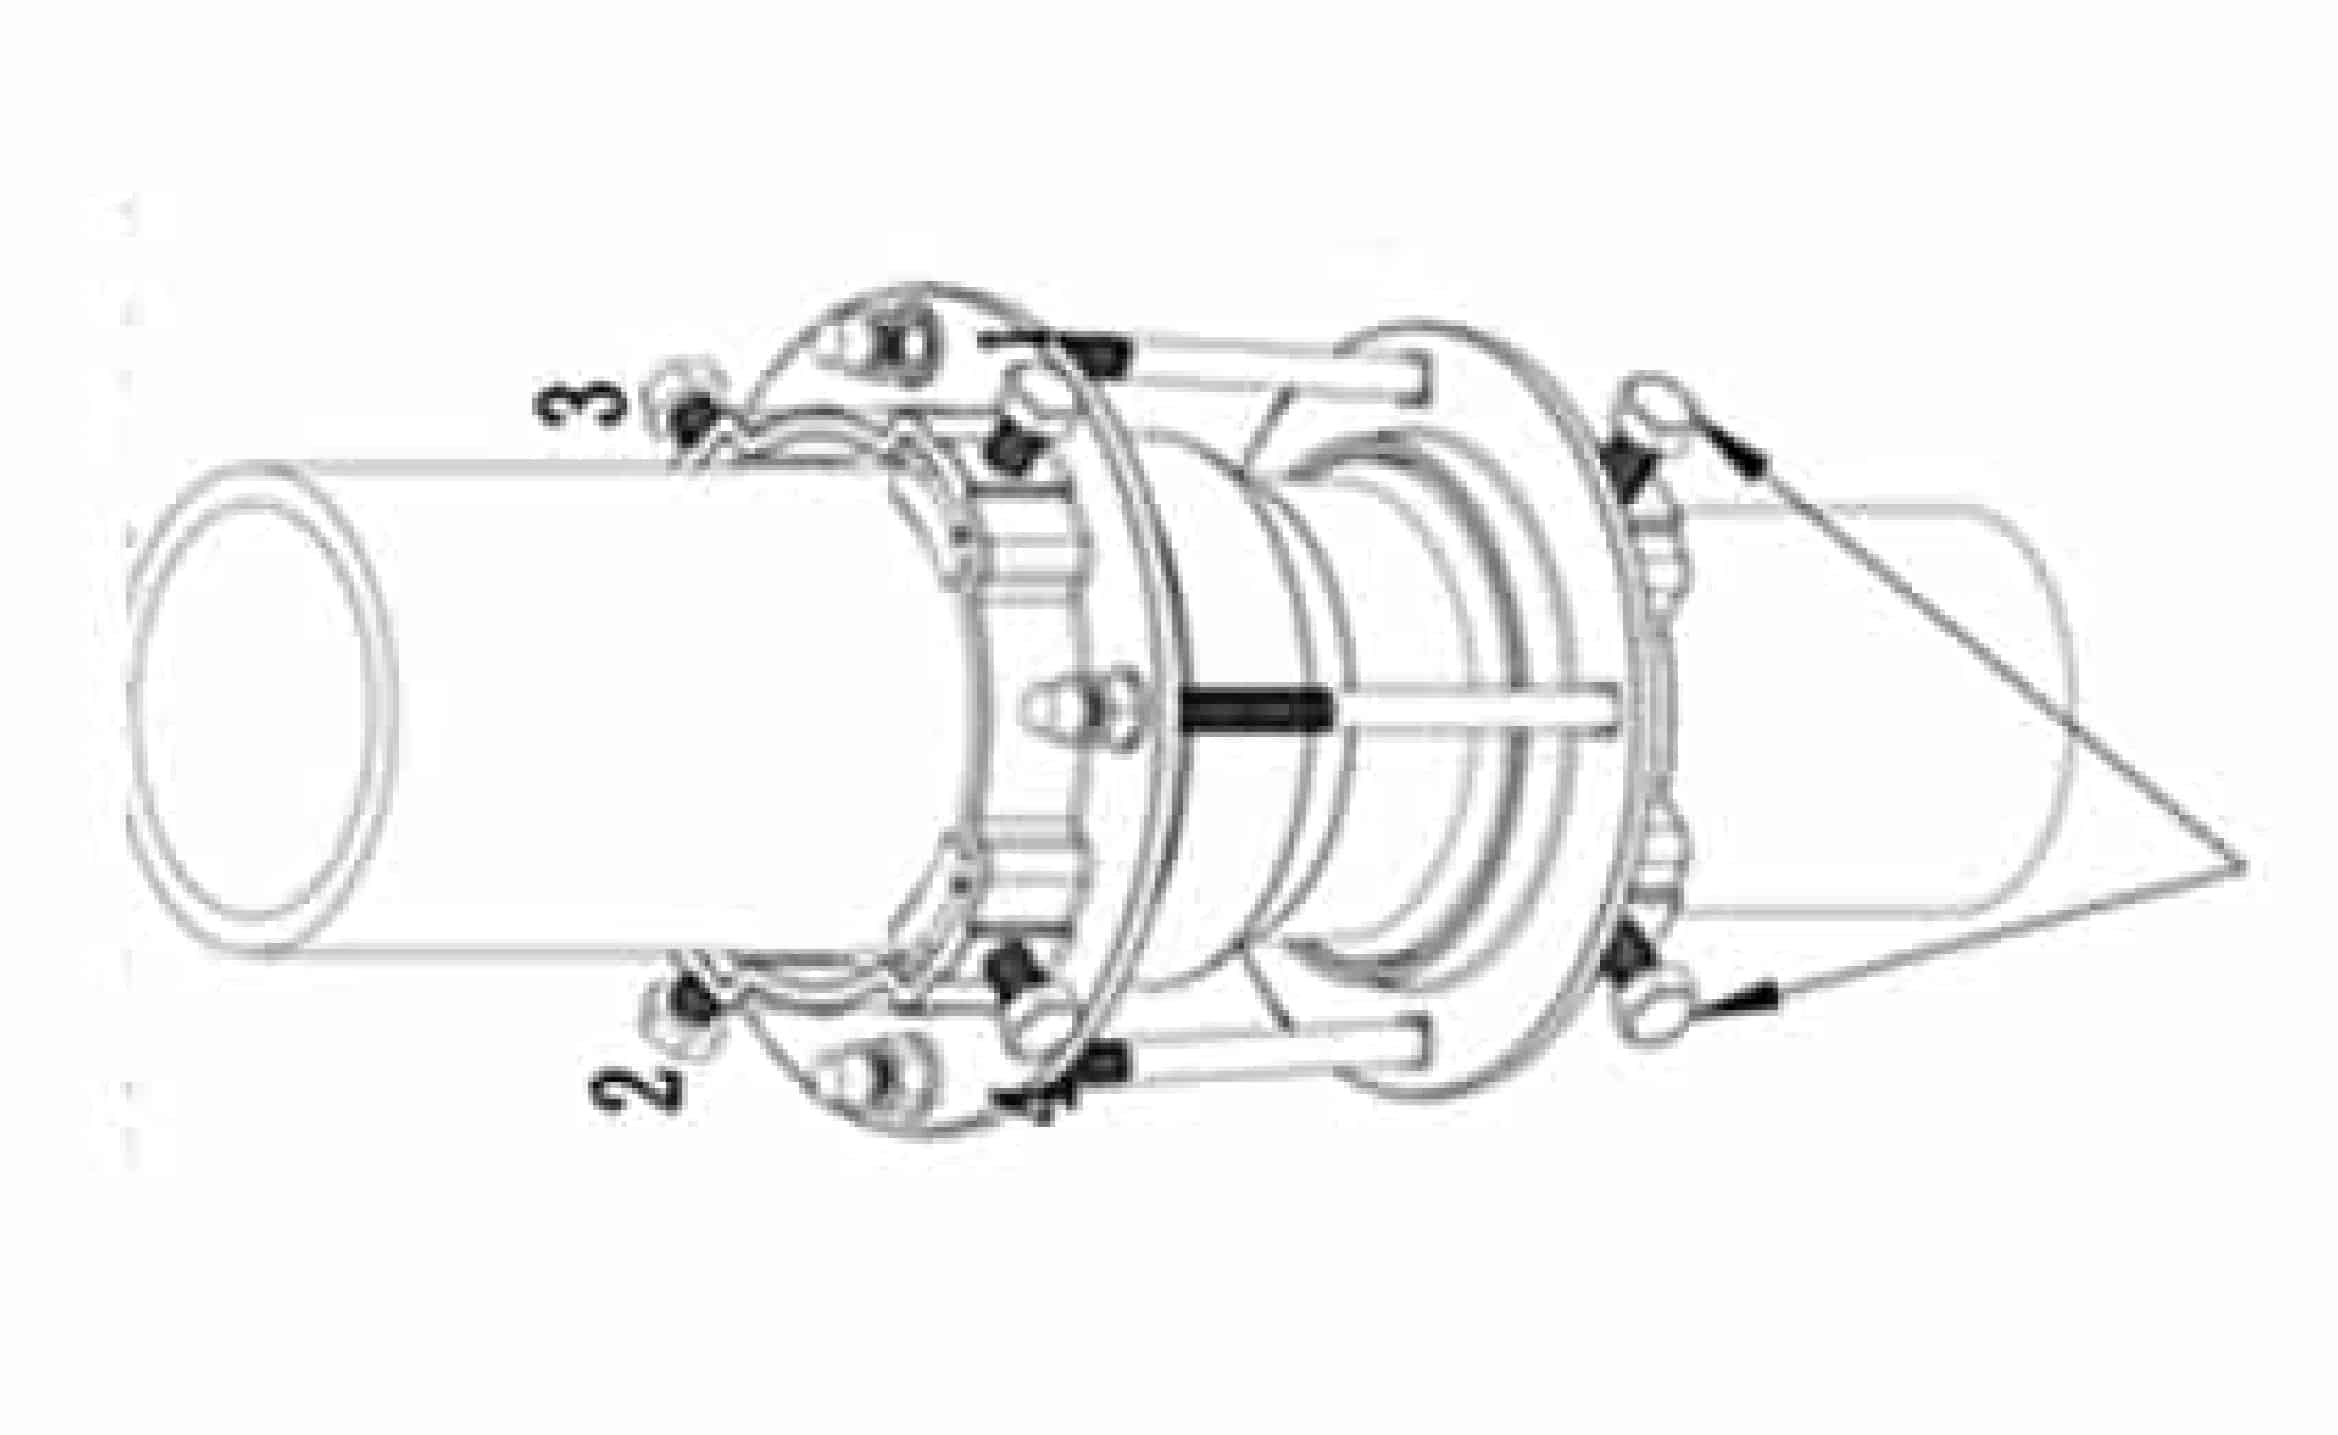
● Tighten the bolt in the 1-2-3-4 sequence to bring the locking wedge to contact with the pipe outside diameter and then in 1-2-3-4—-1-2-3-4 sequence tighten the bolt in multiple turns evenly, small torque at a time, do not overtighten any one bolt at a time.
Tighten the locking wedge on another end by the same steps as above.
Test the connection
After installation, conduct a pressure test or water flow test to ensure there are no leaks at the connection. If you find leaks, check that the fasteners are properly tightened or that the ends of the pipes are clean, and adjust as necessary.
Regular checks
After installation, regularly check the condition of the step coupling to ensure it is secure, and perform regular maintenance. By following these steps, you can ensure that your step coupling is securely installed and that your pipe system is working correctly. If you have a specific model or brand, you can refer to the appropriate user manual for more detailed installation steps and precautions.
If you have any other specific questions or need further assistance, please feel free to let us know.