Service Clamp Can Work As repair clamp And service saddle, If We Don’t Open The Plug In The Outlet, It Can Work As Repair Clamp.If We Open The Plug In The Outlet, It Can Work As Saddle.
Specification
● 1, Wide range which can be used on many different main pipes
● 2, The outlet can be 3/4″ to 2″,bsp,npt,cc etc thread are available upon requirement.
● 3, Wras,acs,dvgw,nsf etc approved
● 4, Can be assembled on already installed pipeline to split water from pipes
● 5, Also can work as repair clamp
Function
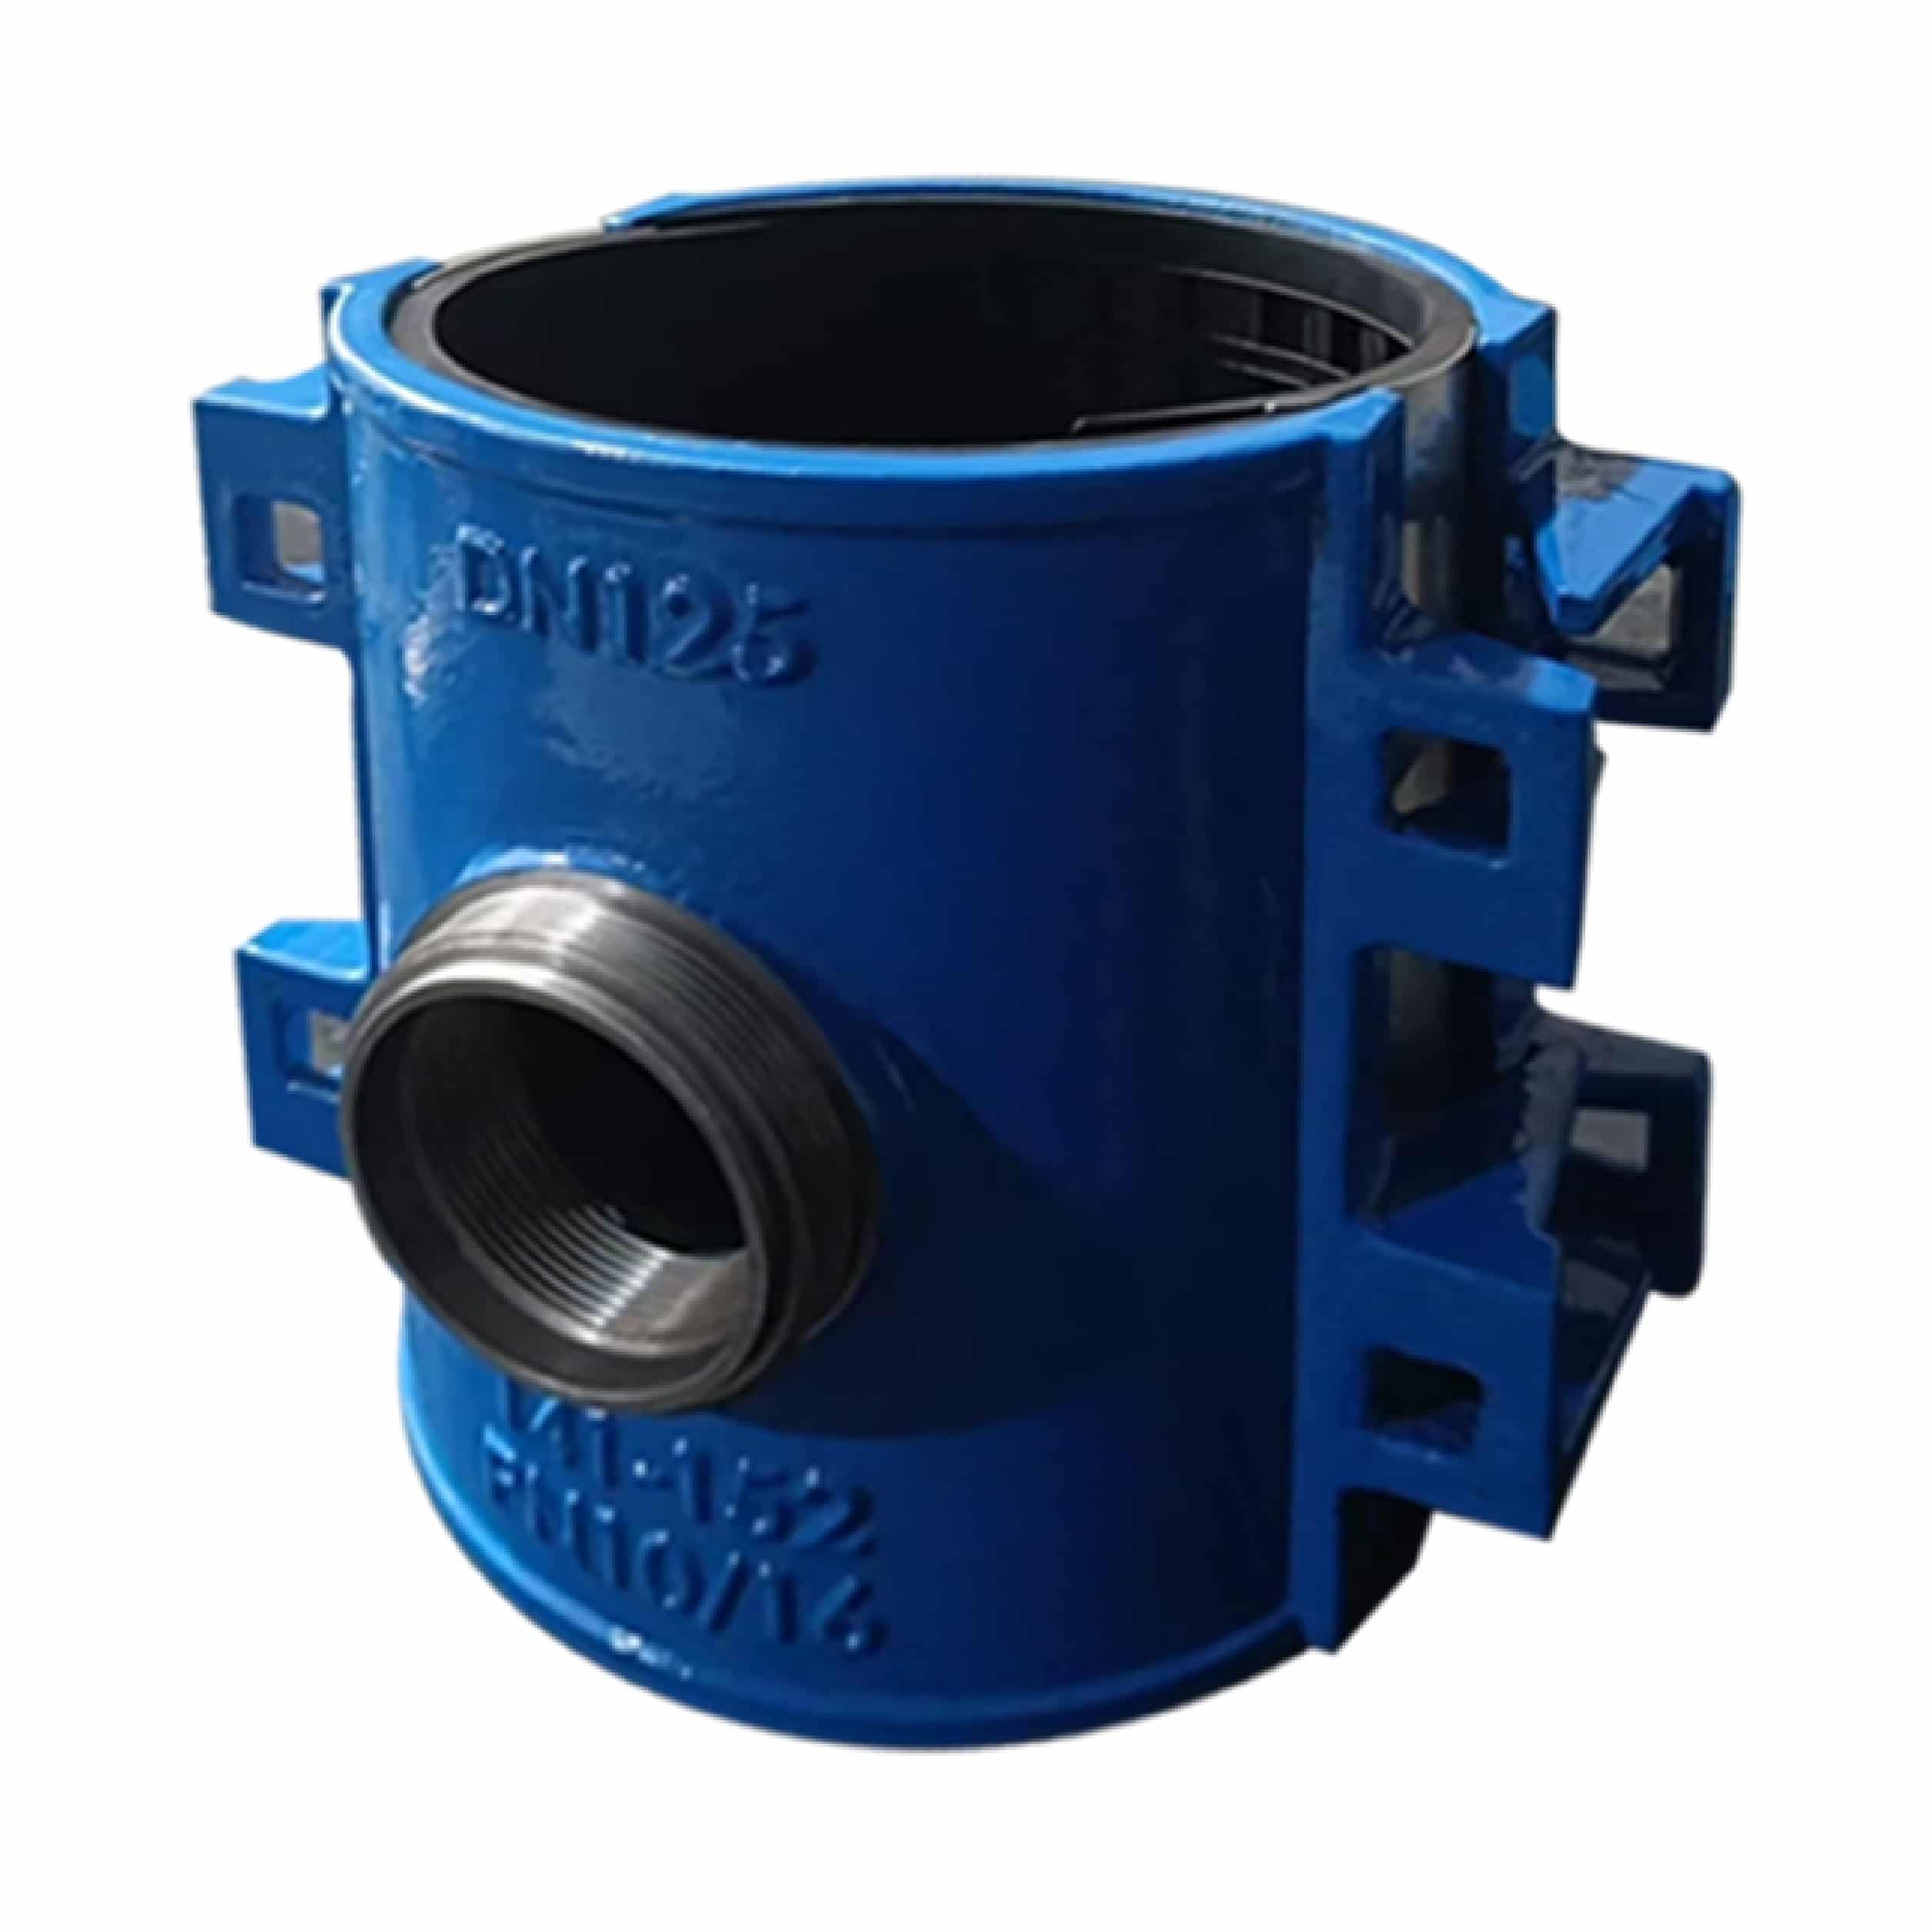
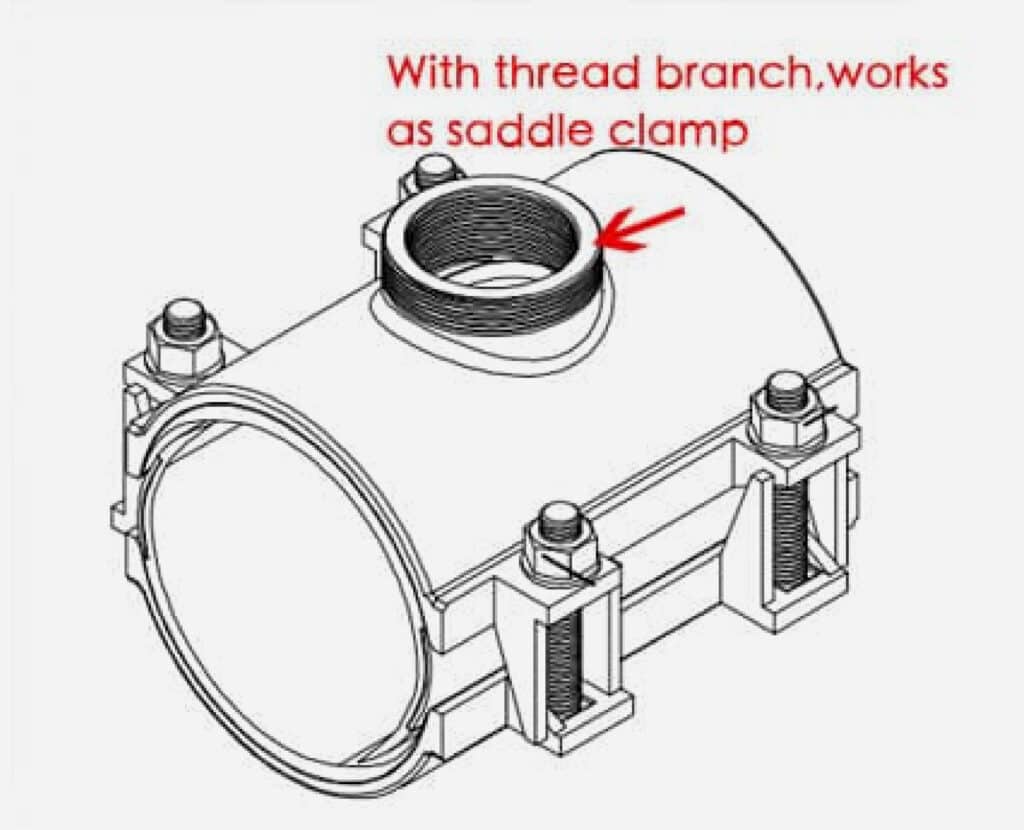
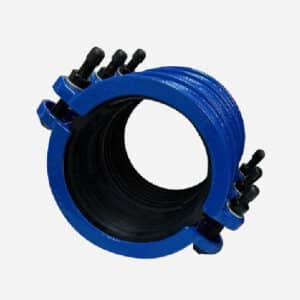
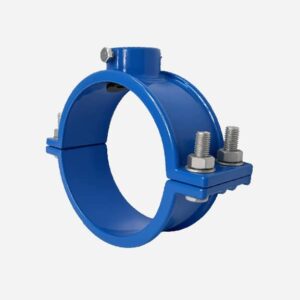
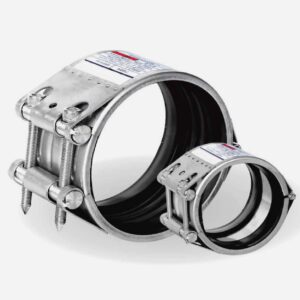
If the service clamp doesn’t have a threaded outlet, you can use it as a pipe repair clamp. If it does have a threaded outlet (like the one shown in the picture below), you can also use it as a saddle tap to tap water from the main water line.
Installation
Step 1
Select the appropriate size range of the service clamp based on the outer diameter of the main pipeline. Make sure the service clamp’s design range (which is marked on the body of the clamp) covers the outer diameter of the main pipe.
If it is used as a saddle, also check whether the threaded outlet meets the required branch size and whether the thread standard matches the project requirements. An incorrect thread standard may result in connection failure of the branch pipeline.
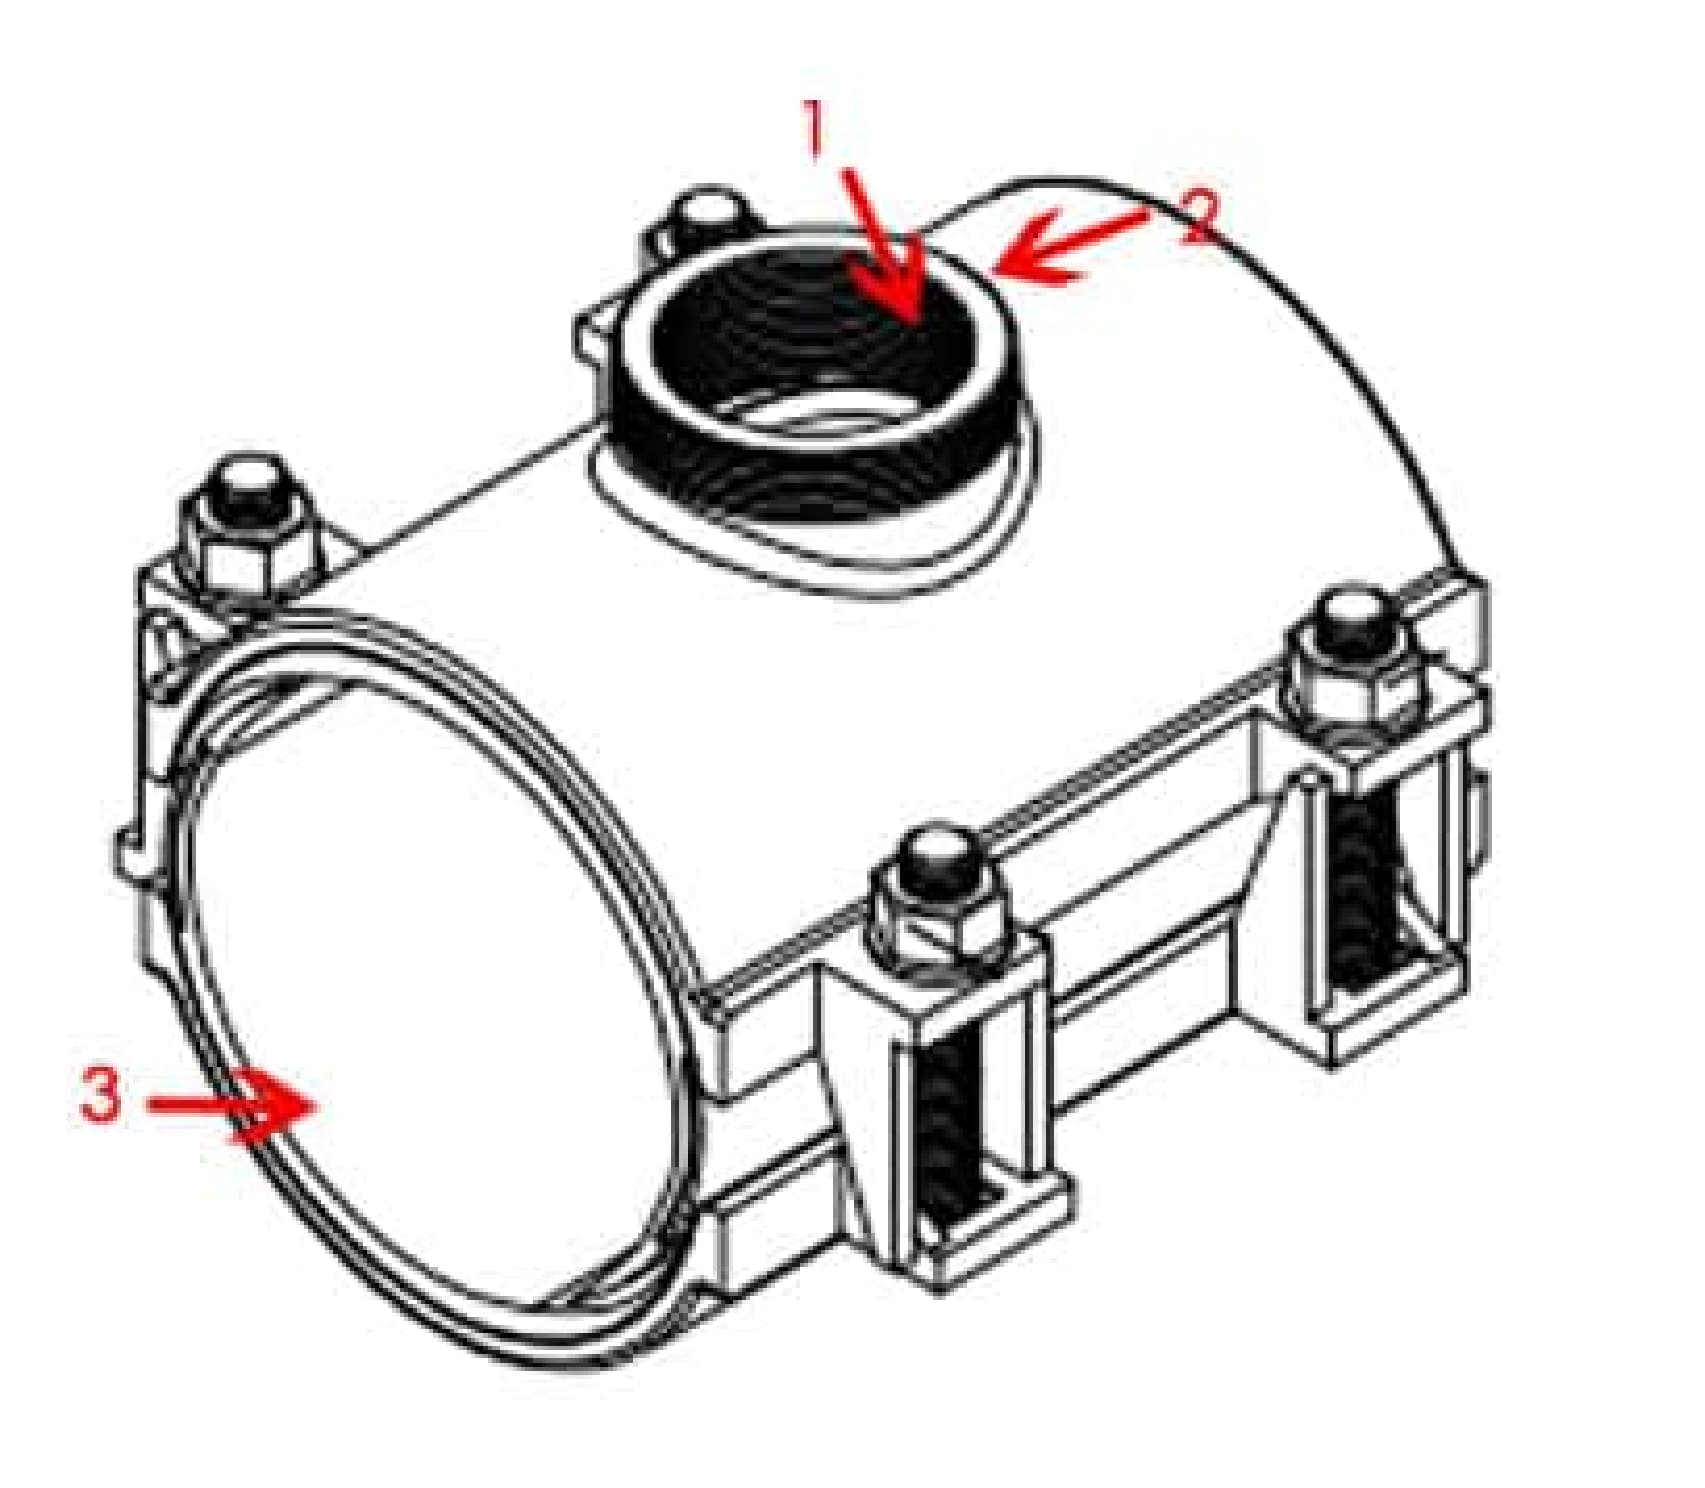
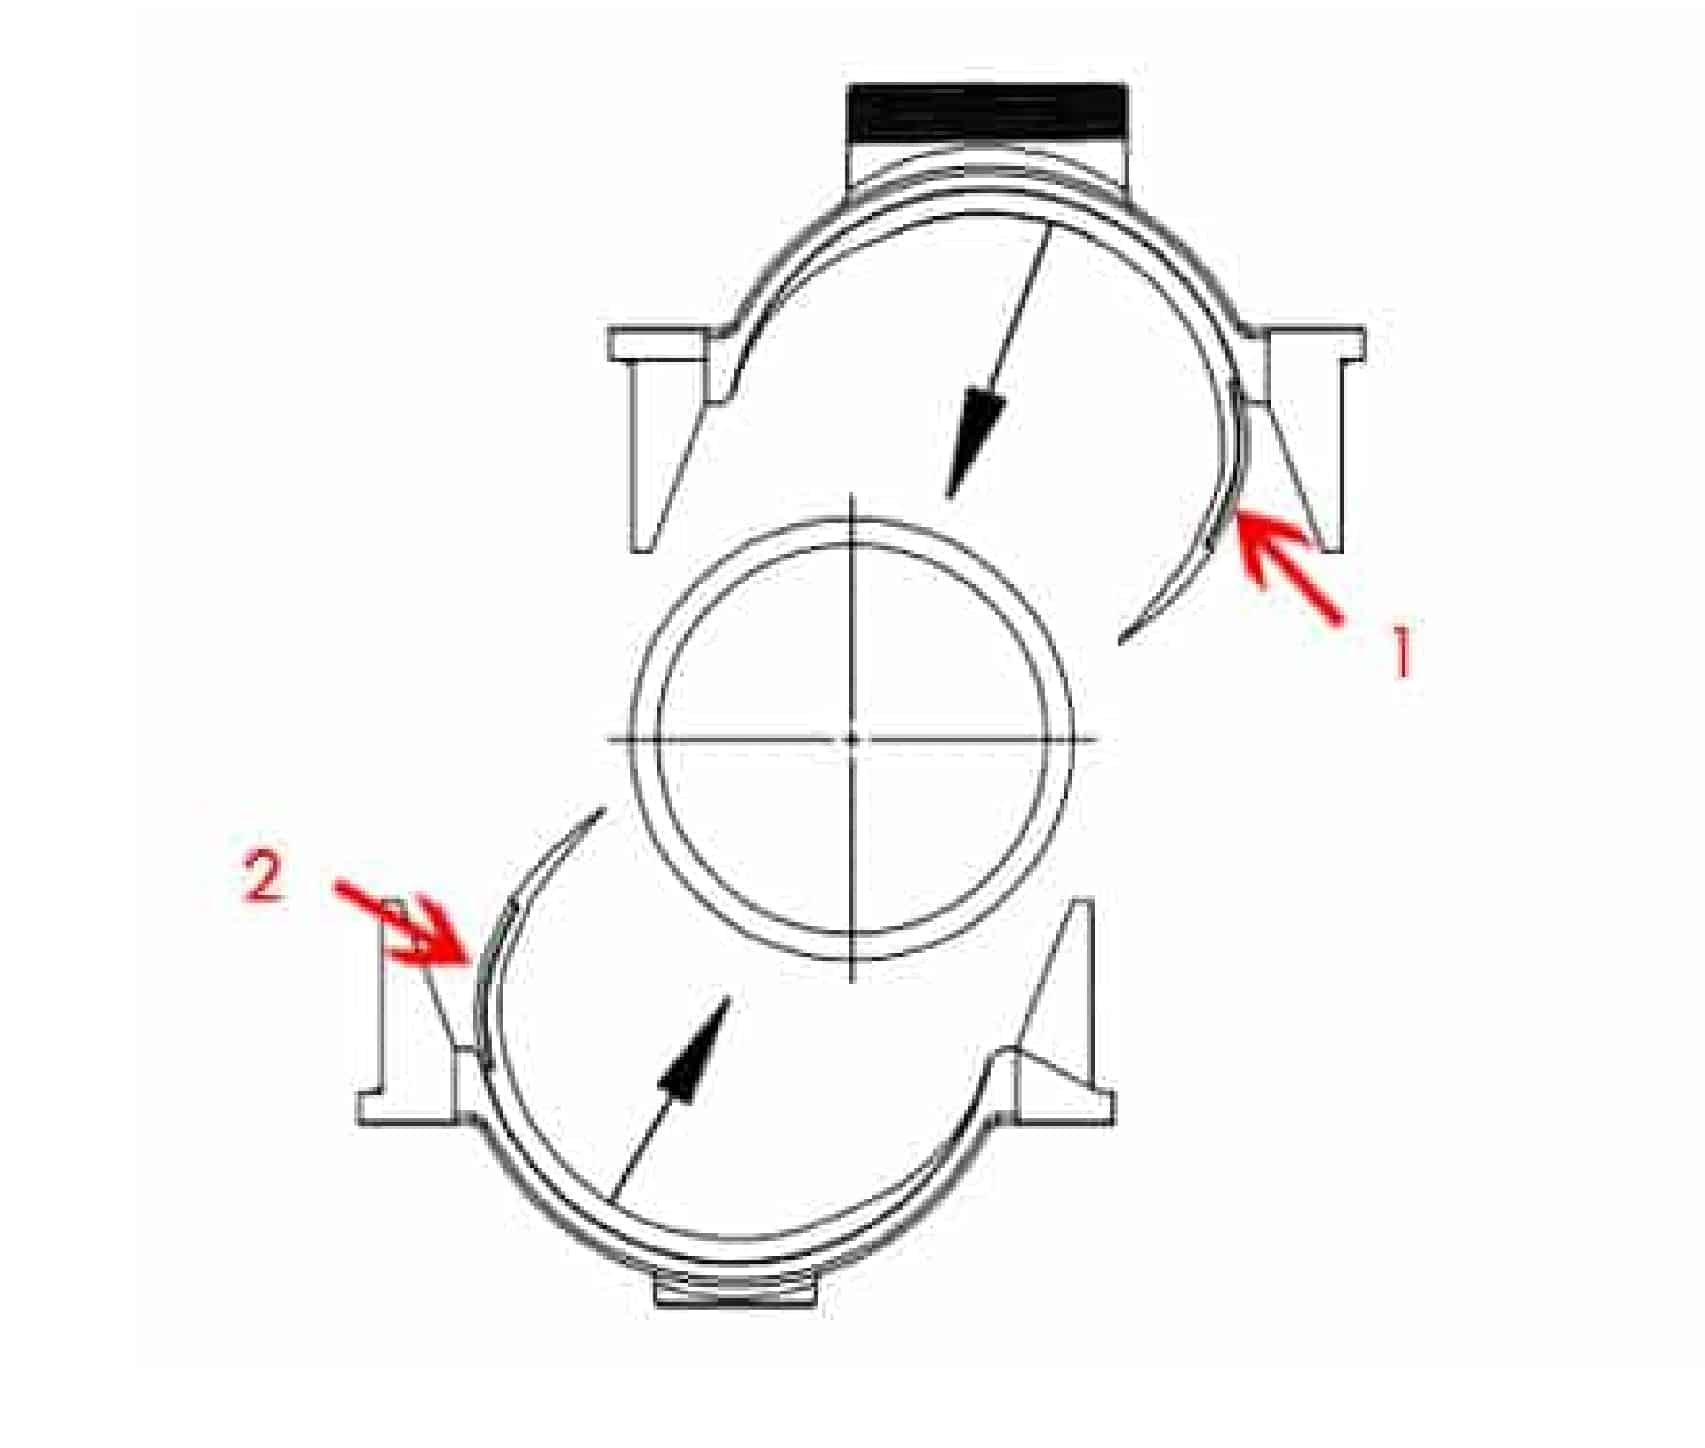
Additionally, inspect all components to ensure they are in good condition—especially the threaded outlet (internal thread as right figure 1, external thread as right figure 2) and the sealing gasket (as right figure 3). Defects in any of these three parts can easily cause the entire product to fail.
Step 2
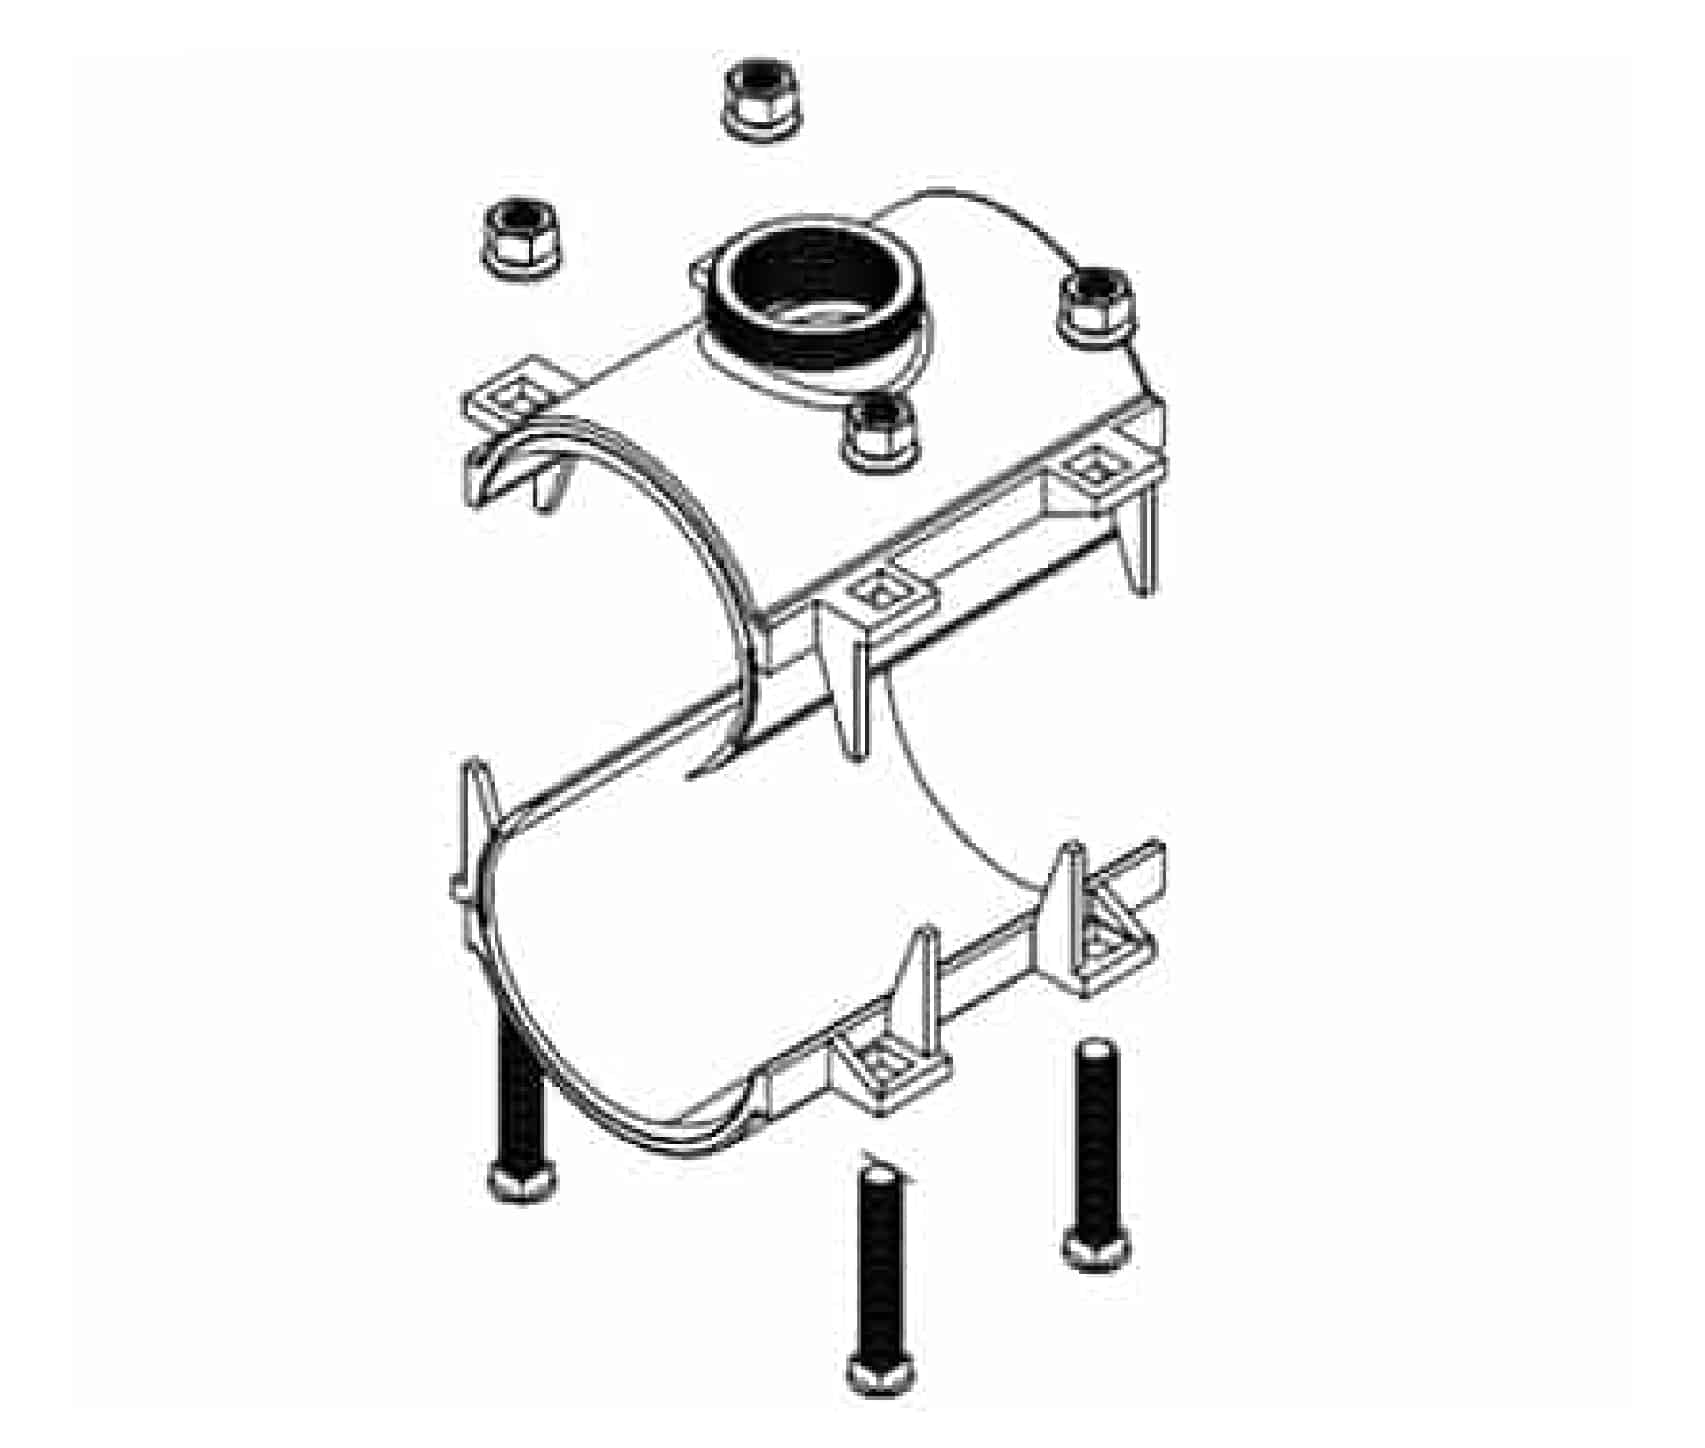
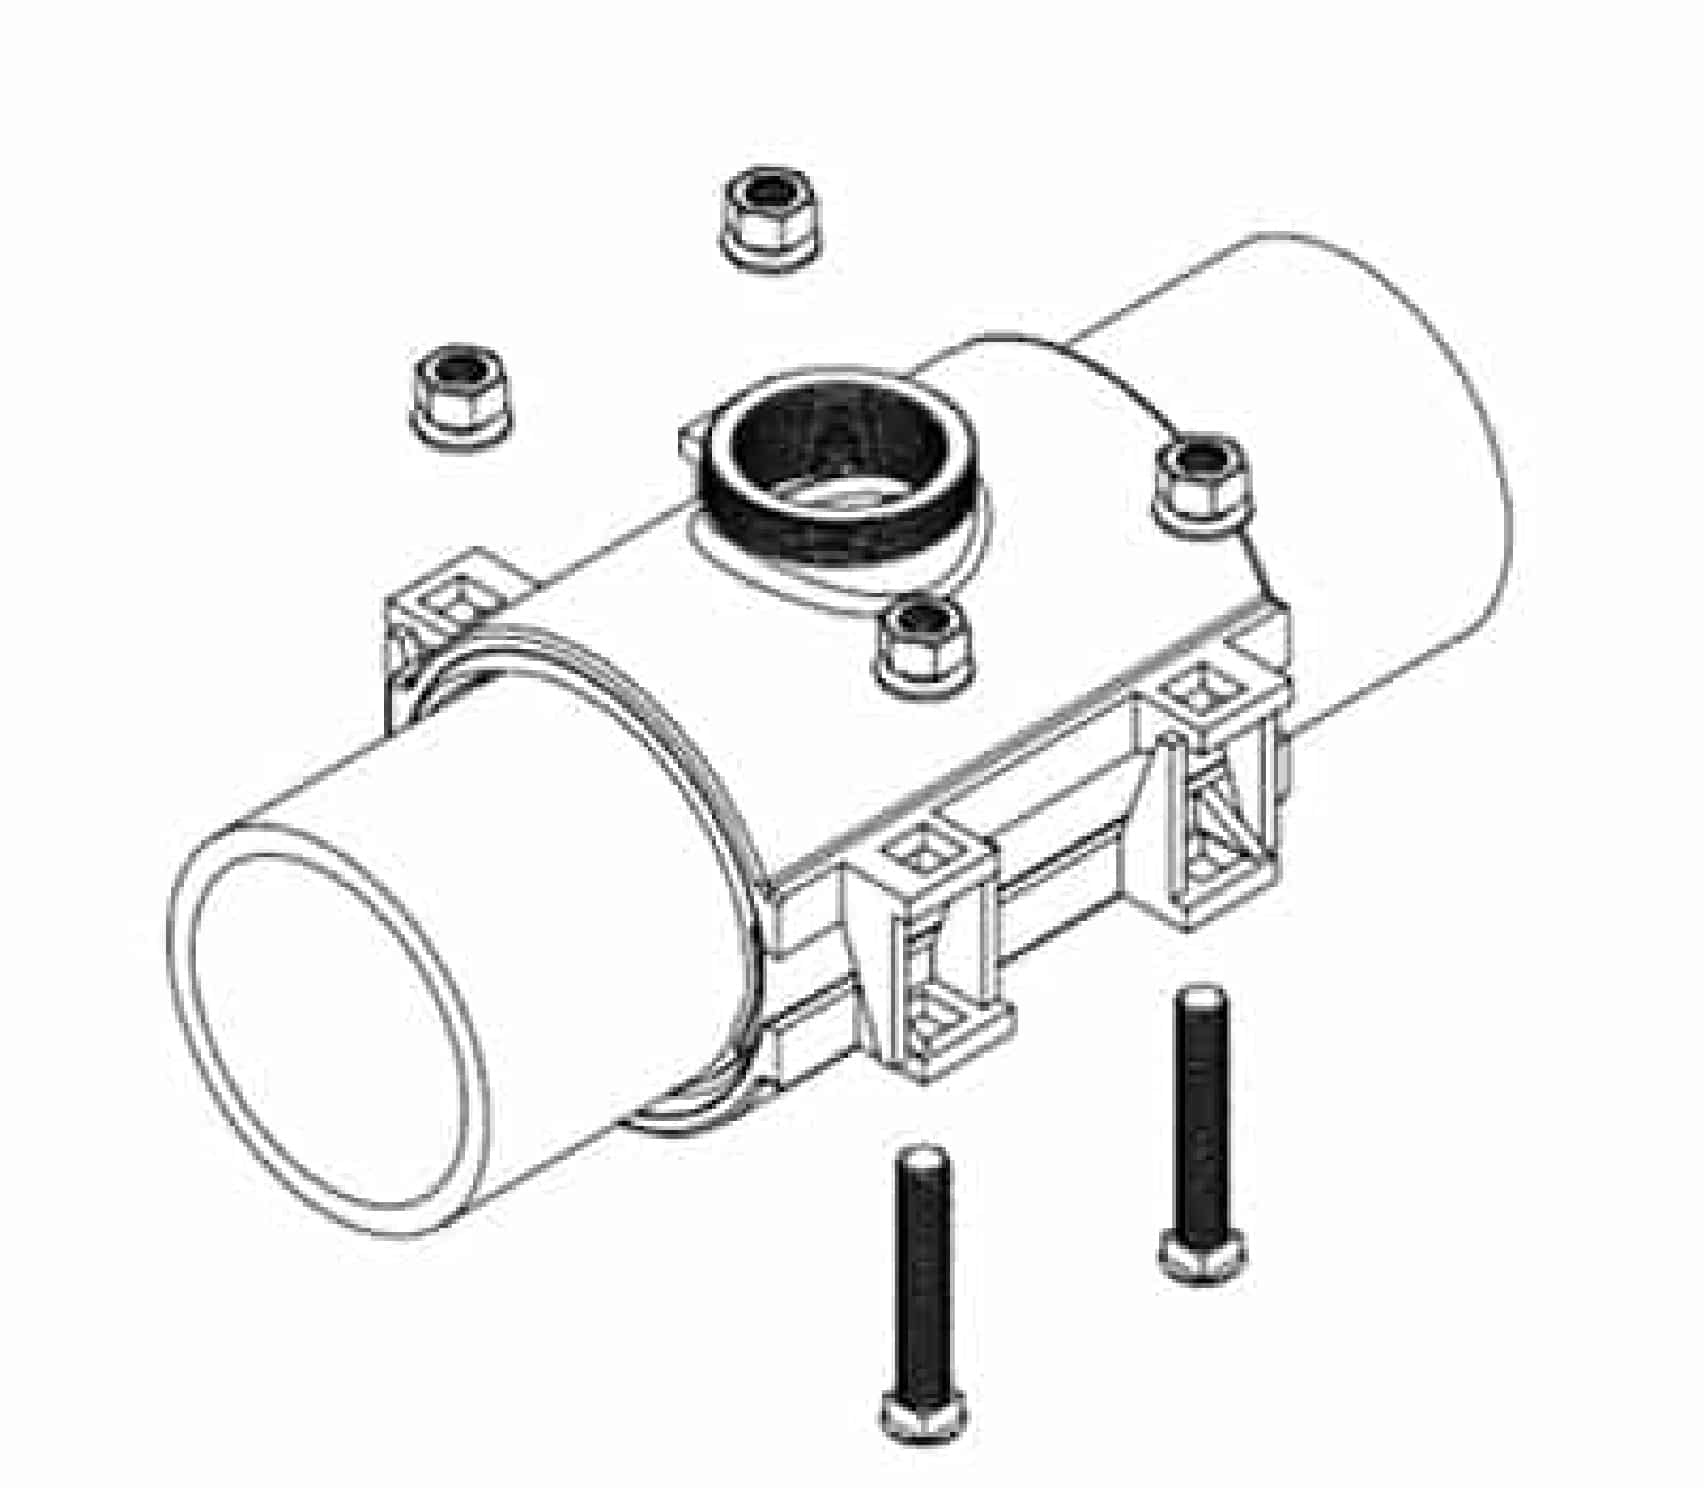
Remove all the screws and separate the top and bottom halves, as shown in the image below.
Step 3
Clamp the upper and lower parts onto the pipe to be connected, and adjust the rubber pad(as below figure 1 and 2) of the repair gasket to ensure it fits closely to the outer diameter of the pipe.
Step 4
After clamping the top and bottom halves around the outside diameter of the pipe, put the bolts, washers, and nuts on as per the picture below. Adjust the washers and nuts to the bottom and the same height.
Step 5
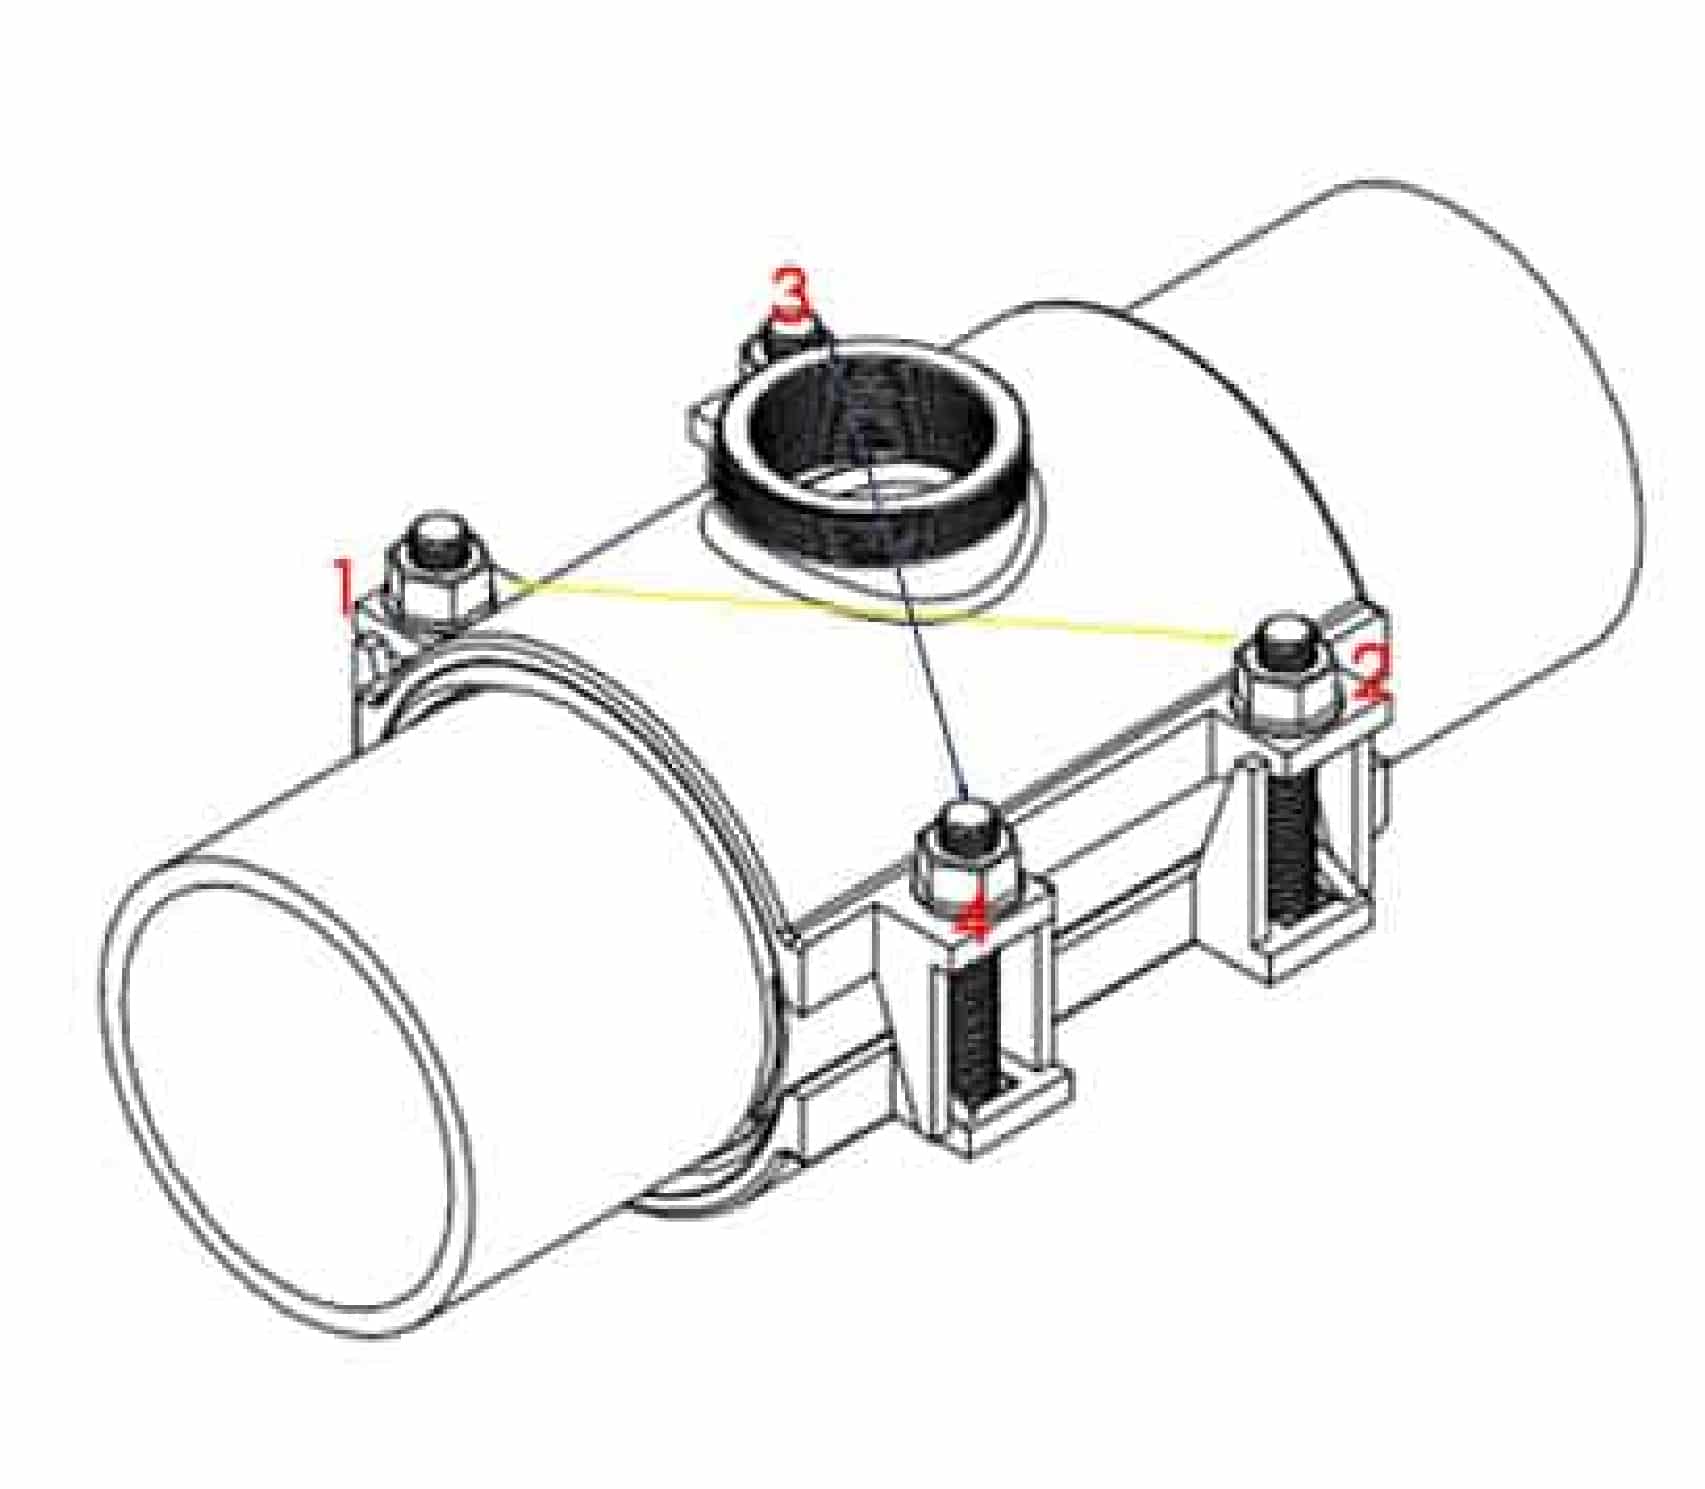
Tighten the bolts evenly in multiple rounds along the diagonal sequence (as shown in the picture 1-2-3-4) until the required torque is reached (refer to the Judberd user manual), completing the installation.
Step 6
If used as a saddle, connect the thread of the isolation valve to the outlet thread of the service clamp. Wrap sealing tape around the male thread to enhance the sealing effect between the threads.
Step 7
Conduct a pressure test on the service clamp using 1.5 times the working pressure as the test pressure for 120 seconds. If any leakage is detected, repeat step 5 above (make sure not to exceed the specified maximum torque) until there is no leakage.