Socket Collar
Socket collar is a type of fitting or component used to secure or join parts together, typically in a piping or plumbing system. It usually involves a cylindrical shape that fits over a pipe or shaft, providing a secure connection. These collars can be fastened using screws, bolts, or other mechanisms, ensuring the stability and integrity of the joint. Socket collars are commonly used in various industries, including construction, manufacturing, and engineering, to connect pipes, shafts, and other cylindrical objects.
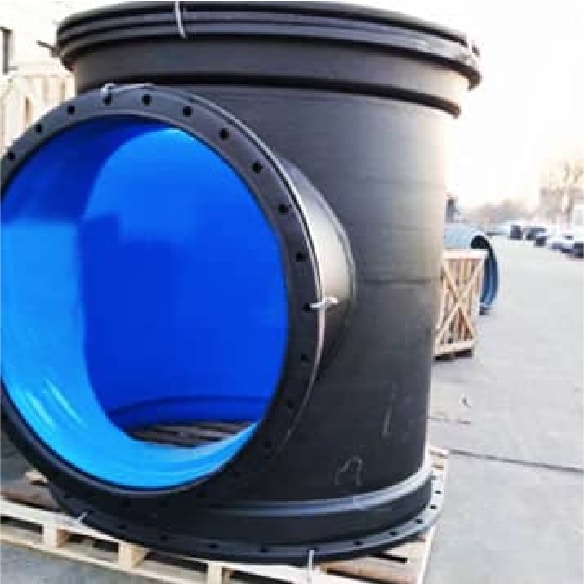
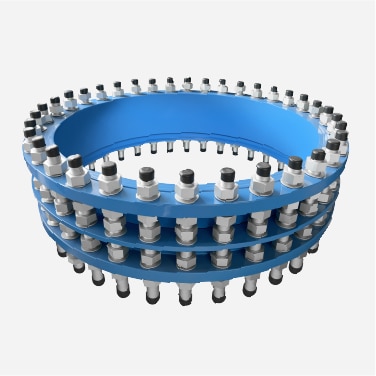
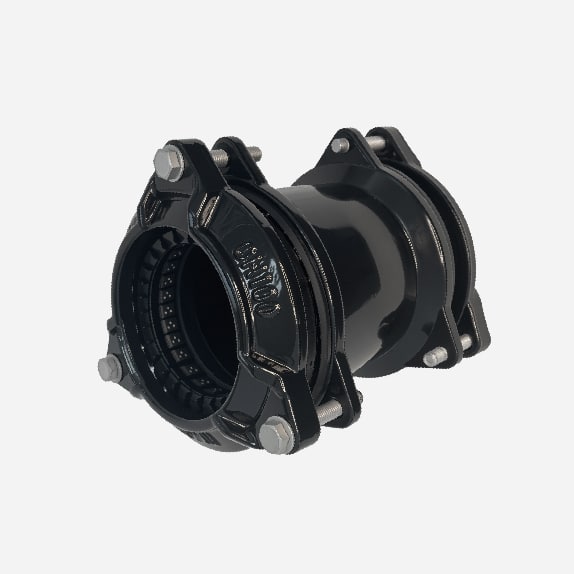
Judberd can offer T type socket collar and K type socket collar (also called Mechanical Joint collar or MJ collar)
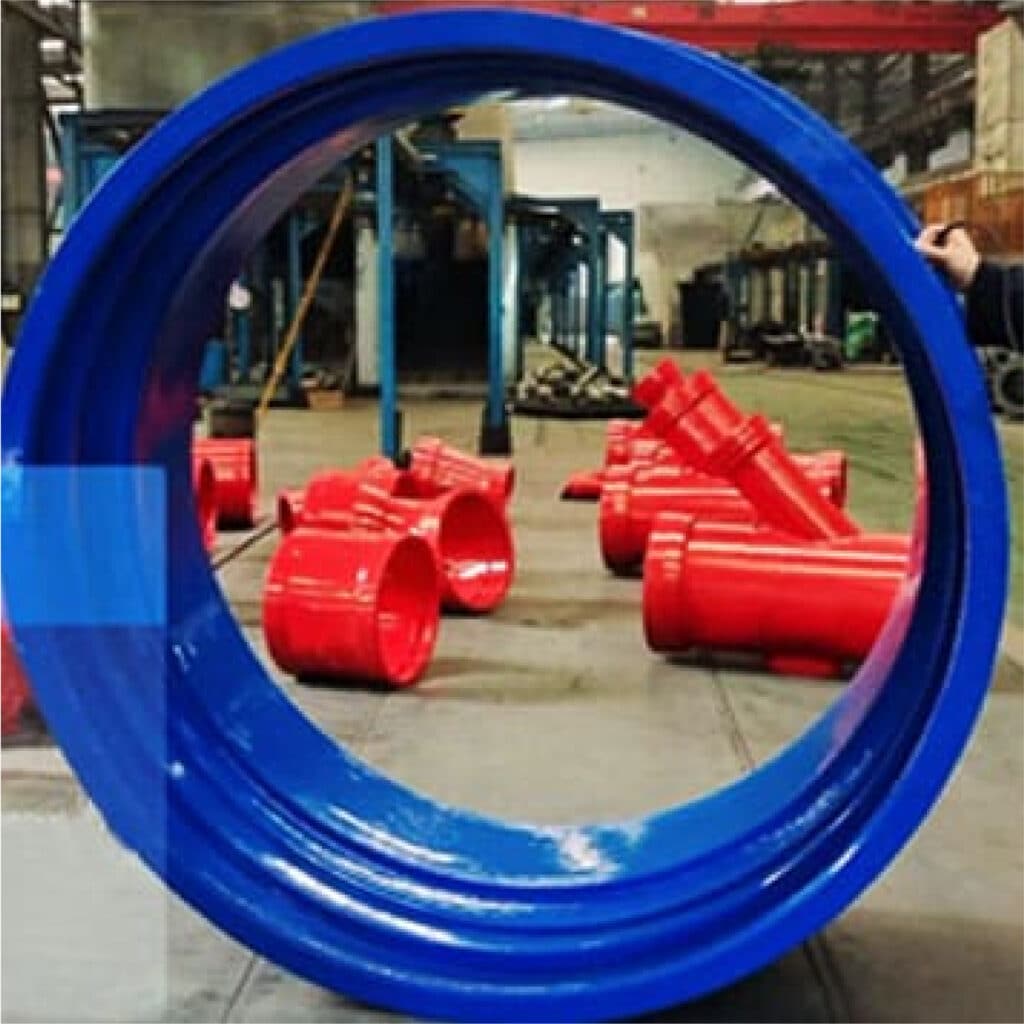
T type socket collar
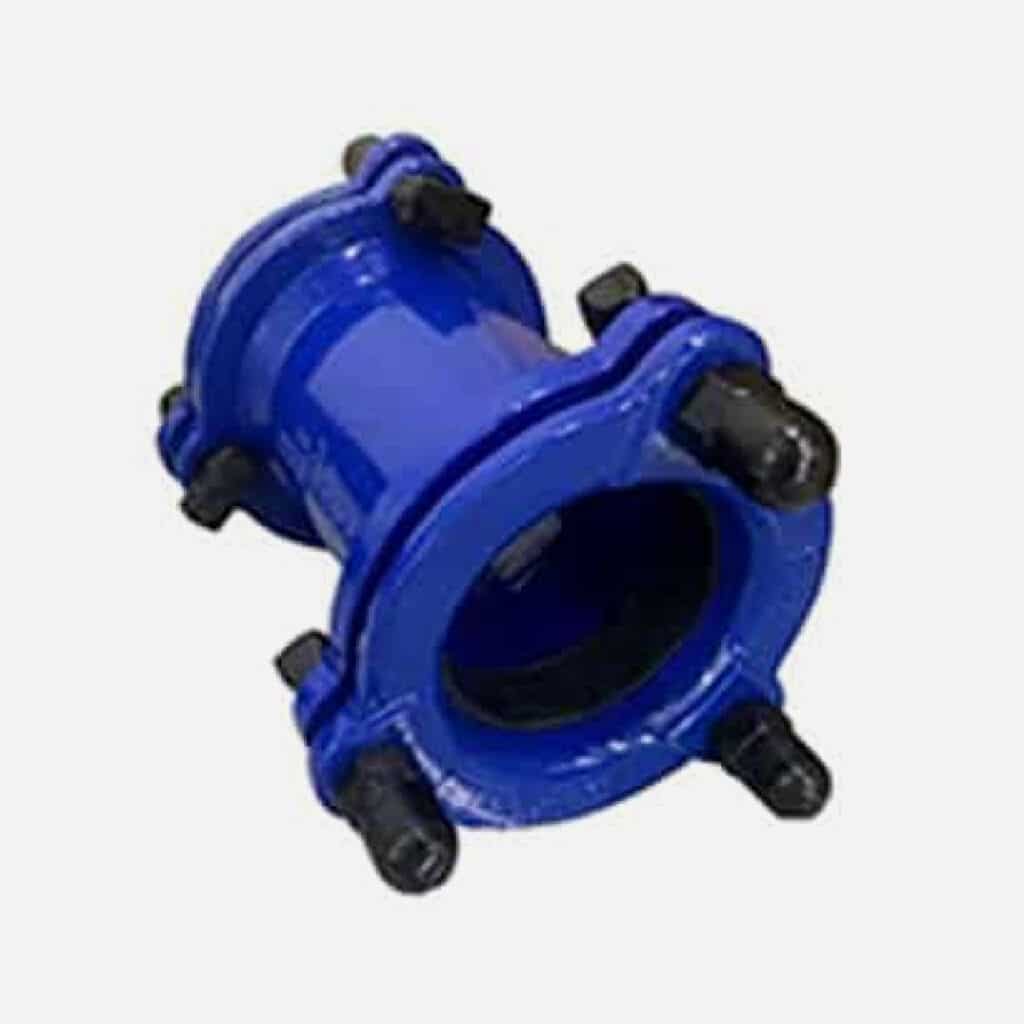
K type socket collar
Double Socket Collar Drawing

T type socket collar drawing
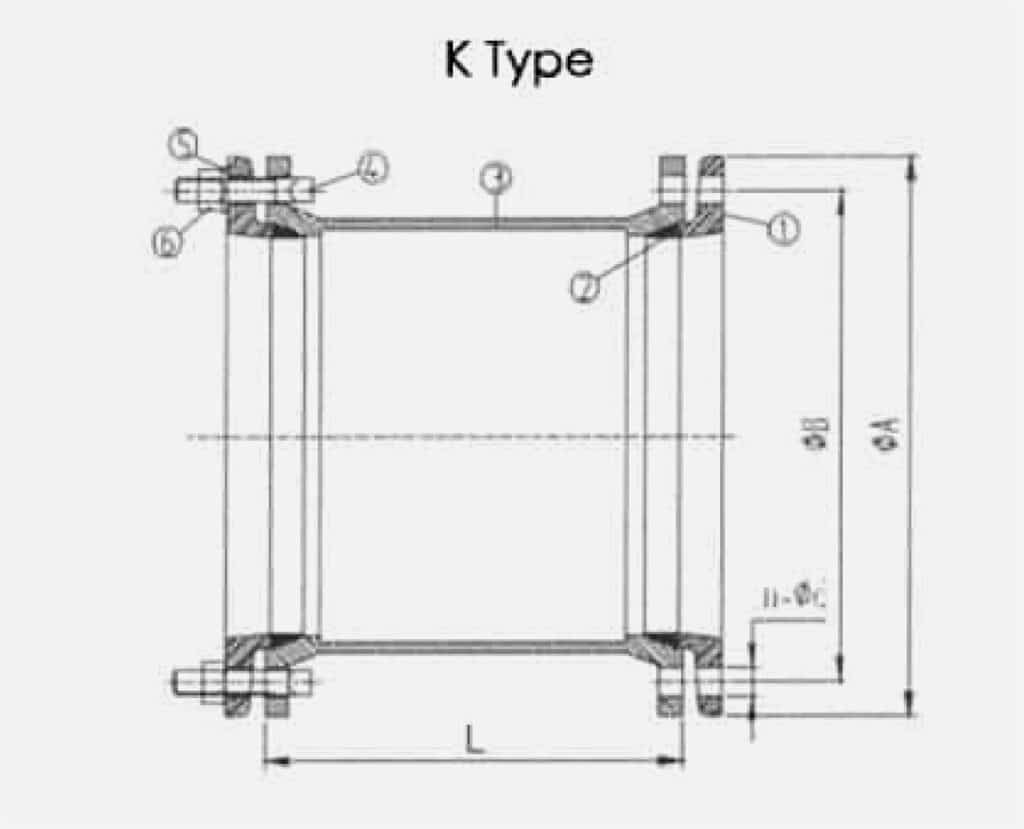
K type socket collar drawing
Double Socket Collar Dimension
T type socket collar dimension
| Nominal Diameter DN | e | d | L | Mass(kg) |
|---|---|---|---|---|
| 80 | 7 | 109 | 160 | 7.9 |
| 100 | 7.2 | 130 | 160 | 9.9 |
| 150 | 7.8 | 183 | 165 | 15.9 |
| 200 | 8.4 | 235 | 170 | 23 |
| 250 | 9 | 288 | 175 | 31.5 |
| 300 | 9 | 340 | 180 | 41 |
| 350 | 10.2 | 393 | 185 | 52 |
| 400 | 10.8 | 445 | 190 | 64 |
| 450 | 11.4 | 498 | 195 | 91 |
| 500 | 12 | 550 | 200 | 93 |
| 600 | 13.2 | 655 | 210 | 129 |
| 700 | 14.4 | 760 | 220 | 172 |
| 800 | 15.6 | 865 | 230 | 223 |
| 900 | 16.8 | 970 | 240 | 282 |
| 1000 | 18 | 1075 | 250 | 349 |
| 1200 | 20.4 | 1285 | 270 | 560 |
| 1400 | 22.8 | 1477 | 340 | 816 |
| 1600 | 25.2 | 1683 | 360 | 1094 |
K type socket collar dimension
| Nominal Diameter DN | ¢A | ¢B | n | ¢d | L |
|---|---|---|---|---|---|
| 80 | 218 | 168 | 4 | 23 | 325 |
| 100 | 236 | 188 | 4 | 23 | 325 |
| 150 | 299 | 242 | 6 | 23 | 330 |
| 200 | 350 | 295 | 6 | 23 | 340 |
| 250 | 408 | 349 | 8 | 23 | 355 |
| 300 | 467 | 409 | 8 | 23 | 360 |
| 350 | 515 | 462 | 10 | 23 | 380 |
| 400 | 566 | 515 | 12 | 23 | 400 |
| 450 | 638 | 580 | 12 | 23 | 410 |
| 500 | 670 | 621 | 14 | 23 | 425 |
| 600 | 808 | 727 | 14 | 23 | 450 |
Double Socket Collar Installation
T type
Installing a Tyton-style socket collar is typically used to join pipe, and does not require bolts, just pipe and a Tyton gasket. Here’s how you do it:
Materials & Tools
Tyton-style
socket collar
Pipe
Tyton gasket
Cleaning tools
(cloth, brush, etc.)
Lubricant (as recommended by the manufacturer)
Steps
Step 1: Preparation
_
Check to make sure all parts are there and undamaged.
Clean the mating surfaces of the pipe and the socket collar with your cleaning tool to make sure they’re free of dust, dirt, and other debris.
Step 2: Install the Gasket
_
Put the Tyton gasket in the socket collar.
Make sure the gasket is evenly and properly seated in the socket without any twists or deformations.
Step 3: Lubricate the Gasket
_
Apply a coat of the proper lubricant to the joint where the gasket and pipe will meet. Use the lubricant recommended by the manufacturer.
Apply the lubricant evenly so it covers the entire joint where the gasket and pipe meet.
Step 4: Insert the Pipe
_
Align the pipe with the socket collar, making sure the centerlines of the pipe and socket collar match up.
Push the pipe into the socket collar with force. The lubricant will help reduce the resistance.
Step 5: Make the Connection
_
After you’ve pushed the pipe in, push it hard until you feel the pipe seat all the way into the socket collar and press firmly against the gasket.
Make sure the pipe can’t move or pull out.
Step 6: Check the Connection
_
Inspect the connection to make sure the gasket isn’t extruded or deformed.
Make sure the connection is tight with no chance of leaks or air infiltration.
Pro Tips
Read the manufacturer’s installation instructions thoroughly before installing, because different styles of socket collars may have specific requirements.
Choose the proper lubricant and do not use a lubricant that will damage the gasket material.
Pressure test the system before putting it into service to make sure it doesn’t leak.
By following these steps, you’ll properly install a Tyton-style socket collar to make a reliable pipe connection.
K type
Installing a K-style joint (also known as a MJ joint or mechanical joint) is typically used to join pipe, and here’s how you do it:
Materials & Tools
K-style joint (MJ joint)
Pipe
Gasket (usually made of rubber)
Bolts and nuts
Cleaning tools (cloth, brush, etc.)
Lubricant (as recommended by the manufacturer)
Wrench or torque wrench
Steps
Step 1: Preparation
_
Check to make sure all parts are there and undamaged.
Clean the mating surfaces of the pipe and joint with your cleaning tool to make sure they’re free of dust, dirt, and other debris.
Step 2: Install the Gasket
_
Put the gasket in the groove of the joint.
Make sure the gasket is evenly and properly seated in the groove without any twists or deformations.
Step 3: Lubricate the Gasket
_
Apply a coat of the proper lubricant to the joint where the gasket and pipe will meet.
Use the lubricant recommended by the manufacturer.
Apply the lubricant evenly so it covers the entire joint where the gasket and pipe meet.
Step 4: Insert the Pipe
_
Align the pipe with the joint, making sure the centerlines of the pipe and joint match up.
Push the pipe into the joint with force. The lubricant will help reduce the resistance.
Make sure the pipe seats all the way into the joint and presses firmly against the gasket.
Step 5: Install the Mechanical Joint Assembly
_
Put the mechanical joint assembly (including the gland and bolts) on the outside of the joint.
Make sure the gland lines up properly, and the gasket is not extruded or deformed.
Step 6: Tighten the Bolts
_
Tighten the bolts progressively in a diagonal pattern (similar to the way you’d tighten lug nuts on a car) to ensure even force.
Use a torque wrench to tighten each bolt in sequence to the torque value recommended by the manufacturer.
Make sure the bolts are tightened evenly to keep the gasket from being loaded unevenly.
Step 7: Check the Connection
_
After you’ve completed the installation, check the connection to make sure the gasket isn’t extruded or deformed.
Check to make sure all the bolts are tightened to the specified torque value.
If it’s a pressure system, pressure test the system to make sure the joint doesn’t leak.
Pro Tips
Read the manufacturer’s installation instructions thoroughly before installing because different styles of mechanical joint joints may have specific requirements.
Choose the proper lubricant and do not use a lubricant that will damage the gasket material.
Using a torque wrench will help ensure the bolts are tightened evenly to keep the gasket from being loaded unevenly and causing a leak.
By following these steps, you’ll properly install a K-style joint to make a reliable pipe connection.