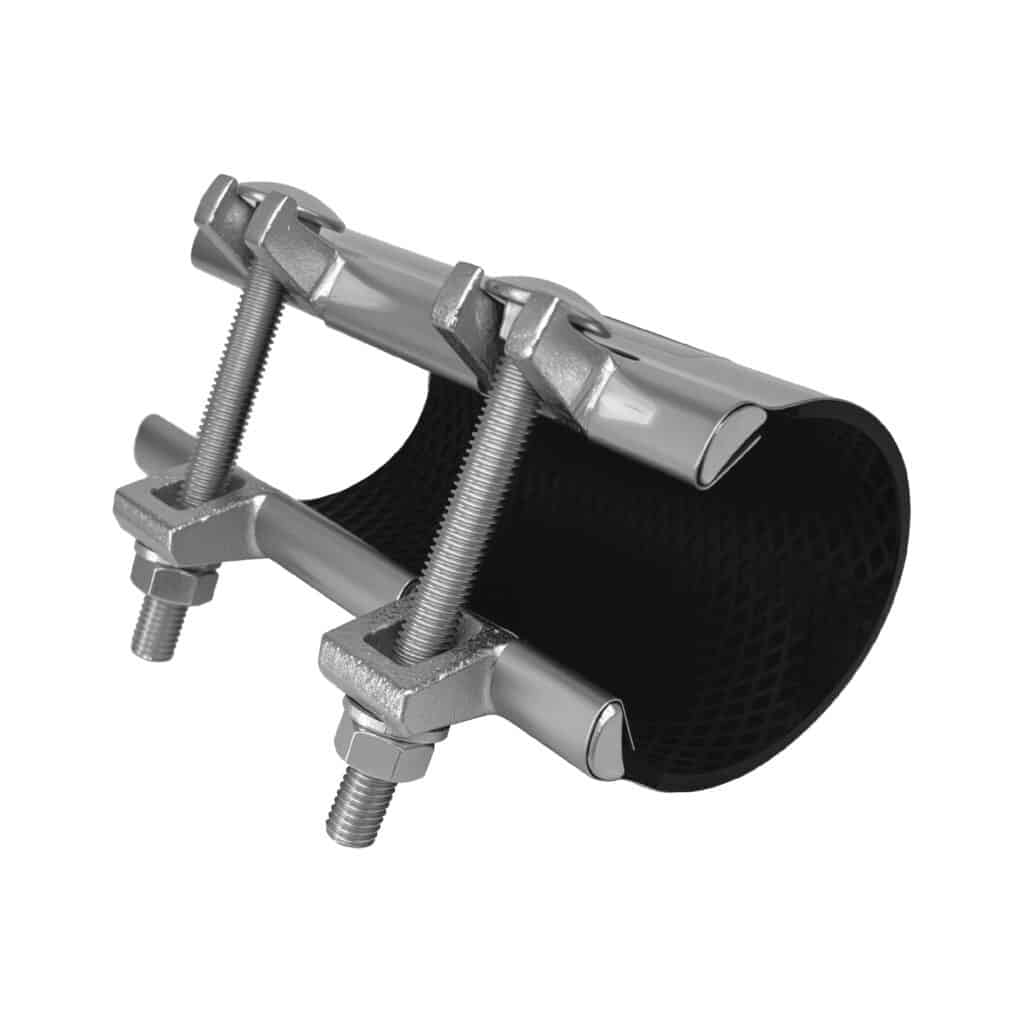
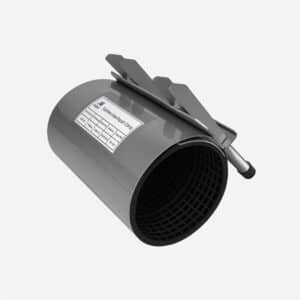
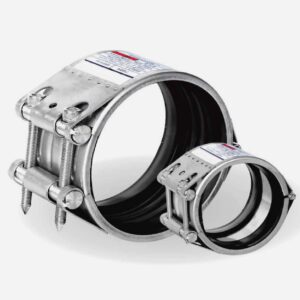
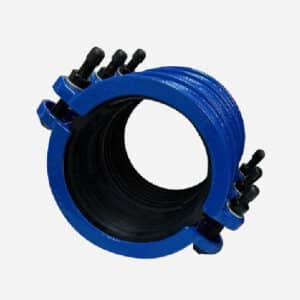
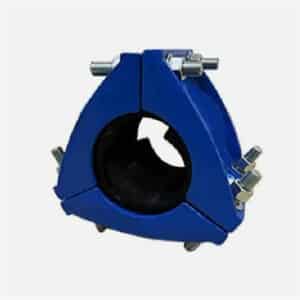
Steel repair clamp is carbon steel or stainless steel material repair clamp, it include full circle and half circle type.mini type and normal type.below is half circle and mini type, full circle and normal type is also available.
Specification
● 1, Mini type repair clamp is for small leakage.
● 2, It can repair pipe under pressure or without pressure.
● 3, It can repair thin and thick wall pipes, because it is mini type, so the assembling force is small , it is friendly for thin wall pipes.
● 4, Making installation simple and significantly reducing costs.
● 5, It is acceptable for axial displacement and angular slope.
● 6, Lip-like structure of the rubber ring enhances the sealing when the pressure increases.
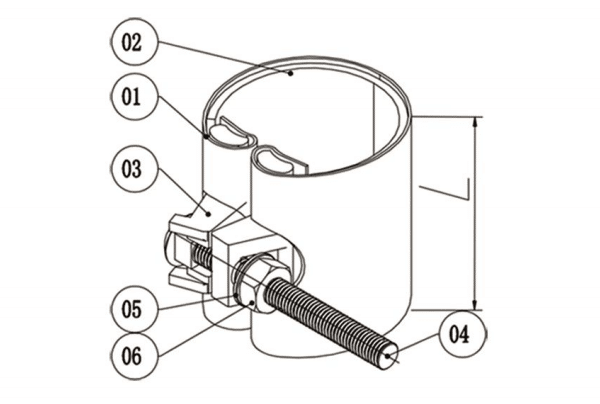
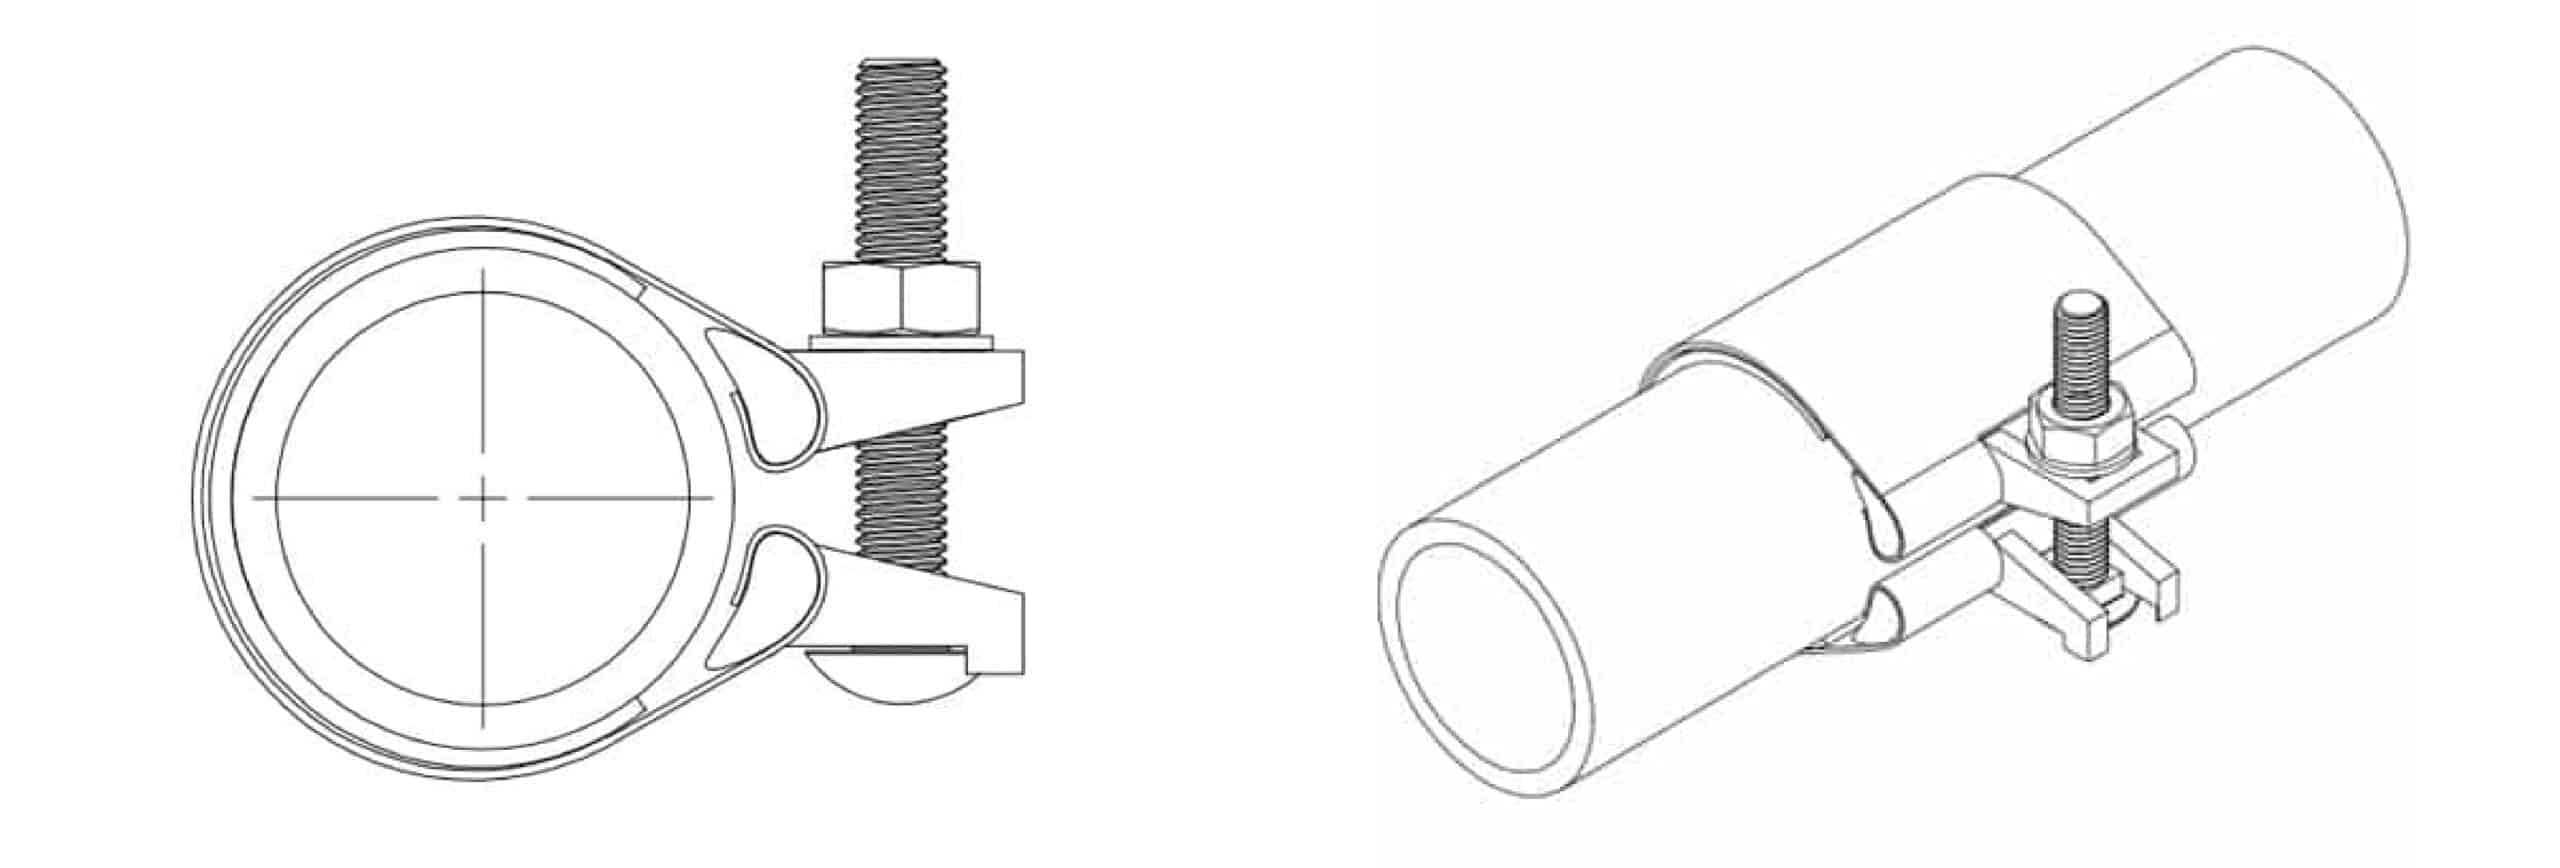
Drawing
Material
Sr.No.
Name
Material
1
Band
SS304
2
Gasket
NBR/EPDM
3
Lug
Gal.ductile iron
4
Bolts
Carbon steel Grade 8.8
5
Washer
Gal.steel
6
Nut
Gal.steel grade 8.8
Dimensions (unit mm unless specified)
Size(inch)
Range
Working pressure bar
Bolts Size
Gasket Thickness
Band Thickness
1/2"
19-23
16bar
M10X90
3.5
0.5
3/4"
24-28
16bar
M10X90
3.5
0.5
1"
29-34
16bar
M10X90
3.5
0.5
1 1/4"
38-42
16bar
M10X90
3.5
0.5
1 12/"
44-48
16bar
M10X90
3.5
0.5
2"
55-61
16bar
M10X90
3.5
0.5
2 1/2"
69-73/71-76/76-82
16bar
M10X90
3.5
0.5
3"
82-87/87-93/94-100/99-104
16bar
M10X90
3.5
0.5
4"
105-111/112-118/120-126
16bar
M10X90
3.5
0.5
5"
126-131/132-138/140-146
16bar
M10X90
3.5
0.5
Installation
Step 1
Select a repair clamp with a suitable size range. We will mark our range on the body of the clamp. Please ensure that the selected clamp’s range covers the outer diameter of the pipe to be repaired. Also check that all components are complete and in good condition, especially the rubber gasket, which must be flawless, as its quality determines the overall performance of the product.
Step 2
Loosen the nuts to the end of the bolts, but do not remove them.
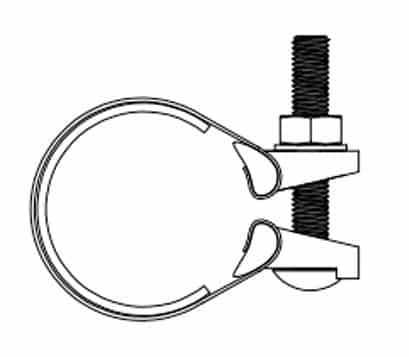
Step 3
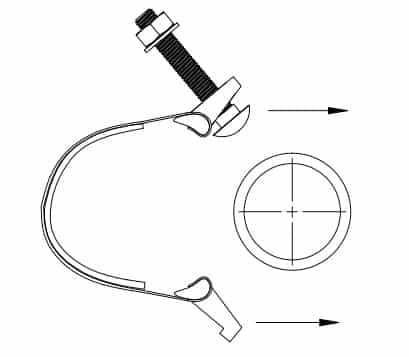
Separate the repair clamp (as below photo), then clamp it onto the outer diameter of the pipe.
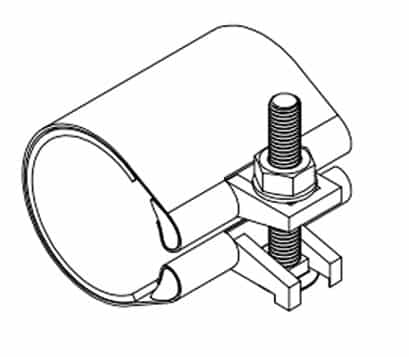
Step 4
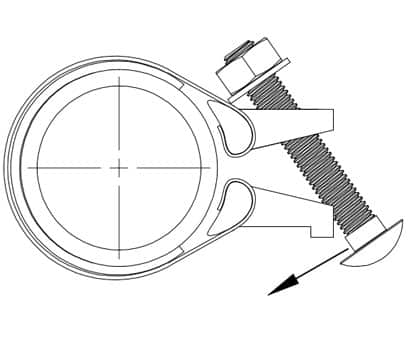
Pull both ends of the repair clamp together and fit the bolt heads into the slots as shown in the picture below.
Step 5
Align the center of the rubber gasket with the damaged area of the pipe, then tighten the bolts until there is no water leakage to complete the installation.