Selecting the correct dismantling joint.
1,The dismantling joint is divided into thrust type(also called rigid type) and non thrust type, thrust type has long bolts running through the whole dismantling joint, which can withstand the axial force.Thrust type can’t have the angle deflection. Non thrust type does not have a long bolt that runs the entire length of the dismantling joint, cannot withstand axial force, and can be angularly deflected. You need to choose according to the actual situation.
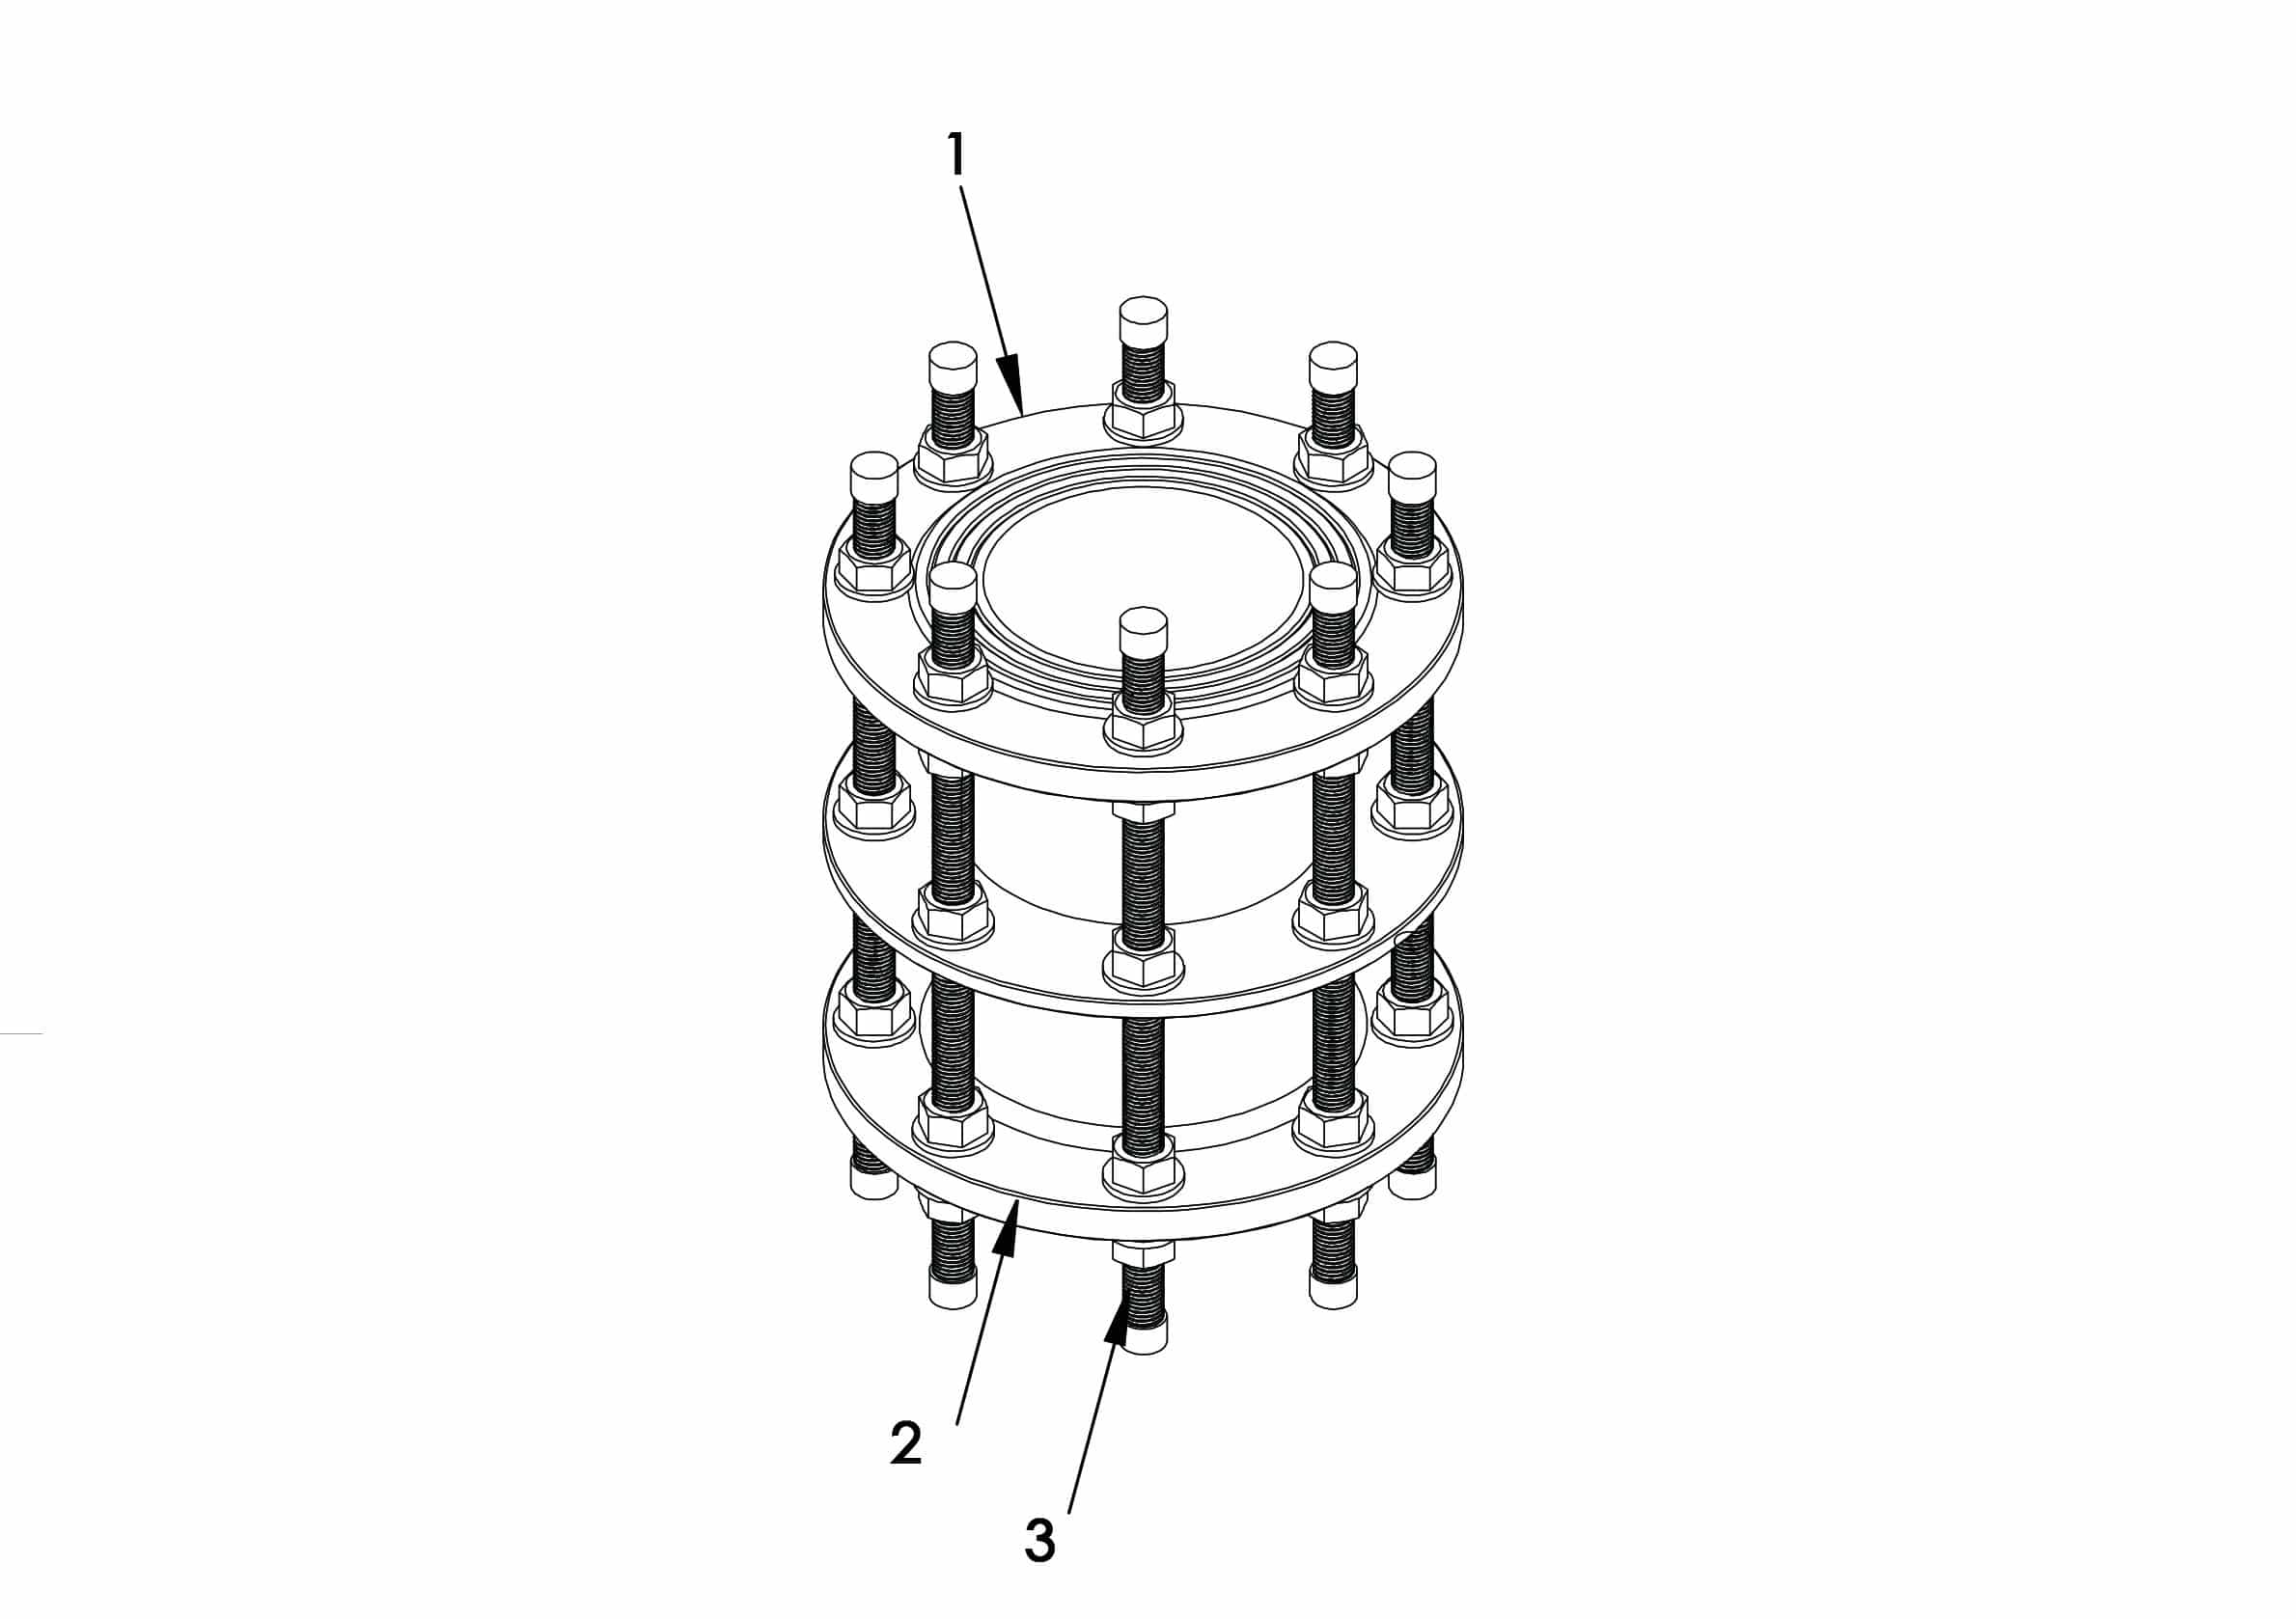
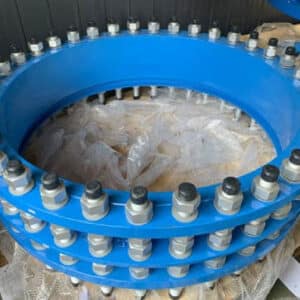
2, when we choose dismantling joint, we also need to check dismantling joint flange at both ends (as Fig No.1 and Fig No.2) dimension can be connected with mate flanges from other pipeline components (normally the two flanges are required to be the same design standards, so as to ensure that the two flanges are compatible. At least ensure that the dimension of the inner diameter can ensure that the sealing surface will not cause leakage, flange holes can be connected).
3, To check the dismantling joint nominal length and adjustable length, to ensure that the dismantling joint length range can meet the needs of the project.
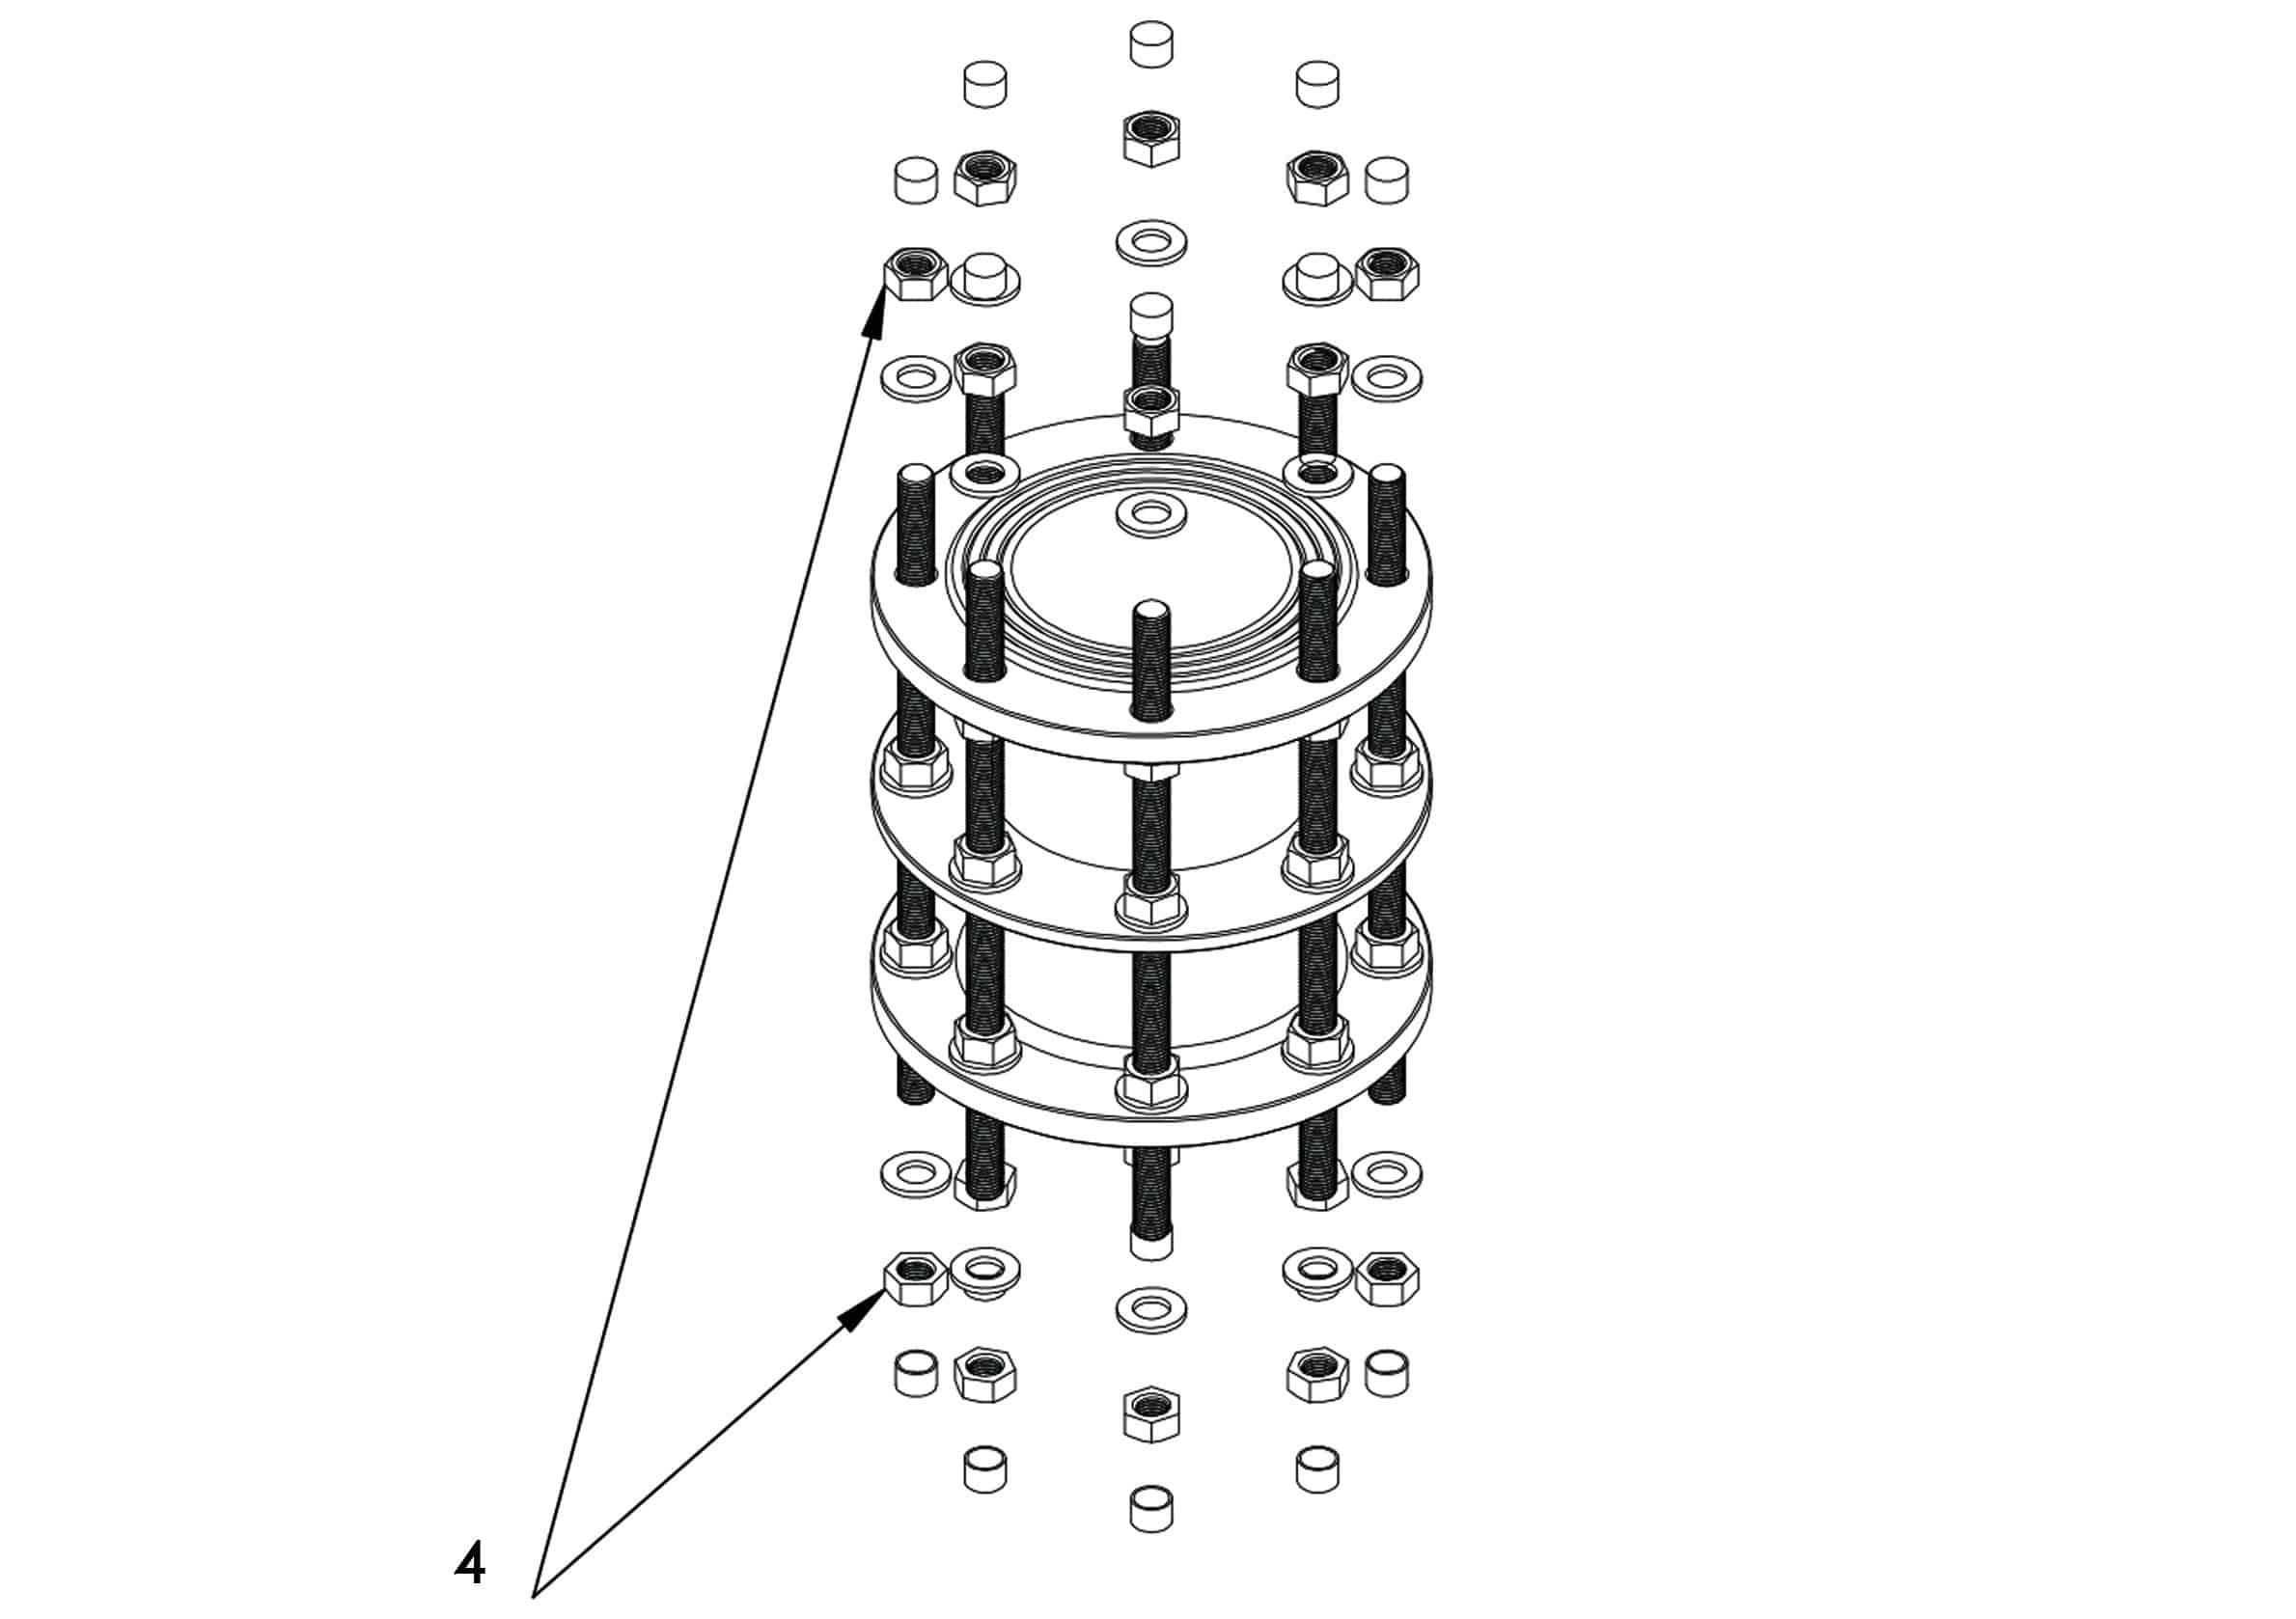
4, To check the long bolts length of dismantling joint to ensure it is long enough to ensure it can work properly for the maximum dismantling joint length and meantime it can connect the mate flange and lock the mate flange properly.
5, To check the all parts of dismantling joint, ensure all parts are in perfect quality condition, any parts are no loss and no defect.
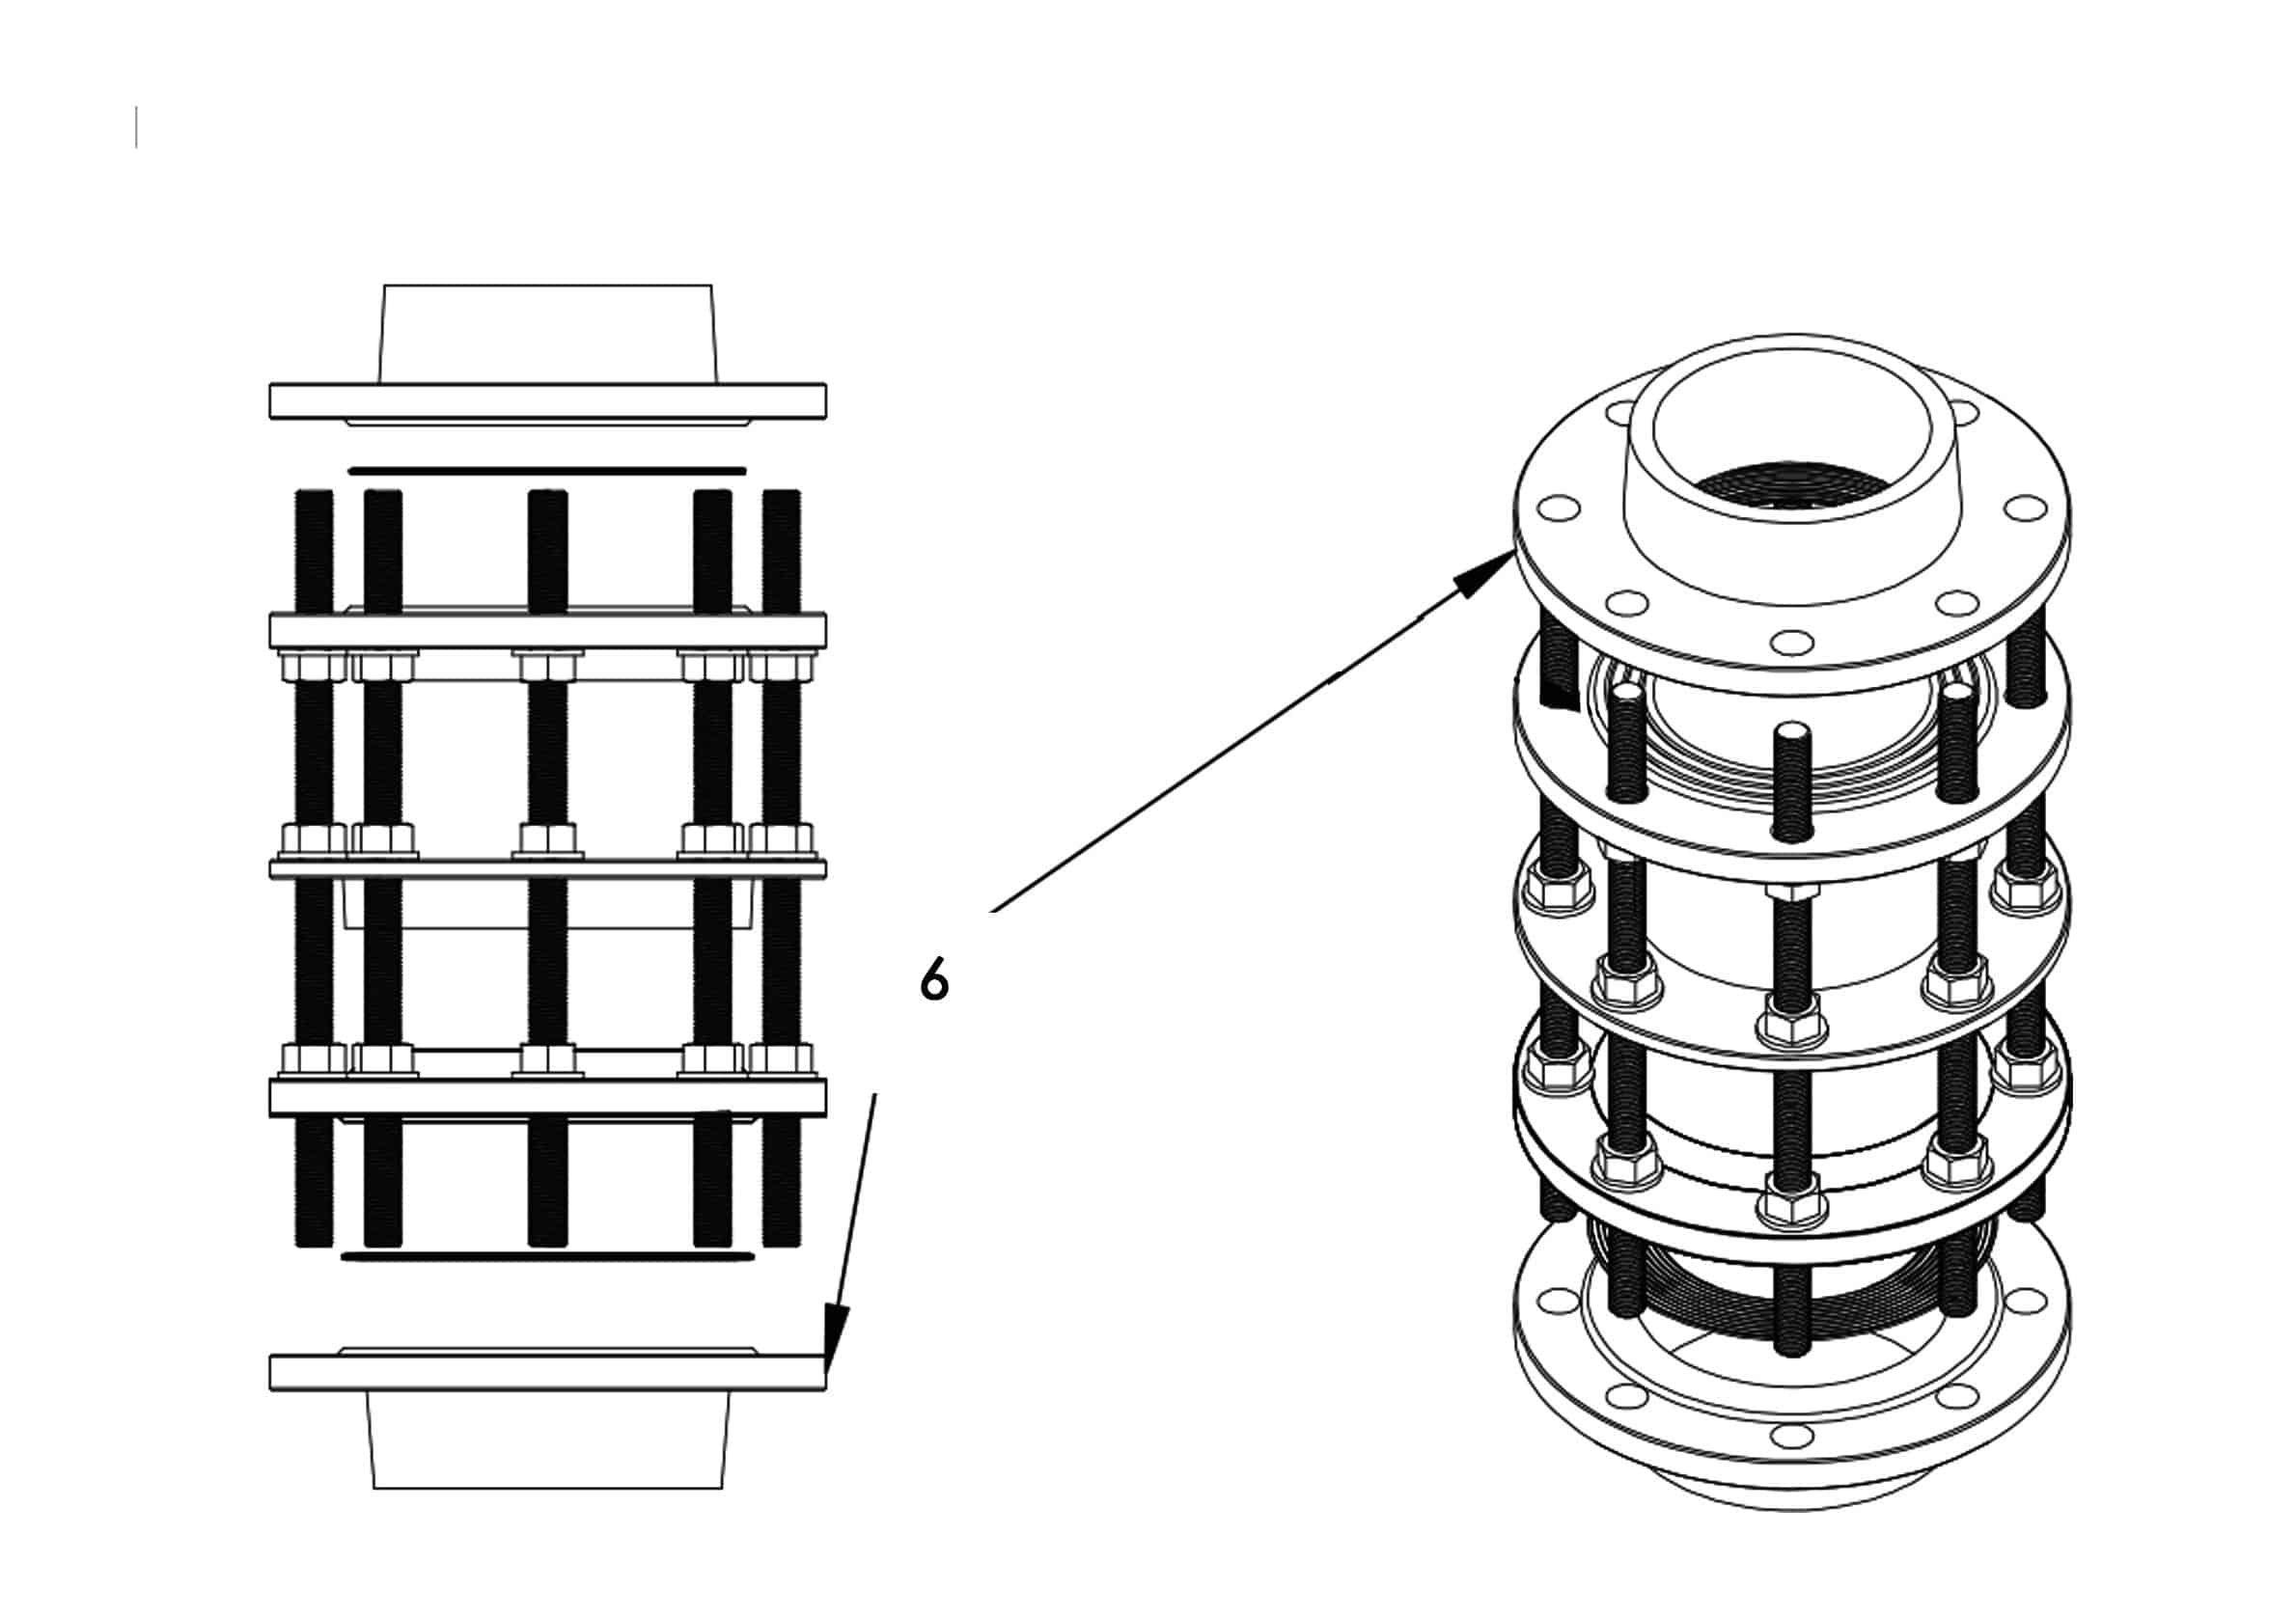
6, Please note that if you choose less than 100% quantity bolts dismantling joint, the maximum working pressure that dismantling joint can afford will be less than designed.Consult judberd for the maximum working pressure .
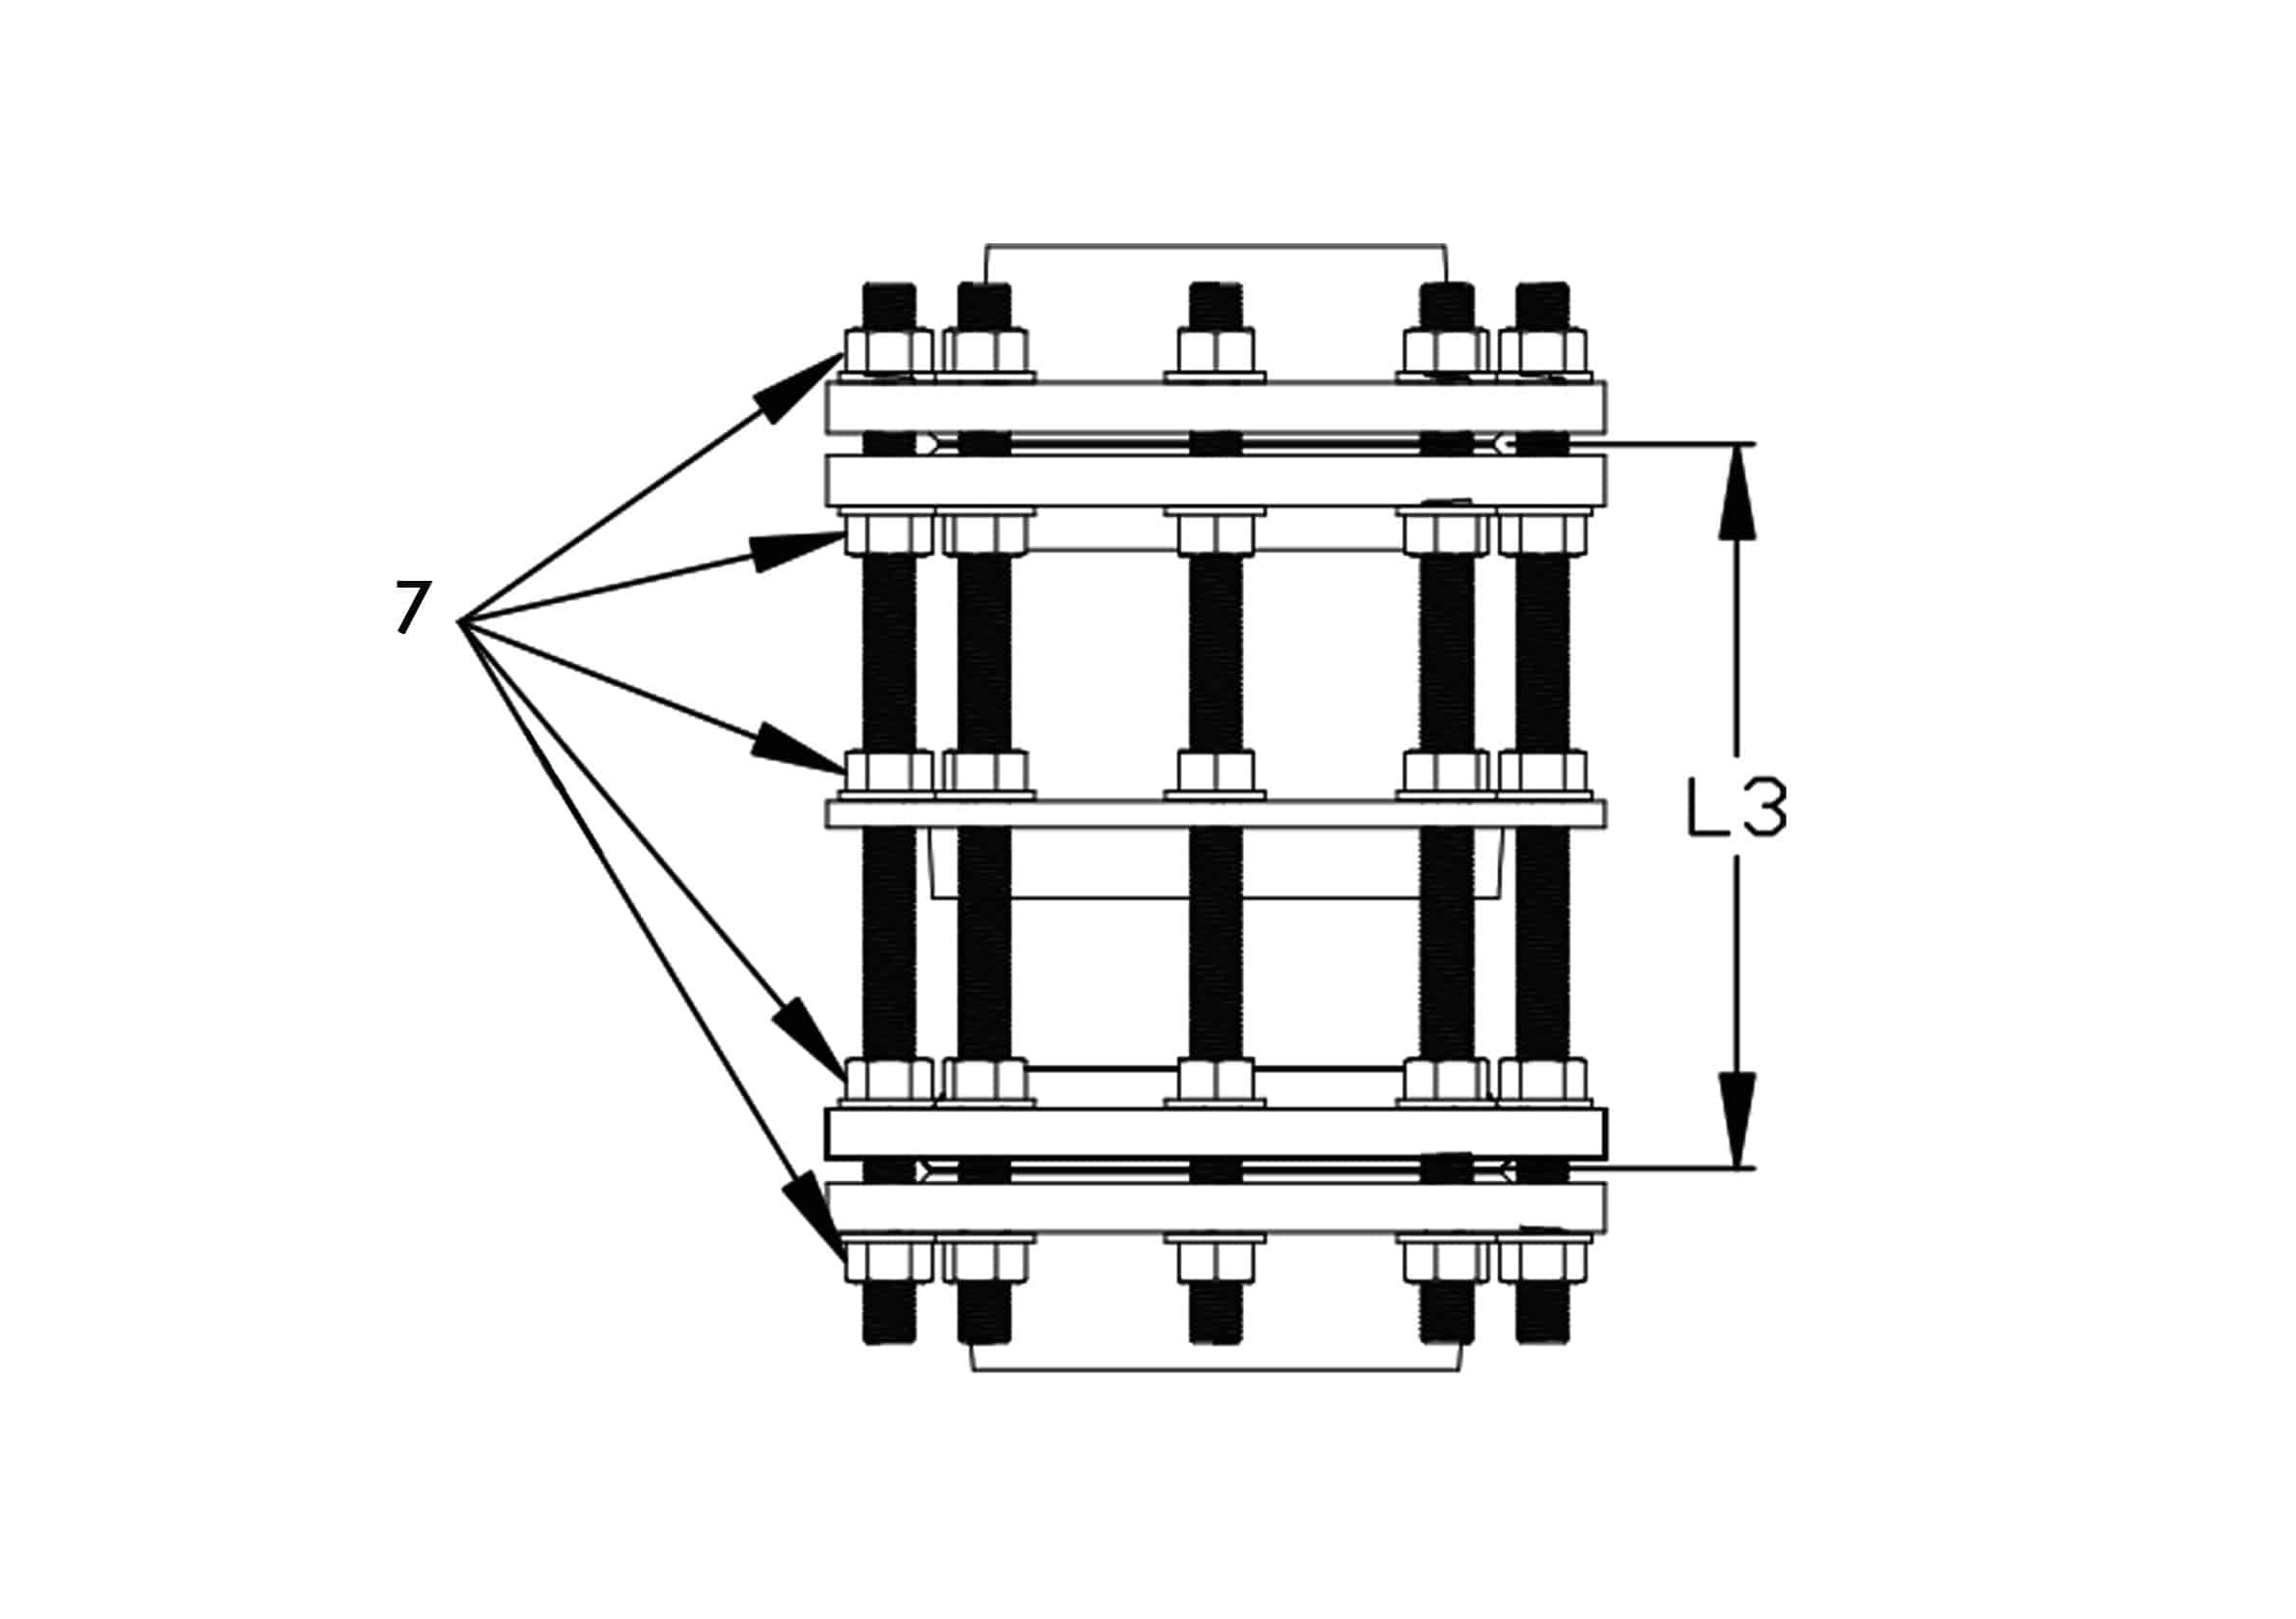
7, Please make sure that the material and surface coating of each part of the dismantling joint are consistent with the project requirement.